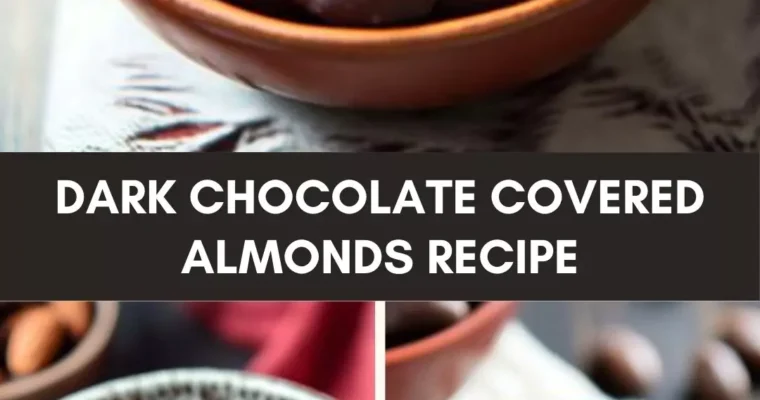
Imagine serving these decadent bites at your next dinner party with a selection of perfect pairings. A good Cabernet Sauvignon will accentuate the richness of the chocolate, while a cheese board featuring aged cheddar or gouda will complement the almond crunch beautifully. Fresh berries, such …
Oh, have we got a treat for you! Before we dive into our scrumptious sugar cookie pumpkin pie cups recipe, let’s chat about what you can pair with this delightful dessert. Imagine serving these cups with a warm cup of spiced chai or a cold …
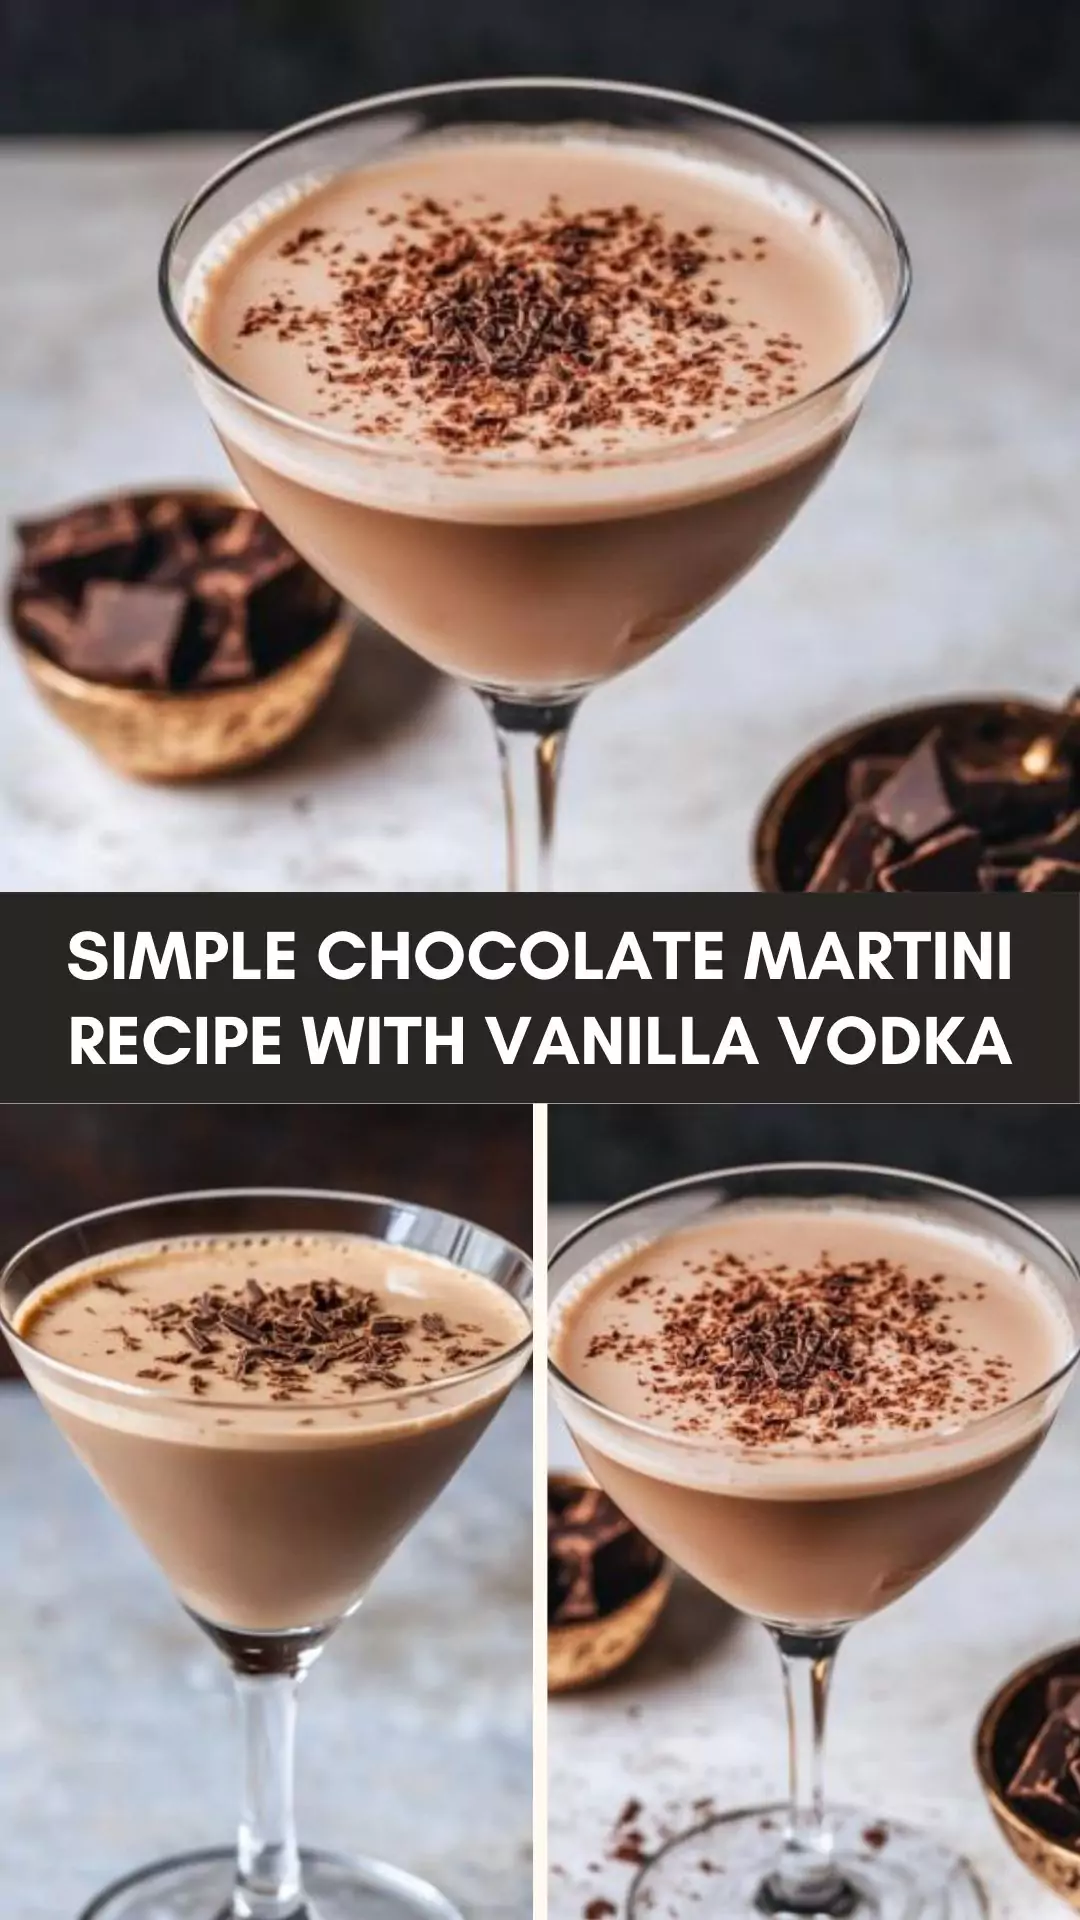
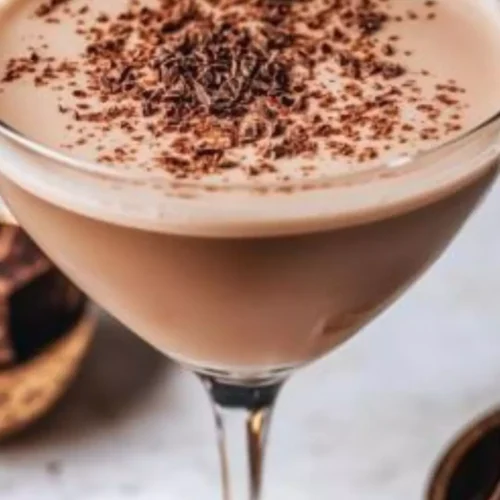
Today we’re diving into a truly luscious treat—an easy, homemade chocolate martini with vanilla vodka. But first, let’s talk about what might go well with this sinfully indulgent cocktail. I always have a vision of a nice platter of dark chocolate-dipped strawberries or a rich, chewy chocolate brownie on the side. They have that “je ne sais quoi” magic that makes the entire experience heavenly.
As a registered dietitian and food enthusiast, I find myself in the kitchen more often than not, experimenting with flavors and textures. While typically health-conscious, I also love indulging in some guilty pleasures—one of which is a simple yet luxurious chocolate martini with vanilla vodka. This delightful cocktail is not only a feast for the senses but also incredibly easy to prepare.
What is a Simple Chocolate Martini Recipe with Vanilla Vodka?
A chocolate martini with vanilla vodka is an elegant cocktail boasting a rich, creamy chocolate flavor with fragrant hints of vanilla. Perfect for date nights, girls’ night in, or whenever you feel like treating yourself.
The Ingredients
Here’s what you need to whip up this tantalizing drink:
1 ounce dark chocolate liqueur
1 ounce creme de cacao
1/2 to 3/4 ounce heavy cream
1 1/2 ounces vanilla-flavored vodka
A dash of espresso or coffee liqueur to add depth
A pinch of sea salt to enhance the chocolate flavor
Freshly grated chocolate for garnish
How to Make a Simple Chocolate Martini Recipe with Vanilla Vodka?
Crafting this cocktail is as easy as it is pleasurable. Here are the step-by-step directions.
Step 1: Gather Your Ingredients
Get all your ingredients ready. Trust me, nothing is more frustrating than scrambling to find something mid-recipe.
Step 2: Chill Your Martini Glass
Place your martini glass in the freezer for about 10 minutes. A cold glass keeps the drink perfect for longer.
Step 3: Mix the Liquors
In a cocktail shaker, combine the dark chocolate liqueur, creme de cacao, vanilla vodka, and espresso or coffee liqueur.
Step 4: Add Cream and Salt
Pour in the heavy cream and sprinkle a pinch of sea salt to highlight the chocolate notes. Shake well.
Step 5: Strain and Serve
Remove the glass from the freezer, strain the mixture into it, and garnish with freshly grated chocolate.
Notes
Quality Matters: Use high-quality liqueurs for the best flavor.
Shaking Technique: Shake vigorously for a frothy texture.
Glassware: A chilled martini glass enhances the experience.
Optional Sweetness: Add a bit of simple syrup if you prefer a sweeter drink.
Experiment: Don’t be afraid to tweak the proportions to your tasting.
Storage Tips
If you have leftover mix (unlikely but hey, it can happen), keep it in an airtight container in the fridge for up to 2 days. Just give it a good shake before serving.
Nutrition Information
Serving Suggestions
Dark Chocolate Biscuits: Dip these crispy delights into the martini.
Cheese Platter: A selection of sharp cheeses contrasts beautifully with the cocktail.
Berries: Fresh or chocolate-covered strawberries enhance the drink’s luxurious feel.
Nutty Snacks: Almonds or hazelnuts offer a delightful, crunchy texture.
Ice Cream: A small scoop of vanilla or coffee ice cream makes an unexpected but delightful pairing.
What Other Substitutes Can I Use in a Simple Chocolate Martini Recipe with Vanilla Vodka?
Don’t worry if you’re missing an ingredient or two. Here are some viable substitutes:
Dark Chocolate Liqueur: Substitute with any chocolate-flavored spirit.
Creme de Cacao: Use a clear chocolate liqueur if dark isn’t available.
Heavy Cream: Half-and-half or even full-fat milk can work.
Vanilla Vodka: Add a bit of vanilla extract to regular vodka.
Espresso Liqueur: Brewed espresso (cold) adds a similar depth.
Simple Chocolate Martini Recipe With Vanilla Vodka
Joe Williams
As a registered dietitian and food enthusiast, I find myself in the kitchen more often than not, experimenting with flavors and textures.
Absolutely. Coconut cream or almond milk works great.
Is it possible to make a non-alcoholic version?
Yes, use chocolate syrup, vanilla extract, and non-alcoholic creamers.
How do I avoid a watery cocktail?
Use ice only when shaking, and strain well.
Can I pre-make the mix for a party?
Sure! Mix everything except the cream and store. Add cream just before serving.
What’s the best way to clean my cocktail shaker?
Warm soapy water and a good rinse should do the trick.
Conclusion
Creating a simple chocolate martini with vanilla vodka is an excellent way to add a touch of luxury to your day. The harmonious blend of chocolate and vanilla makes every sip an experience to cherish. Try it out, tweak as needed, and most importantly—enjoy!
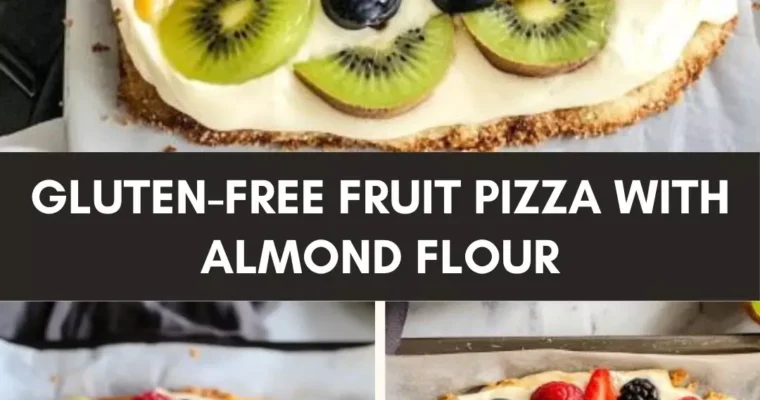
Let’s kick off by thinking about the perfect pairing for our gluten-free fruit pizza. How about a crisp glass of sparkling lemonade or perhaps a refreshing iced mint tea? Either of these could bring a complementary zing to our fruity delight. And let’s not forget …
Before diving into the recipe, let’s chat about what pairs well with Mexican Chicken Lasagna. This dish pairs well with a crisp, refreshing salad. A simple mixed green salad with a tangy vinaigrette would be perfect. You can also add a side of Spanish rice …
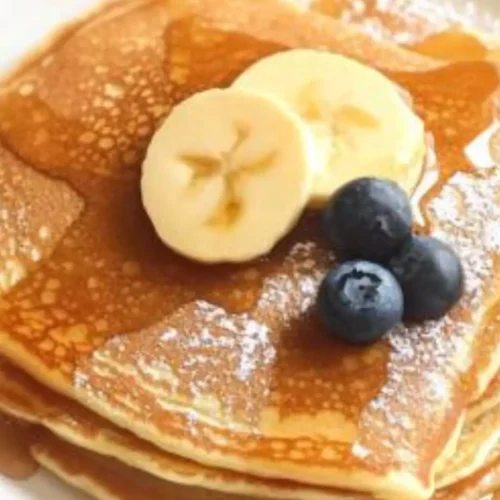
Ah, French pancakes, commonly known as crêpes. Imagine those wafer-thin delights, teamed up with fresh strawberries, whipped cream, or a dollop of Nutella. Or go savory with ham, cheese, and a sprinkle of herbs. The French pancake is incredibly versatile, making breakfast, lunch, or dinner noteworthy.
Today, let’s talk about a truly special recipe that you’ll want to bookmark: French pancakes, or crêpes. Growing up, Sunday mornings were dedicated to crêpe-making. I fondly remember the aroma filling the kitchen, the joyful chatter, and the laughter as we flipped (and sometimes dropped) those delicate pancakes. It’s not just a recipe; it’s an experience.
In this blog post, we’re diving deep into the joy of cooking French pancakes. What makes them unique? What ingredients will you need? How do you make them step by step? Plus, I’ll share some tips, nutritional info, storage options, and even substitutes to get the perfect pancake every single time. So, get ready, let’s whip up some French pancakes!
What Is the Joy of Cooking French Pancake?
What’s so joyful about cooking French pancakes? A lot, actually! French pancakes are not your ordinary flapjacks. They’re elegant, versatile, and bring a touch of European flair to your table. The thin, buttery layers can hold a variety of fillings—both sweet and savory—making them perfect for any occasion.
What Makes This Recipe Different from Other Joy of Cooking French Pancake Recipes?
Firstly, it’s all about the texture. While many recipes might result in thicker, more American-style pancakes, this one ensures your crêpes are as thin as parchment paper. Second, we add a surprise ingredient: double-acting baking powder. This creates a subtle fluffiness that makes each bite heavenly. And the almond extract gives a delicate nutty undertone that compliments both sweet and savory fillings.
How Does It Taste?
Imagine biting into a French pancake that is thin yet tender. The slight crunch on the edges leads you to a soft, almost melt-in-your-mouth center. Whether you go with a sweet or savory filling, the pancake remains the star, providing just the right canvas for various flavors. It’s a subtly sweet, buttery goodness with a hint of nuttiness from the almond extract.
Ingredients You’ll Need to Make This Dish
Here’s everything you’ll need:
2 large eggs
2/3 cup low-fat milk (1%)
1/3 cup water
1/2 teaspoon sea salt
1 teaspoon double-acting baking powder
3/4 cup all-purpose flour
2 tablespoons confectioners’ sugar
1/4 teaspoon ground cinnamon
1/4 teaspoon almond extract
1/2 teaspoon vanilla extract or finely grated lemon zest
Step-by-Step Instructions
Step 1: Prepare Your Ingredients
Start by cracking the eggs into a large mixing bowl. Whisk them until they’re well beaten.
Step 2: Mix the Wet Ingredients
Add the milk, water, almond extract, and vanilla extract to the eggs. Whisk until the mixture is smooth. This step is crucial for ensuring your crêpes don’t have any lumps.
Step 3: Sift the Dry Ingredients
In another bowl, sift together the flour, confectioners’ sugar, baking powder, salt, and cinnamon. Sifting helps to eliminate any clumps and makes your batter smoother.
Step 4: Combine Wet and Dry Ingredients
Slowly add the dry ingredients to the wet mixture. Whisk continuously to avoid lumps. Your batter should be smooth and slightly runny.
Step 5: Let the Batter Rest
Cover the bowl with film and let it sit at room temperature for at least 30 minutes. This resting period allows the flour to absorb the liquids, resulting in a better texture.
Step 6: Cook the Pancakes
Heat a non-stick skillet over medium-high heat and lightly grease it with butter. Pour about 1/4 cup of batter into the skillet. Swirl it around to coat the bottom evenly. Cook for 1-2 minutes until the edges start to lift, then flip and cook for an additional 30 seconds. Repeat with the remaining batter.
Tips & Tricks on Making French Pancakes
Resting the Batter: Letting the batter rest enhances texture. If you’re impatient, 30 minutes is the minimum.
Consistent Heat: Maintain a medium-high heat to get those perfect golden edges.
Butter: A tiny bit of butter before each pancake keeps them from sticking and adds flavor.
Thin Batter: Aim for a slightly runny batter. If it’s too thick, add a tablespoon of water at a time until you reach the desired consistency.
Swirling Technique: Pour the batter into the center and immediately tilt the pan in a circular motion to spread it out thinly.
Nutrition Information
How Do I Store This Dish?
French pancakes can be stored in several ways:
Refrigerator: Place them in an airtight container with parchment paper between each pancake. They’ll keep for up to 3 days.
Freezer: For longer storage, layer parchment between each pancake and place them in a freezer bag. They can last up to 2 months. To reheat, thaw them in the fridge before microwaving for 20-30 seconds.
What Other Substitutes Can You Use in French Pancake Recipe?
Dairy-Free Milk: Almond or oat milk works well if you are lactose intolerant.
Gluten-Free Flour: Substitute with a gluten-free blend to make it celiac-friendly.
Sugar Substitute: Use stevia or monk fruit sweetener for a lower-calorie option.
Coconut Oil: Swap out butter for coconut oil if you prefer.
Orange Zest: Replace lemon zest with orange zest for a citrus twist.
Joy of cooking french pancake recipe
Joe Williams
Today, let’s talk about a truly special recipe that you’ll want to bookmark: French pancakes, or crêpes. Growing up, Sunday mornings were dedicated to crêpe-making.
1/2teaspoonvanilla extract or 1/2 teaspoon finely grated lemon zest
Instructions
Step 1: Prepare Your Ingredients
Start by cracking the eggs into a large mixing bowl. Whisk them until they’re well beaten.
Step 2: Mix the Wet Ingredients
Add the milk, water, almond extract, and vanilla extract to the eggs. Whisk until the mixture is smooth. This step is crucial for ensuring your crêpes don’t have any lumps.
Step 3: Sift the Dry Ingredients
In another bowl, sift together the flour, confectioners’ sugar, baking powder, salt, and cinnamon. Sifting helps to eliminate any clumps and makes your batter smoother.
Step 4: Combine Wet and Dry Ingredients
Slowly add the dry ingredients to the wet mixture. Whisk continuously to avoid lumps. Your batter should be smooth and slightly runny.
Step 5: Let the Batter Rest
Cover the bowl with film and let it sit at room temperature for at least 30 minutes. This resting period allows the flour to absorb the liquids, resulting in a better texture.
Step 6: Cook the Pancakes
Heat a non-stick skillet over medium-high heat and lightly grease it with butter. Pour about 1/4 cup of batter into the skillet. Swirl it around to coat the bottom evenly. Cook for 1-2 minutes until the edges start to lift, then flip and cook for an additional 30 seconds. Repeat with the remaining batter.
Notes
Resting the Batter: Letting the batter rest enhances texture. If you’re impatient, 30 minutes is the minimum.
Consistent Heat: Maintain a medium-high heat to get those perfect golden edges.
Butter: A tiny bit of butter before each pancake keeps them from sticking and adds flavor.
Thin Batter: Aim for a slightly runny batter. If it’s too thick, add a tablespoon of water at a time until you reach the desired consistency.
Swirling Technique: Pour the batter into the center and immediately tilt the pan in a circular motion to spread it out thinly.
Absolutely! The batter can be made a day in advance and stored in the fridge. Just give it a good whisk before using it.
2. Do I Need a Special Pan for French Pancakes?
While a non-stick skillet works, a crêpe pan is ideal for achieving evenly thin pancakes.
3. Can I Fill the Pancakes with Fruits?
Yes, fruits like berries, bananas, and peaches make excellent fillings. The natural sweetness pairs beautifully with the slightly nutty flavor of the pancakes.
4. How Can I Make the Pancakes Sweeter?
If you prefer sweeter pancakes, add an extra tablespoon of confectioners’ sugar to the batter or sprinkle powdered sugar over the finished pancakes.
5. What Can I Serve with Savory Pancakes?
Pair savory pancakes with a light salad, smoked salmon, or even a poached egg for a full meal.
Conclusion
And there you have it, the joy of cooking French pancakes in all its delight! Whether you’re cooking for a special breakfast, a brunch gathering, or just because you love cooking, this recipe brings joy to your table like no other. Dive into the flavors, relish the texture, and make every bite a memorable experience. Happy cooking, and bon appétit!
I can’t start without painting a perfect picture for you. Imagine a hot summer day; the sun is blazing, and you’re lounging in your backyard or on your porch. You take a sip of a refreshing homemade concoction that not only cools you down but …
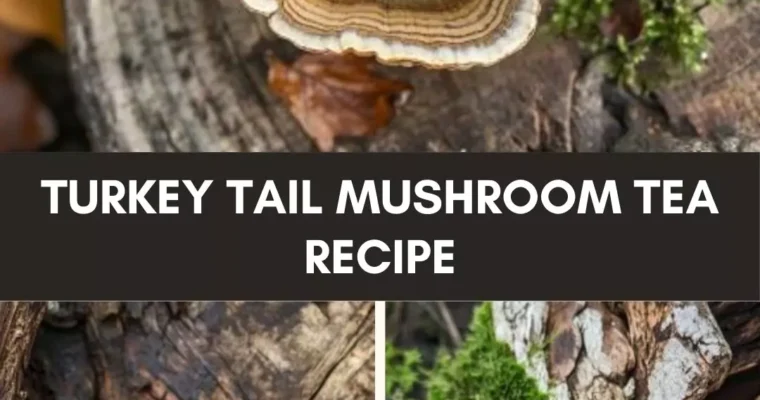
Everybody gather around because today we’re diving into the nutty, woodsy world of turkey tail mushroom tea. Ever found yourself intrigued by the culinary magic of mushrooms? If so, you’re in for a treat. I’ll walk you through a delightful turkey tail mushroom tea recipe. …
Before we dive into the pot roast magic, let’s talk sides. Imagine a mouthwatering garlic mashed potato, fresh green beans almondine, a warm, crusty bread, and a bright, zesty coleslaw. These can transform the humble pot roast into a feast fit for royalty.
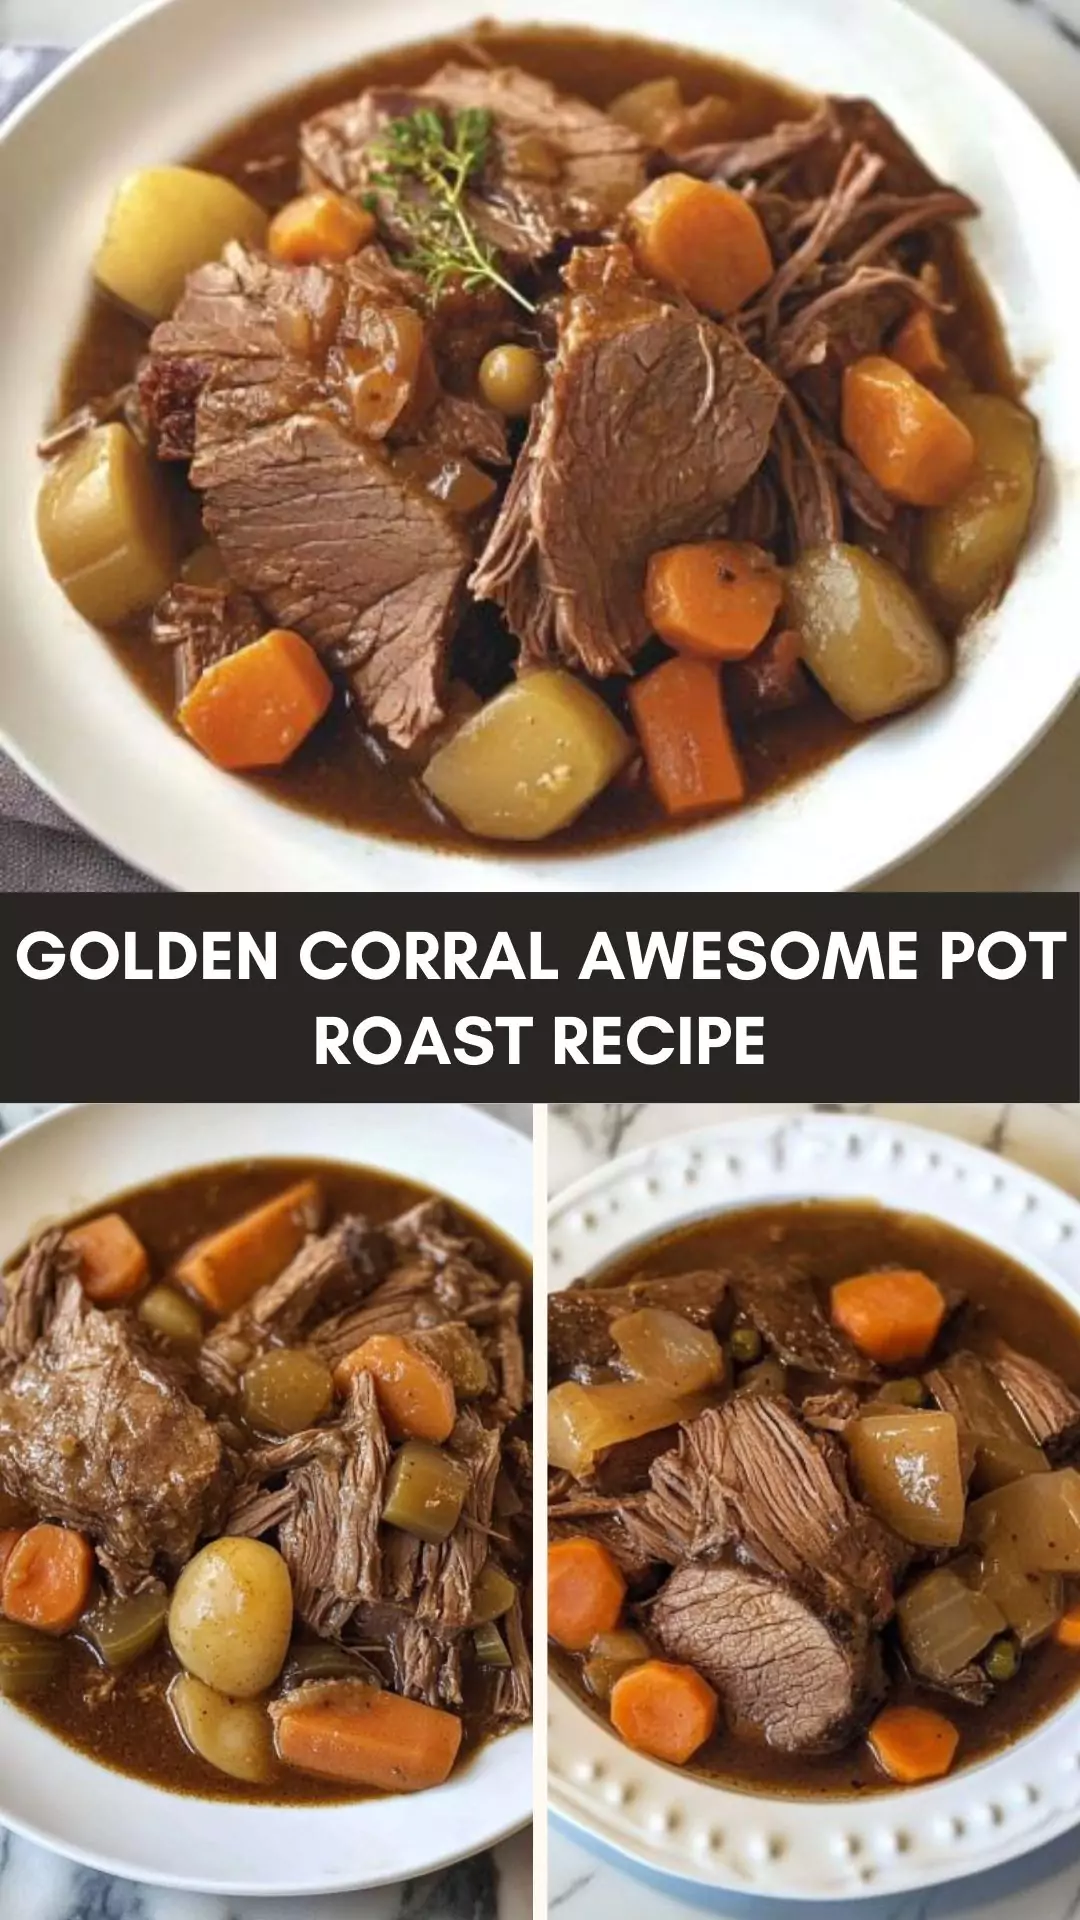
Ever wondered how to recreate that amazing pot roast from Golden Corral right at home? Well, buckle up, because I’m about to take you on a culinary journey that will make your kitchen smell like a five-star restaurant. We’re diving headfirst into the Golden Corral Awesome Pot Roast Recipe, and trust me, it’s worth every bite.
So, why this recipe? It’s comforting, flavorful, and surprisingly simple. Every home cook can master it. No need to be a gourmet chef to make this dish shine. Let’s get into all the delicious details.
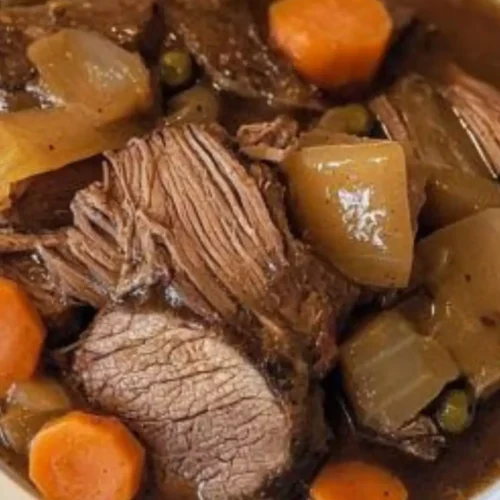
Golden Corral’s Awesome Pot Roast is a flavorful, tender cut of beef slow-cooked to perfection. It’s paired with hearty vegetables and a rich, savory gravy. The dish embodies the essence of comfort food — a warm hug on a plate. Every bite melts in your mouth, leaving a delightful taste that lingers long after the meal ends.
Why This Recipe Works
Unmatched Flavor: The combination of beef broth, Worcestershire sauce, and gravy mix creates a deeply savory and rich flavor base.
Tender Cook: The slow-cooking process ensures the meat falls apart effortlessly.
Vegetable Medley: Adding hearty vegetables like carrots, potatoes, and celery not only enhances the dish but also makes it a complete meal.
Simple Ingredients: You’ll use common kitchen staples, making this dish both convenient and budget-friendly.
Ingredients You’ll Need
1 chuck roast (3-4 pounds, I used 3 pounds)
4 tablespoons of unsalted butter
1 cup beef broth
1 tablespoon Worcestershire sauce
10 small red potatoes, cut in half
4 large carrots, cut into rounds
2 stalks of celery, chopped
1 white onion, thinly sliced
2 packets of brown gravy mix (approximately 0.87 ounces each)
½ teaspoon dried rosemary
2 teaspoons garlic powder
1 teaspoon dried thyme
Salt and black pepper, to taste
How To Make This?
Step 1: Preparing the Ingredients
Begin with the chuck roast. Trim any excess fat but leave some on for flavor. Season generously with salt and pepper on all sides.
Step 2: Searing the Meat
Melt the butter in a large skillet over medium-high heat. Add the roast and sear on all sides until it develops a rich brown crust. This step locks in those crucial flavors.
Step 3: Creating the Base
Transfer the roast to your slow cooker. Pour the beef broth into the skillet, scraping up any browned bits from the bottom. Add Worcestershire sauce, stirring to combine. Pour this mixture over the roast in the slow cooker.
Step 4: Adding the Vegetables
Layer the potatoes, carrots, celery, and onions around the meat. Sprinkle in the rosemary, garlic powder, and thyme. Top with the gravy mix for that savory touch.
Step 5: Cooking
Cover and cook on low for 7-8 hours or until the meat is tender and falling apart. Alternatively, you can cook on high for 4-5 hours, but the low setting yields better results.
Step 6: Thickening the Gravy
Once cooked, remove the meat and vegetables. Pour the liquid into a saucepan. Simmer over medium heat, reduce slightly if necessary, until it reaches your desired consistency. Season with additional salt and pepper if needed.
Step 7: Serving
Place the meat on a platter surrounded by the vegetables. Drizzle with the thickened gravy and serve immediately.
Tips
Choosing the Roast: Opt for a well-marbled chuck roast for the best flavor and tenderness.
Brown First: Don’t skip searing the meat; it adds depth and richness.
Layer Properly: Put vegetables around the meat, not on top, to ensure even cooking.
Gravy Mix Substitute: If you prefer homemade, whisk 2 tablespoons of flour with 1 cup of beef broth until smooth and use it instead of the gravy mix.
Low and Slow: Patience is key. Cooking on low keeps the meat juicy and tender.
Nutrition Information
How to Store the Leftovers?
Refrigerate any leftovers in an airtight container for up to four days. You can freeze leftover pot roast for up to three months. Thaw in the refrigerator overnight before reheating.
Recommended Side Dishes
Garlic Mashed Potatoes: Whip up some creamy garlic mashed potatoes to soak up that delicious gravy.
Green Beans Almondine: Lightly sautéed green beans with almonds add a fresh and crunchy counterbalance.
Crusty Bread: A warm baguette or ciabatta is perfect for mopping up the gravy.
Zesty Coleslaw: A refreshing coleslaw cuts through the richness and adds a nice tang.
Substitute Options for Ingredients
Butter: If you’re out of unsalted butter, use margarine or a mild-flavored oil like vegetable oil.
Beef Broth: Chicken or vegetable broth can substitute in a pinch without compromising flavor too much.
Red Potatoes: Yukon Gold or even Russet potatoes will work.
Gravy Mix: Make your gravy with 2 tablespoons of flour and 1 cup of beef broth whisked together until smooth.
Golden corral awesome pot roast recipe
Joe Williams
Ever wondered how to recreate that amazing pot roast from Golden Corral right at home? Well, buckle up, because I’m about to take you on a culinary journey that will make your kitchen smell like a five-star restaurant.
2packets of brown gravy mixapproximately 0.87 ounce each
½teaspoondried rosemary
2teaspoonsgarlic powder
1teaspoondried thyme
Salt and black pepperto taste
Instructions
Step 1: Preparing the Ingredients
Begin with the chuck roast. Trim any excess fat but leave some on for flavor. Season generously with salt and pepper on all sides.
Step 2: Searing the Meat
Melt the butter in a large skillet over medium-high heat. Add the roast and sear on all sides until it develops a rich brown crust. This step locks in those crucial flavors.
Step 3: Creating the Base
Transfer the roast to your slow cooker. Pour the beef broth into the skillet, scraping up any browned bits from the bottom. Add Worcestershire sauce, stirring to combine. Pour this mixture over the roast in the slow cooker.
Step 4: Adding the Vegetables
Layer the potatoes, carrots, celery, and onions around the meat. Sprinkle in the rosemary, garlic powder, and thyme. Top with the gravy mix for that savory touch.
Step 5: Cooking
Cover and cook on low for 7-8 hours or until the meat is tender and falling apart. Alternatively, you can cook on high for 4-5 hours, but the low setting yields better results.
Step 6: Thickening the Gravy
Once cooked, remove the meat and vegetables. Pour the liquid into a saucepan. Simmer over medium heat, reduce slightly if necessary, until it reaches your desired consistency. Season with additional salt and pepper if needed.
Step 7: Serving
Place the meat on a platter surrounded by the vegetables. Drizzle with the thickened gravy and serve immediately.
Notes
Choosing the Roast: Opt for a well-marbled chuck roast for the best flavor and tenderness.
Brown First: Don’t skip searing the meat; it adds depth and richness.
Layer Properly: Put vegetables around the meat, not on top, to ensure even cooking.
Gravy Mix Substitute: If you prefer homemade, whisk 2 tablespoons of flour with 1 cup of beef broth until smooth and use it instead of the gravy mix.
Low and Slow: Patience is key. Cooking on low keeps the meat juicy and tender.
1. Can I make this in the oven instead of a slow cooker?
Absolutely! Preheat your oven to 275°F. Follow steps 1-4, then bake in a covered Dutch oven for about 3-4 hours, or until the meat is tender.
2. What cut of meat can I use if I can’t find a chuck roast?
A brisket or round roast can serve as good alternatives. Just make sure to cook them long enough to become tender.
3. Can I add red wine to this recipe?
Sure thing. Substitute ½ cup of beef broth with red wine for an added depth of flavor.
4. Is this recipe gluten-free?
Not with the standard gravy mix. However, you can use a gluten-free gravy mix or make your own gluten-free gravy.
5. What can I do with leftovers that aren’t just reheating them?
Leftovers make amazing pot roast sandwiches! Pile the meat and veggies onto a crusty roll and add a slice of provolone for a hot, delicious meal.
Conclusion
Golden Corral’s Awesome Pot Roast is a delightful, comforting dish perfect for any family dinner. From its simple ingredients to its universal appeal, this recipe is a must-try. Nothing says comfort like a slow-cooked, savory pot roast loaded with hearty vegetables. I hope this guide has inspired you to recreate this beloved dish in your own kitchen. Enjoy, and don’t forget to share your pot roast adventures with us!
Before diving into how to make apple pie moonshine from scratch, let’s talk about some delightful pairings. This drink pairs wonderfully with a variety of snacks and desserts. Imagine sipping this with a slice of classic cheesecake, or perhaps some warm, gooey chocolate chip cookies. …