✦ Asian & World Recipes
Chase the Flavors
Chase the Flavors
That Move You.
From authentic Asian kitchens to bold Mexican street food — Joe Williams brings you recipes that are worth cooking twice.

🍜 200+ World Recipes
Latest Recipes
Fresh flavors added every week
Breakfast
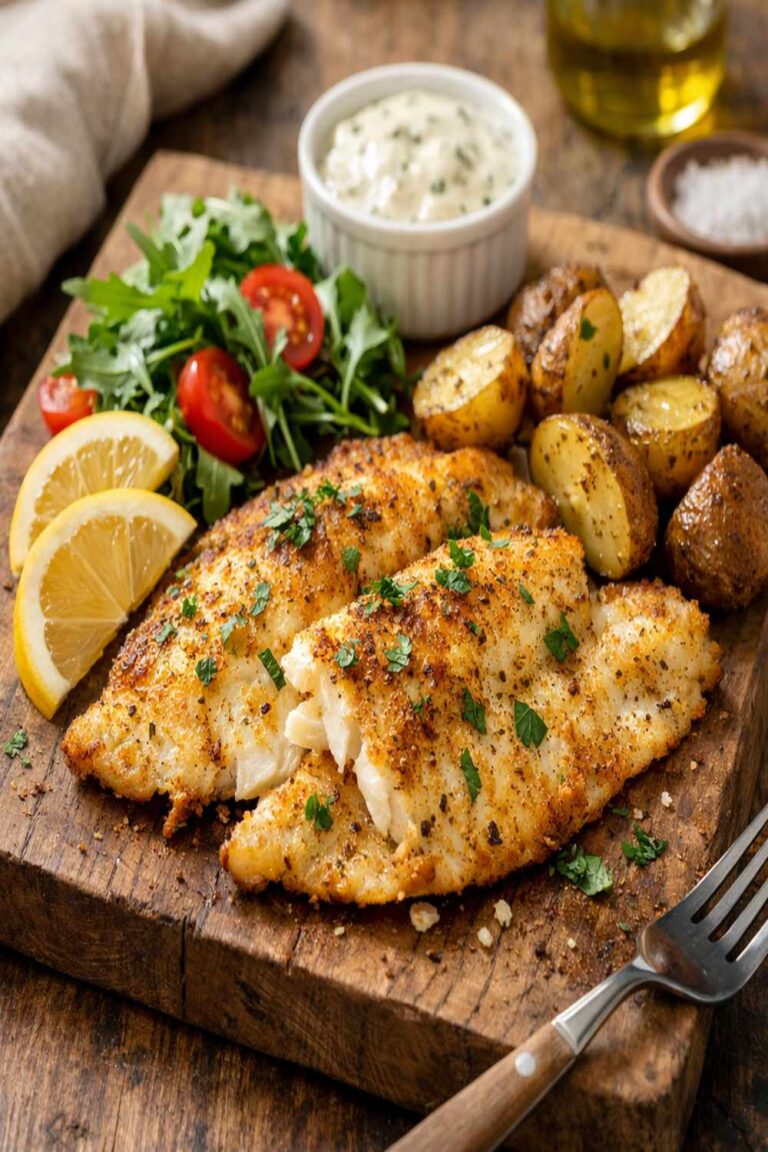
Air Fryer Flounder Recipe
Breakfast
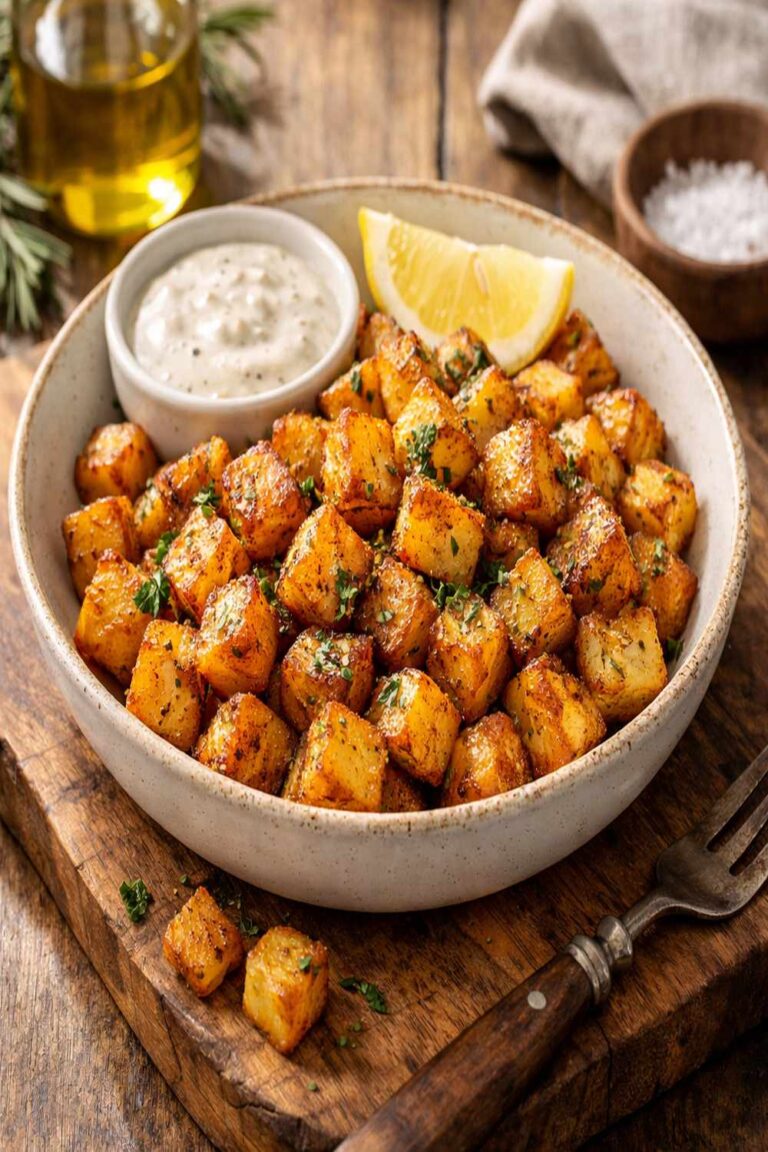
Air Fryer Diced Potatoes Recipe
Breakfast
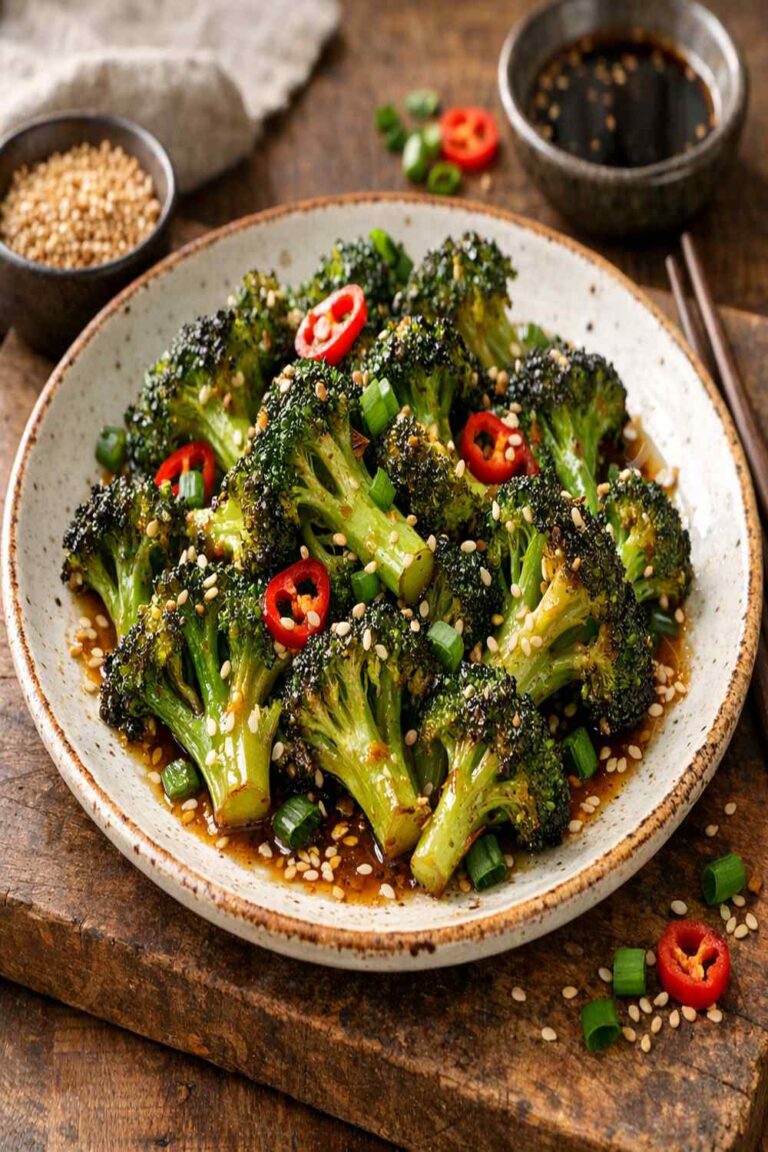
Air Fryer Asian Broccoli Recipe

Breakfast
Air Fry Waffles Recipe
Breakfast
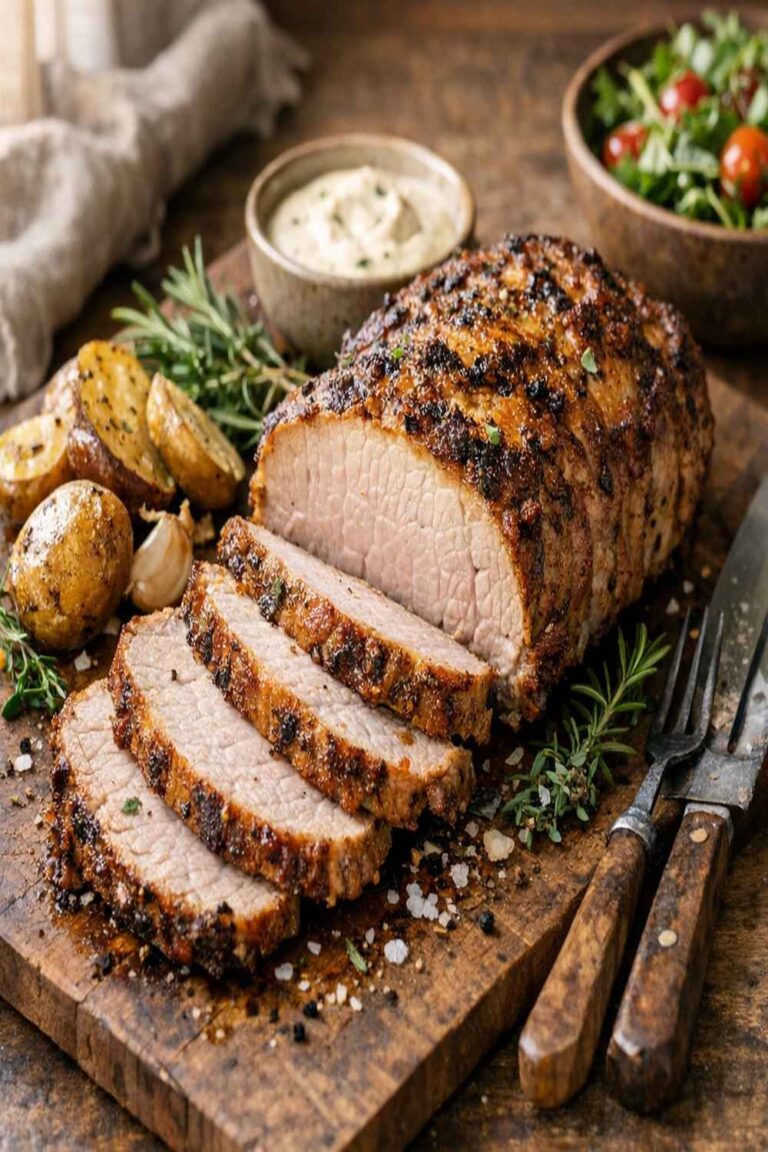
Air Fry Pork Loin Recipe
Dinner
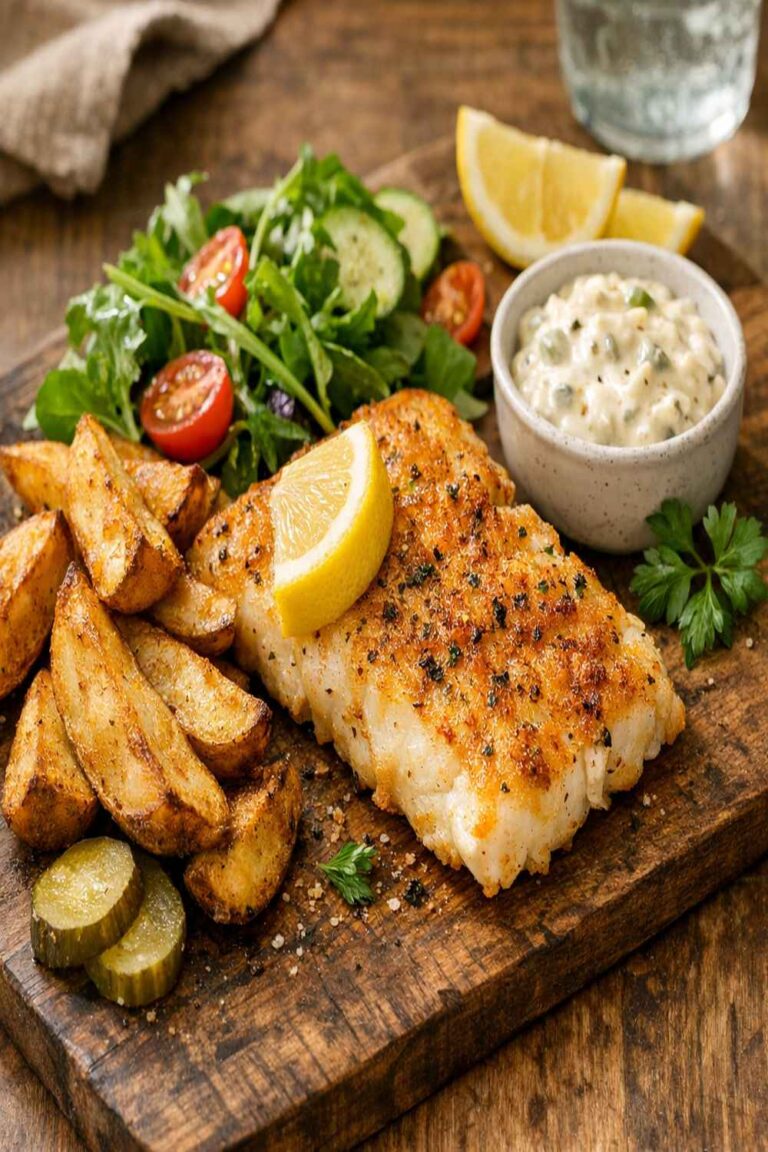
Air Fry Haddock Recipe
Dinner
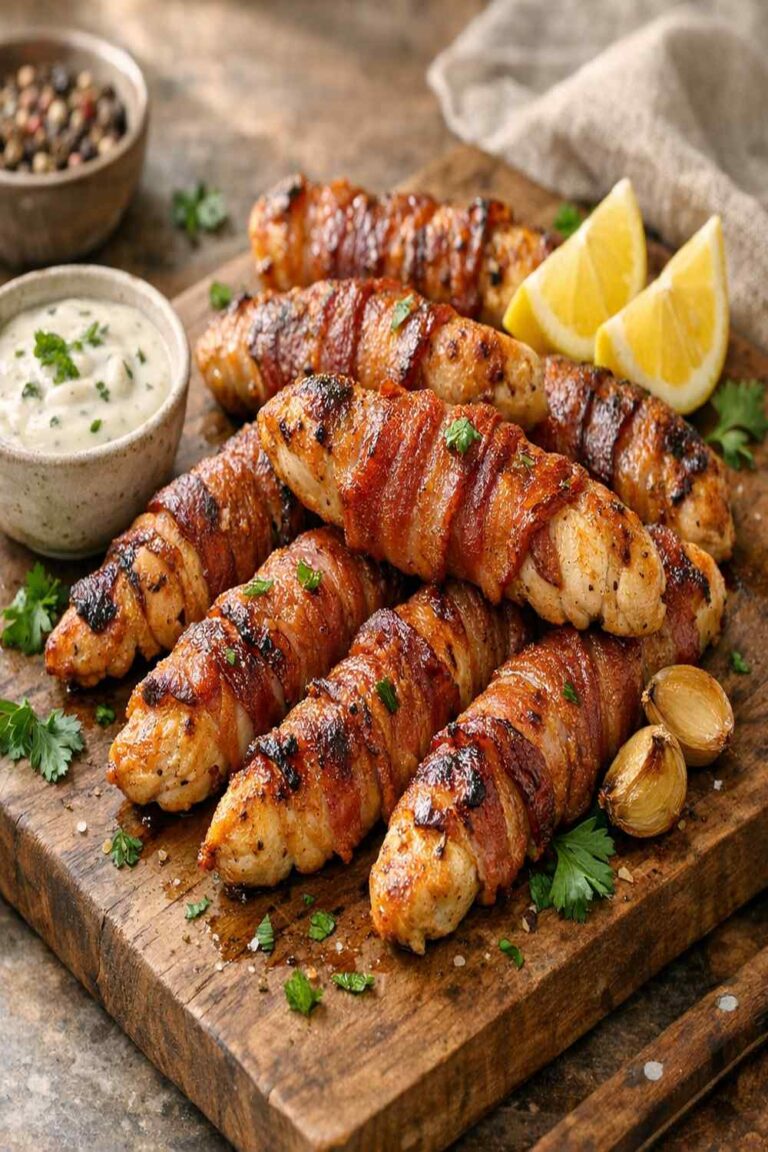
Air Fry Bacon Wrapped Chicken Tenders Recipe

Dinner
5 Spice Chicken Thighs Recipe

⭐ Featured Recipe
Air Fryer Diced Potatoes Recipe
Learn how to make Air Fryer Diced Potatoes Recipe
Read Recipe →
Get Recipes in Your Inbox
New recipes every week. No spam, ever.