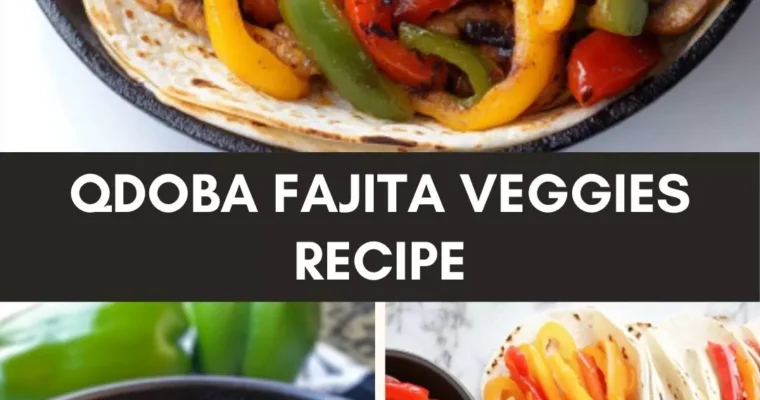
When you’re about to dive into a colorful plate of Qdoba’s fajita veggies, think about the companions that can elevate your meal. Here are a few ideas to keep in mind: Soft Flour Tortillas are a classic choice. They hold your fajita veggies like a …
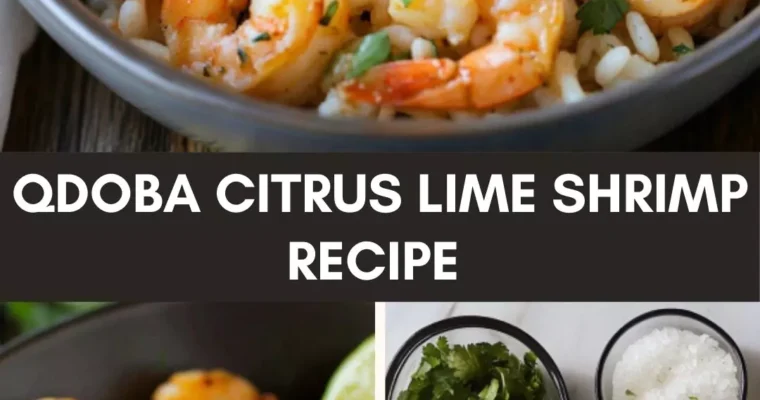
When I think of quick, delightful meals, QDOBA’s citrus lime shrimp brings a certain zing to mind. In the hustle and bustle of daily life, it’s essential to whip up something light and refreshing, especially when the weather warms up. And you know what? This …
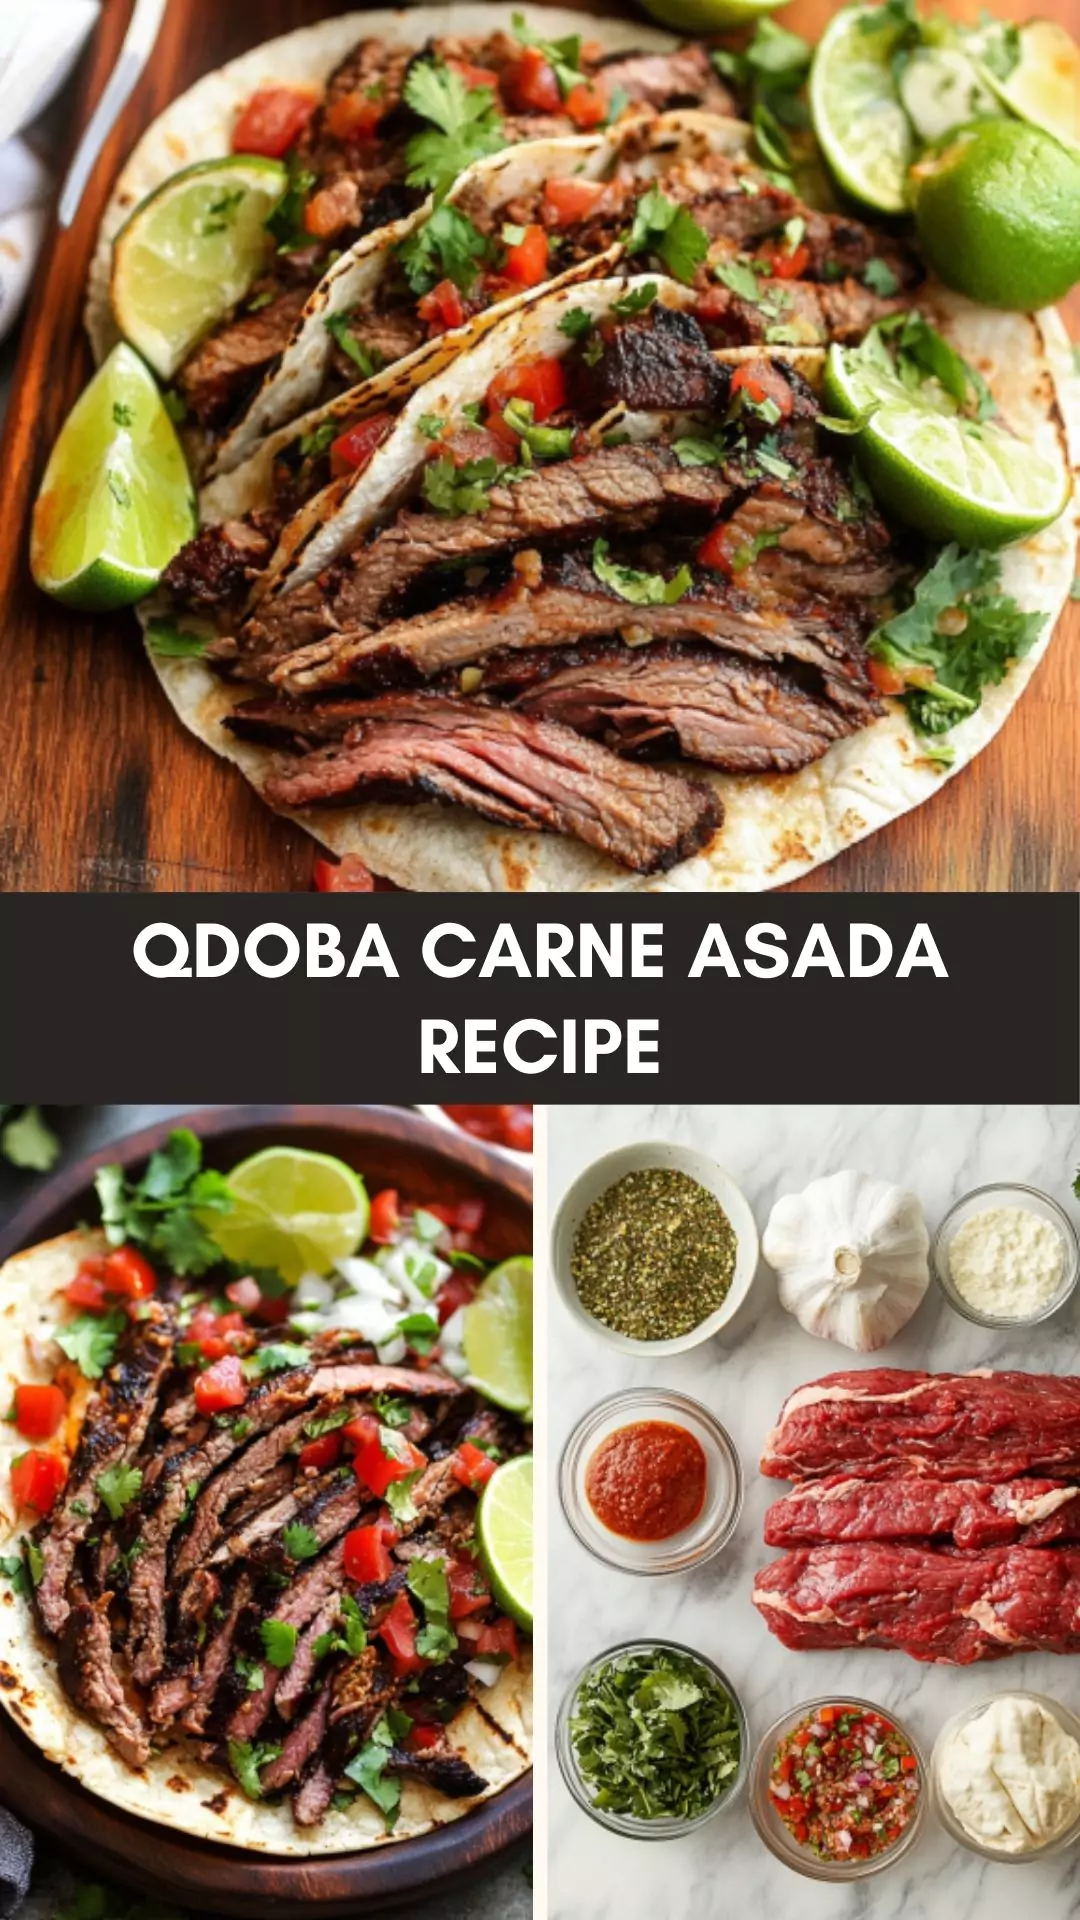
When it comes to pairing with Qdoba carne asada, the right sides can elevate the meal to an unforgettable experience. Soft, warm tortillas, whether flour or corn, are perfect for wrapping up the carne asada, soaking up its flavorful juices.
The creamy richness of fresh guacamole provides a cool contrast to the boldness of the meat, while zesty salsa—such as pico de gallo or spicy salsa verde—adds a bright, tangy kick. Rice and beans are a classic side that not only offer heartiness but also complement the flavors of the steak.
For a healthy, smoky touch, grilled vegetables like charred peppers, onions, and zucchini bring a delightful crunch to the plate. Together, these sides make for a well-rounded, satisfying meal that beautifully complements the bold flavors of carne asada.
I still remember the first time I tried Qdoba carne asada. It jumped off the menu at me, and with one bite, I was hooked. The bold flavors and tender texture were unlike anything I’d tasted before.
My curiosity peaked; I wanted to recreate that experience at home.
So, here I am, sharing my journey as I explore the distinctive characteristics of Qdoba carne asada. This endeavor isn’t just about a recipe—it’s about transforming simple ingredients into a dish that delights everyone at the table. Prepare to embark on this flavorful ride with me!
At its core, Qdoba carne asada is marinated, grilled steak, typically made from flank or skirt steak. It boasts a rich flavor, thanks to the marinade that combines elements like lime juice, garlic, chili, and a hint of sweetness from honey.
This isn’t just any dish; it’s an embodiment of warm, inviting Mexican cuisine that warms the heart.
Qdoba has popularized its version across the United States, making it widely accessible. However, recreating it in your kitchen allows you to make it your own! With just a few ingredients and some grilling magic, you’ll have a meal that shines on any dinner table.
How Does It Taste?
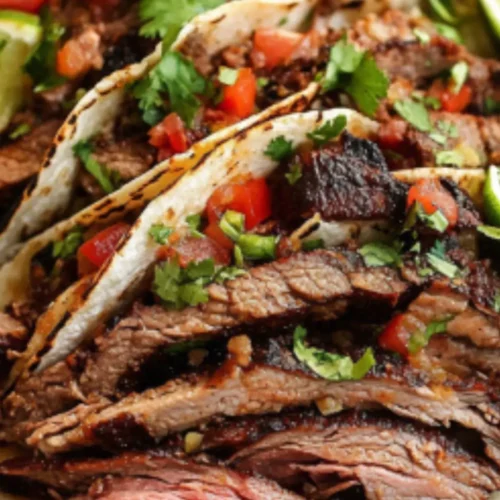
Imagine biting into a slice of beautifully grilled carne asada. As it hits your palate, the smoky flavor hits first, followed by a burst of tanginess from the citrus marinade.
The subtle sweetness lingers, all while garlicky hints dance around. It’s a complex flavor profile that keeps you coming back for more.
The texture is just as important, too. Each bite is tender yet slightly chewy, offering satisfying resistance. The vibrant flavors combined with this texture make for a culinary experience worth remembering.
Why You’ll Love This!
You’ll fall head over heels for Qdoba carne asada for several reasons. One, it’s incredibly versatile. Use it in tacos, burritos, salads, or serve it straight with your favorite sides. Two, it can easily be adjusted to suit dietary preferences or ingredient availability.
With a little planning, you can enjoy a flavorful dinner in no time. Plus, since it’s a crowd-pleaser, it’s perfect for gatherings. Friends and family will think you’re a kitchen wizard when they take their first bite!
Ingredients
Before you fire up the grill, make sure you gather the following goodies:
2 pounds flank steak or skirt steak, trimmed of excess fat
⅓ cup extra virgin olive oil, plus extra for grilling
¼ cup tamari or low-sodium soy sauce
¼ cup freshly squeezed orange juice
2 tablespoons lime juice
1 tablespoon fresh orange zest
1 tablespoon honey
2 teaspoons ground chili powder
1 teaspoon ground cumin
1 teaspoon dried Mexican oregano
1 teaspoon smoked ancho chili powder
4 garlic cloves, finely minced
1 small jalapeño, seeds removed and finely chopped
½ cup freshly chopped cilantro
2 tablespoons white wine vinegar
1 teaspoon kosher salt, plus more for grilling
¼ teaspoon freshly ground black pepper, plus more for grilling
Step-by-Step Directions
Let’s break this down into manageable steps so you can achieve perfection!
Step 1: Prepare the Marinade
To kick things off, grab a mixing bowl and combine the olive oil, tamari, orange juice, lime juice, orange zest, honey, and spices. That’s right: chili powder, cumin, oregano, smoked ancho chili powder, minced garlic, and jalapeño. Whisk it all together until it forms a delicious mixture.
Step 2: Marinate the Steak
Take your flank or skirt steak and place it in a large resealable bag. Pour the marinade over the steak, ensuring it’s completely covered. Squeeze out as much air as possible and seal the bag. Toss it in the fridge and let it marinate for at least 2 hours, but for a fuller flavor, let it sit overnight.
Step 3: Preheat Your Grill
When you’re ready to cook, fire up your grill. Aim for medium-high heat. While your grill heats up, remove the steak from the marinade, letting any excess drip off.
Step 4: Grill the Steak
Place the steak on the grill, season it with kosher salt and black pepper. Cook for about 5-7 minutes on each side for medium-rare. The key is not to overcook it!
Step 5: Rest and Slice
Once grilled to your liking, remove the steak from the grill and let it rest for about 10 minutes. This step allows the juices to redistribute. After resting, slice it against the grain into thin strips.
Step 6: Serve and Enjoy
Now for the fun part! Serve your carne asada hot with your choice of sides. Be sure to have your tortillas, guacamole, and salsa at the ready!
Tips On Making Qdoba Carne Asada
Here are some insider tips to elevate your carne asada game:
Choose the Right Cut: Flank and skirt steak are fabulous, but don’t hesitate to try sirloin for richness.
Slice Against the Grain: This ensures each bite is tender. A sharp knife is your best friend here!
Don’t Rush the Marinade: Aim for a longer marinating time. Overnight is ideal for flavor penetration.
Use a Meat Thermometer: If you’re unsure about doneness, a quick peek can guide you. Aim for 130°F for medium-rare.
Experiment with Marinades: Feel free to adjust ingredients to suit your taste. Try adding chipotle for extra heat or citrus for brightness!
How Do You Store This Qdoba Carne Asada?
After enjoying your carne asada, you might find yourself with leftovers. No worries! To keep it fresh:
Refrigerate: Store in an airtight container for up to 4 days.
Freeze: For longer storage, wrap the sliced steak in foil, then place it in an airtight container or freezer bag for up to 3 months.
Reheat: Microwave in short bursts or use a skillet over low heat, adding a splash of water to maintain moisture.
What Other Substitutes Can You Use in Qdoba Carne Asada?
Feeling adventurous? Here are some substitutes you can use:
Pork: Carnitas made from pork shoulder can bring a totally different but equally delicious flavor profile.
Chicken: Swap steak for marinated chicken breast for a lighter option. Just adjust the marinade time.
Vegetarian option: Try grilled portobello mushrooms marinated the same way. They soak up flavors and are meaty in texture.
Tofu: Use firm tofu as a protein source and marinate before grilling. This is perfect for vegan diets.
Seitan: For a hearty plant-based option, consider seitan. It mimics meat well and works wonderfully in this marinade.
Qdoba Carne Asada Recipe
Joe Williams
I still remember the first time I tried Qdoba carne asada. It jumped off the menu at me, and with one bite, I was hooked.
2poundsflank steak or skirt steaktrimmed of excess fat
⅓cupextra virgin olive oilplus extra for grilling
¼cuptamari or low-sodium soy sauce
¼cupfreshly squeezed orange juice
2tablespoonslime juice
1tablespoonfresh orange zest
1tablespoonhoney
2teaspoonsground chili powder
1teaspoonground cumin
1teaspoondried Mexican oregano
1teaspoonsmoked ancho chili powder
4garlic clovesfinely minced
1small jalapeñoseeds removed and finely chopped
½cupfreshly chopped cilantro
2tablespoonswhite wine vinegar
1teaspoonkosher saltplus more for grilling
¼teaspoonfreshly ground black pepperplus more for grilling
Instructions
Let’s break this down into manageable steps so you can achieve perfection!
Step 1: Prepare the Marinade
To kick things off, grab a mixing bowl and combine the olive oil, tamari, orange juice, lime juice, orange zest, honey, and spices. That’s right: chili powder, cumin, oregano, smoked ancho chili powder, minced garlic, and jalapeño. Whisk it all together until it forms a delicious mixture.
Step 2: Marinate the Steak
Take your flank or skirt steak and place it in a large resealable bag. Pour the marinade over the steak, ensuring it’s completely covered. Squeeze out as much air as possible and seal the bag. Toss it in the fridge and let it marinate for at least 2 hours, but for a fuller flavor, let it sit overnight.
Step 3: Preheat Your Grill
When you’re ready to cook, fire up your grill. Aim for medium-high heat. While your grill heats up, remove the steak from the marinade, letting any excess drip off.
Step 4: Grill the Steak
Place the steak on the grill, season it with kosher salt and black pepper. Cook for about 5-7 minutes on each side for medium-rare. The key is not to overcook it!
Step 5: Rest and Slice
Once grilled to your liking, remove the steak from the grill and let it rest for about 10 minutes. This step allows the juices to redistribute. After resting, slice it against the grain into thin strips.
Step 6: Serve and Enjoy
Now for the fun part! Serve your carne asada hot with your choice of sides. Be sure to have your tortillas, guacamole, and salsa at the ready!
Notes
Here are some insider tips to elevate your carne asada game:
Choose the Right Cut: Flank and skirt steak are fabulous, but don’t hesitate to try sirloin for richness.
Slice Against the Grain: This ensures each bite is tender. A sharp knife is your best friend here!
Don’t Rush the Marinade: Aim for a longer marinating time. Overnight is ideal for flavor penetration.
Use a Meat Thermometer: If you’re unsure about doneness, a quick peek can guide you. Aim for 130°F for medium-rare.
Experiment with Marinades: Feel free to adjust ingredients to suit your taste. Try adding chipotle for extra heat or citrus for brightness!
Yes! Sear the steak in a skillet first to lock in flavors, then add it to your slow cooker with the marinade. Cook on low for 6-8 hours.
2. Why is my carne asada tough?
Tough steak often results from cooking too high or cutting against the grain. Remember to slice properly and monitor grill temperatures.
3. What sides go best with carne asada?
Some tasty options include street corn, chips with salsa, or a fresh salad with a lime vinaigrette.
4. Can I make this dish ahead of time?
Absolutely! You can marinate the steak ahead of time or even grill it a day early. Just store it properly and reheat when ready.
5. What should I serve with leftover carne asada?
Tacos, burrito bowls, or even a delicious carne asada salad can make excellent use of leftovers. Your imagination can run wil
6. Is carne asada healthy?
In moderation, yes! It’s a good source of protein. Pair it with healthy sides like vegetables or whole grains for a balanced meal.
Conclusion
The journey to mastering Qdoba carne asada isn’t just about following a recipe; it’s a delightful experience that brings flavors to life. By marinating with care and grilling with passion, you can recreate those vibrant street food flavors in your own kitchen.
Whether you choose to enjoy it in a taco, on its own, or over a hearty bed of rice, it never fails to impress. So fire up that grill, gather your loved ones, and enjoy the savory taste of homemade carne asada. Trust me, this is a dish you’ll want to make time and time again. Enjoy every bite!
Food has a unique way of bringing people together. I often reminisce about summer barbecues where vibrant dishes lit up the table. One dish, in particular, became a staple: my zesty Italian Pasta Salad, a crowd-pleaser that blends fusilli noodles with vibrant veggies, chickpeas, and …
Before diving into QDOBA Lime Cilantro Rice and all its culinary glory, let’s talk about how to elevate this dish. No dish is an island, and this rice works beautifully with a range of sides and main courses. Consider pairing it with grilled chicken, shrimp, …
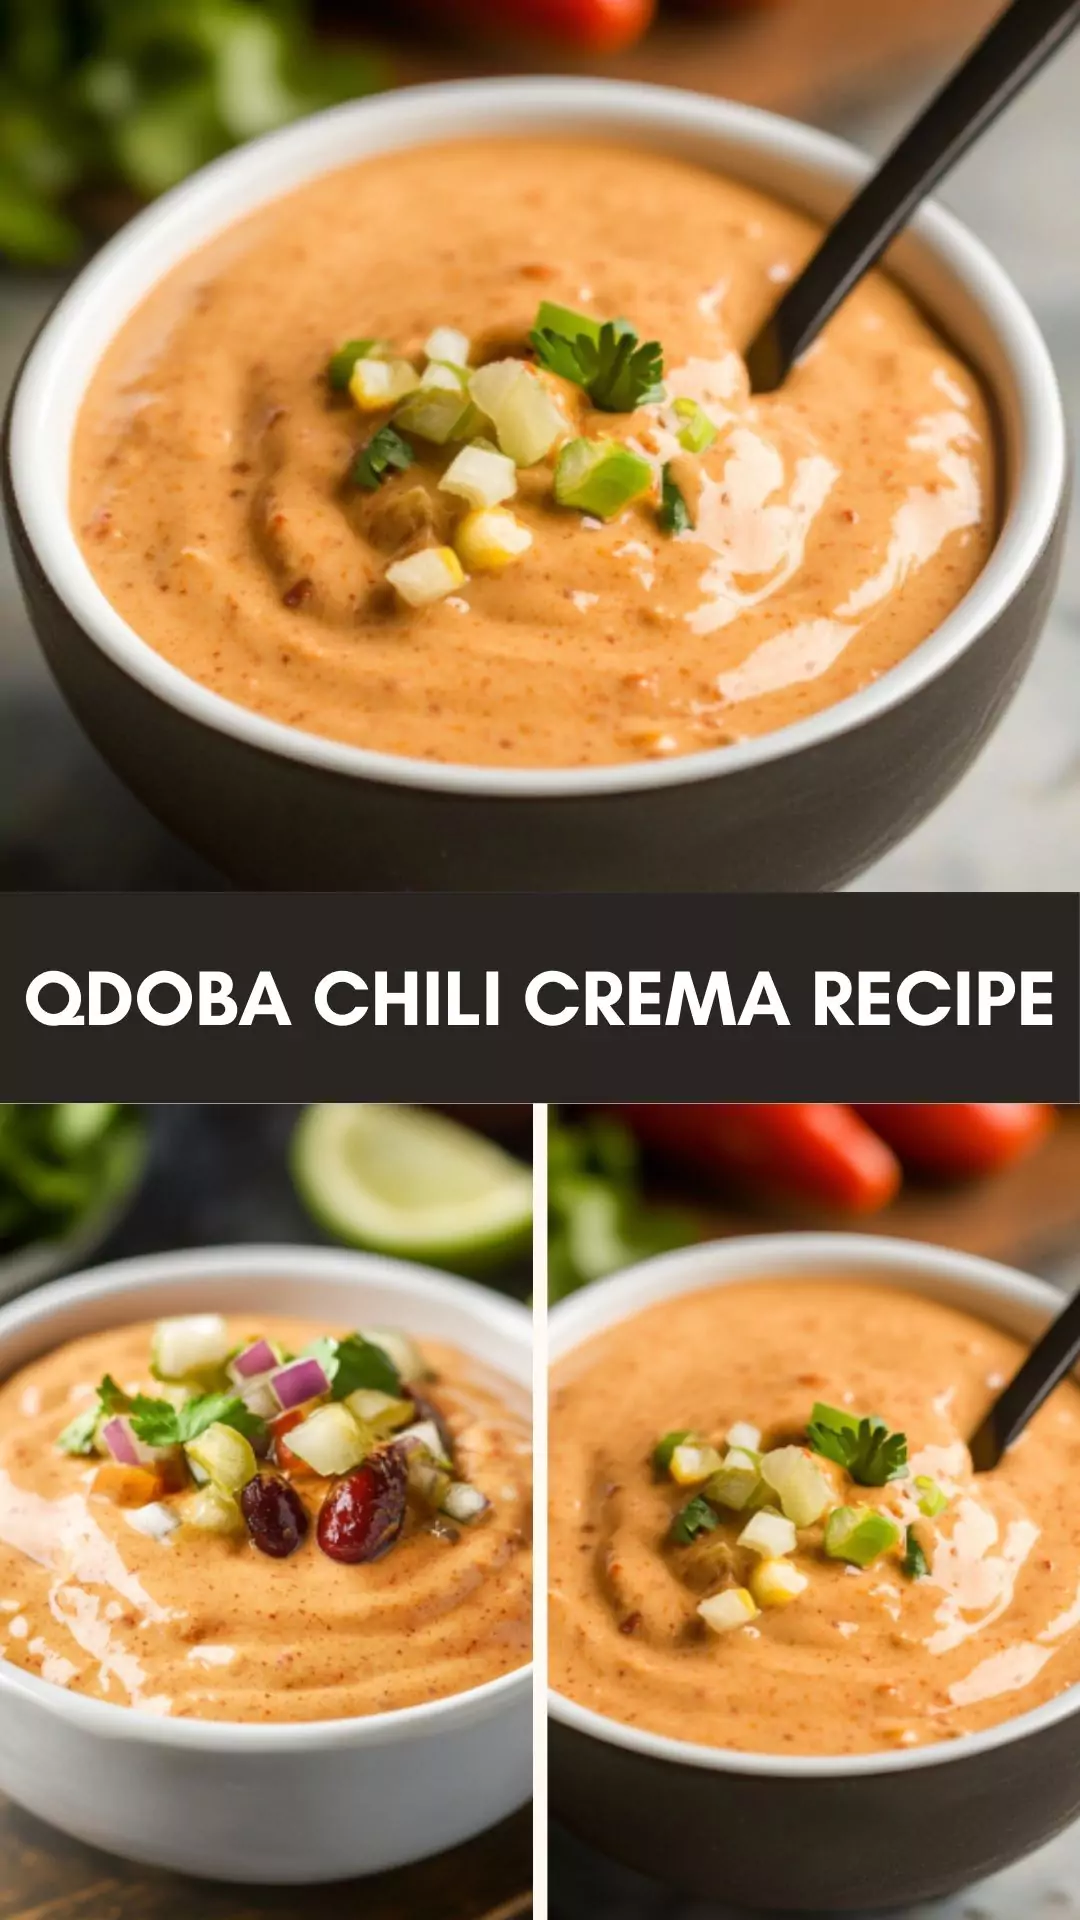
Qdoba Chili Crema is a versatile and zesty addition that can elevate a variety of dishes, making it the perfect companion for your culinary creations.
Its creamy texture and bold flavor pair beautifully with tacos, whether filled with chicken, beef, or veggies, adding a rich contrast to the spices and crunch of fresh toppings. It’s equally transformative in burrito bowls, where a generous layer enhances the flavors of beans, rice, and salsa.
For a lighter option, serve it with grilled vegetables like charred corn, zucchini, and bell peppers, letting the crema add a flavorful dip to the smoky, caramelized veggies.
Cheesy quesadillas are another ideal match, with the crema serving as a delightful dipping sauce that’s sure to please. Finally, it shines as a drizzle over a plate of nachos, complementing the melty cheese and crispy chips for a crowd-pleasing snack or appetizer.
Let me introduce you to something life-changing in the kitchen: Qdoba Chili Crema. If you’ve ever been on a quest for that perfect creamy topping that adds zing to your dishes, this is it.
As a registered dietitian and recipe writer with years of experience creating delicious and simple meals, I’ve seen how magic happens when you let ingredients shine. Qdoba Chili Crema is a slather of joy that can brighten up any meal.
Qdoba Chili Crema is more than just a condiment; it’s an essential element that can radically transform your dining experience. This creamy mixture combines crème fraîche or Greek yogurt with a splash of smokiness and spice.
It’s rich but zesty—almost like a party for your palate. This is not just any crema; it’s a kick of flavor that existing condiments struggle to match.
In terms of origin, Qdoba is a restaurant chain specializing in Mexican-inspired cuisine. Their chili crema is a signature sauce that many find irresistible. Beyond its delightful flavor, it offers the convenience of being both easy to make at home and versatile enough to complement a range of dishes.
Why You’ll Love Qdoba Chili Crema
When I first tried Qdoba Chili Crema, I knew I had stumbled upon something extraordinary. The taste is a blend of creamy and spicy that coexists beautifully. Each component works towards creating both comfort and excitement on your plate.
Flavor Profile: The fusion of smoky chipotle and sweet honey gives it depth. You may be hit with an initial sweetness, only to be met with a suave heat.
Versatility: This crema isn’t limited to one dish. It is your go-to for tacos, burrito bowls, or simply for drizzling over grilled chicken.
Health Benefits: When you use Greek yogurt as the base, you’re bringing in protein and probiotics, making this a healthier option compared to some store-bought sauces.
Easy to Make: In terms of preparation, it’s a breeze. Just mix your ingredients, and you’re good to go. Who doesn’t appreciate a quick, no-fuss recipe?
In a nutshell, you won’t just love this crema; you’ll crave it.
The Ingredients You Will Need To Make Qdoba Chili Crema
To whip up this delightful chili crema, gather the following:
2 tsp smoky chipotle paste
¼ tsp smoked paprika
3 tbsp spicy hot sauce
1 cup crème fraîche or Greek yogurt
½ tsp garlic granules
½ tsp sea salt
Juice from half a fresh lime
1 tbsp honey
Directions to Make Qdoba Chili Crema
Ready to make your chili crema? Let’s walk through the steps.
Step 1: Gather Your Ingredients
Begin by assembling all the necessary ingredients. This way, you don’t have to scramble halfway through the process.
Step 2: Mix the Base
In a mixing bowl, combine the crème fraîche or Greek yogurt with the smoky chipotle paste and smoked paprika. Stir well until you achieve a smooth and flavorful blend.
Step 3: Spice It Up
Next, add in the spicy hot sauce, garlic granules, and sea salt. Mix thoroughly, ensuring that each spice is evenly distributed.
Step 4: Add Lime and Honey
Squeeze the juice from half a lime into the mix, followed by a tablespoon of honey. Stir until everything is well amalgamated. The goal is a velvety texture with a wonderfully balanced flavor profile.
Step 5: Taste Test
Now’s the fun part—give your crema a taste! Adjust any seasonings based on your preference. Want it spicier? Add more hot sauce. Prefer a sweeter note? A touch more honey can work wonders.
Notes
Here are some helpful tips for making Qdoba Chili Crema:
Texture Matters: If the crema is thicker than you like, add a splash of water or citrus juice until your desired consistency is reached.
Level Up Your Flavor: Consider adding minced fresh herbs like cilantro for a fresh twist.
Allow to Chill: Let the crema sit in the fridge for at least 30 minutes before serving. This allows flavors to meld beautifully.
Taste Before Serving: Always taste your crema before serving. Adjust spices to your liking.
Batch Preparation: Prepare this crema in large quantities. It keeps well and can be used throughout the week.
Storage Tips
To preserve your chili crema:
Store it in an airtight container in the fridge.
It’s best used within 4-5 days for optimal flavor and freshness.
When reheating, give it a good stir to reincorporate any separated ingredients.
Nutrition Information
qdoba chili crema recipe nutrition facts
Serving Suggestions
Here are some delicious ways to use Qdoba Chili Crema:
Top Your Tacos: Add a generous drizzle over your favorite tacos for an extra layer of flavor. The crema pairs beautifully with all fillings—beef, chicken, or even roasted veggies.
Garnish Burrito Bowls: Use it as a garnish on burrito bowls packed with rice, beans, and veggies. It gives just the right creamy touch.
Dip for Chips: Serve it as a dip for tortilla chips. It transforms your snack time into a tasty experience.
Over Grilled Chicken: Spoon it over grilled chicken breasts to make dinner easy yet impressive.
Mix into Pasta Salad: Stir into a pasta salad for a unique twist. The chili crema will add a burst of flavor to the dish.
What Other Substitutes Can I Use in Qdoba Chili Crema?
If you’re in a pinch, here are some excellent substitute options:
Sour Cream: Use sour cream instead of crème fraîche or Greek yogurt. It has a similar tang and richness.
Vegan Yogurt: For a plant-based option, try vegan yogurt. It will maintain a creamy texture while being dairy-free.
Chipotle Powder: Instead of smoky chipotle paste, use chipotle powder for a different type of smokiness.
Hot Sauce Alternatives: Try Sriracha or even green hot sauce if you want to vary the spice profile.
Agave Nectar: Swap honey for agave nectar to keep the recipe vegan while maintaining sweetness.
Qdoba Chili Crema Recipe
Joe Williams
Let me introduce you to something life-changing in the kitchen: Qdoba Chili Crema. If you’ve ever been on a quest for that perfect creamy topping that adds zing to your dishes, this is it.
Ready to make your chili crema? Let’s walk through the steps.
Step 1: Gather Your Ingredients
Begin by assembling all the necessary ingredients. This way, you don’t have to scramble halfway through the process.
Step 2: Mix the Base
In a mixing bowl, combine the crème fraîche or Greek yogurt with the smoky chipotle paste and smoked paprika. Stir well until you achieve a smooth and flavorful blend.
Step 3: Spice It Up
Next, add in the spicy hot sauce, garlic granules, and sea salt. Mix thoroughly, ensuring that each spice is evenly distributed.
Step 4: Add Lime and Honey
Squeeze the juice from half a lime into the mix, followed by a tablespoon of honey. Stir until everything is well amalgamated. The goal is a velvety texture with a wonderfully balanced flavor profile.
Step 5: Taste Test
Now’s the fun part—give your crema a taste! Adjust any seasonings based on your preference. Want it spicier? Add more hot sauce. Prefer a sweeter note? A touch more honey can work wonders.
Notes
Here are some helpful tips for making Qdoba Chili Crema:
Texture Matters: If the crema is thicker than you like, add a splash of water or citrus juice until your desired consistency is reached.
Level Up Your Flavor: Consider adding minced fresh herbs like cilantro for a fresh twist.
Allow to Chill: Let the crema sit in the fridge for at least 30 minutes before serving. This allows flavors to meld beautifully.
Taste Before Serving: Always taste your crema before serving. Adjust spices to your liking.
Batch Preparation: Prepare this crema in large quantities. It keeps well and can be used throughout the week.
Absolutely! In fact, it tastes even better after sitting for a while. Just keep it in an airtight container in the fridge.
2. Is Qdoba Chili Crema gluten-free?
Yes, the ingredients used in the standard recipe are gluten-free. Always check the labels to ensure that no gluten is added during production.
3. How spicy is Qdoba Chili Crema?
The spice level can be adjusted based on the amount of hot sauce you include. Start with less if you’re sensitive to heat and add more as needed.
4. Can I use this crema on anything other than Mexican dishes?
Definitely! It can elevate sandwiches, wraps, and salads as a zesty dressing or sauce.
5. How long will this crema last in the refrigerator?
Enjoy it within 4-5 days for optimal freshness.
6. Can this be made without dairy?
Yes! Use a plant-based yogurt alternative to keep it dairy-free while maintaining creaminess.
Conclusion
Qdoba Chili Crema is not just a condiment; it’s a culinary companion that enhances flavors, elevates dishes, and transforms ordinary meals into extraordinary experiences.
With simple ingredients, easy methods, and countless applications, it fits well into a busy schedule while providing an indulgence that doesn’t compromise health.
Make sure to grab your ingredients and start whipping up this delightful sauce. Your taste buds will undoubtedly thank you! Remember, a little flair can turn a regular meal into a memorable feast.
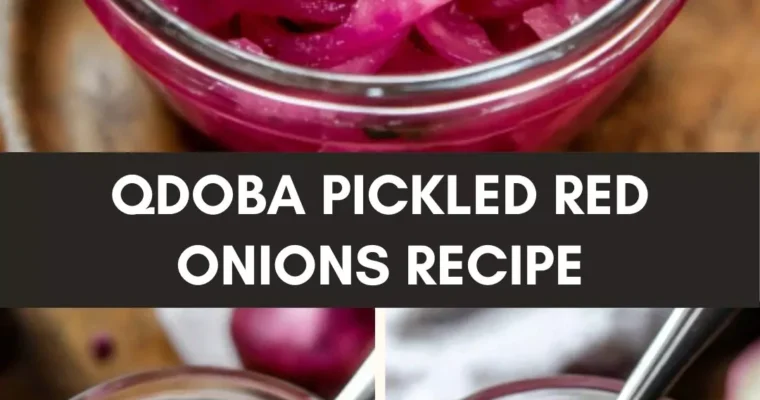
When it comes to enhancing any dish, pickled red onions are a must-have ingredient. These vibrant and tangy additions can elevate your culinary experience in several ways. Picture this: you’re hosting a summer barbecue. You’ve got grilled chicken sizzling on the grill, tacos waiting to …
Before diving into the delicious world of Qdoba chicken nachos, let’s explore what pairs beautifully with this dish. The right combinations can elevate your nacho experience to a whole new level. For refreshing beverages, a chilled margarita or a classic iced tea pairs seamlessly with …
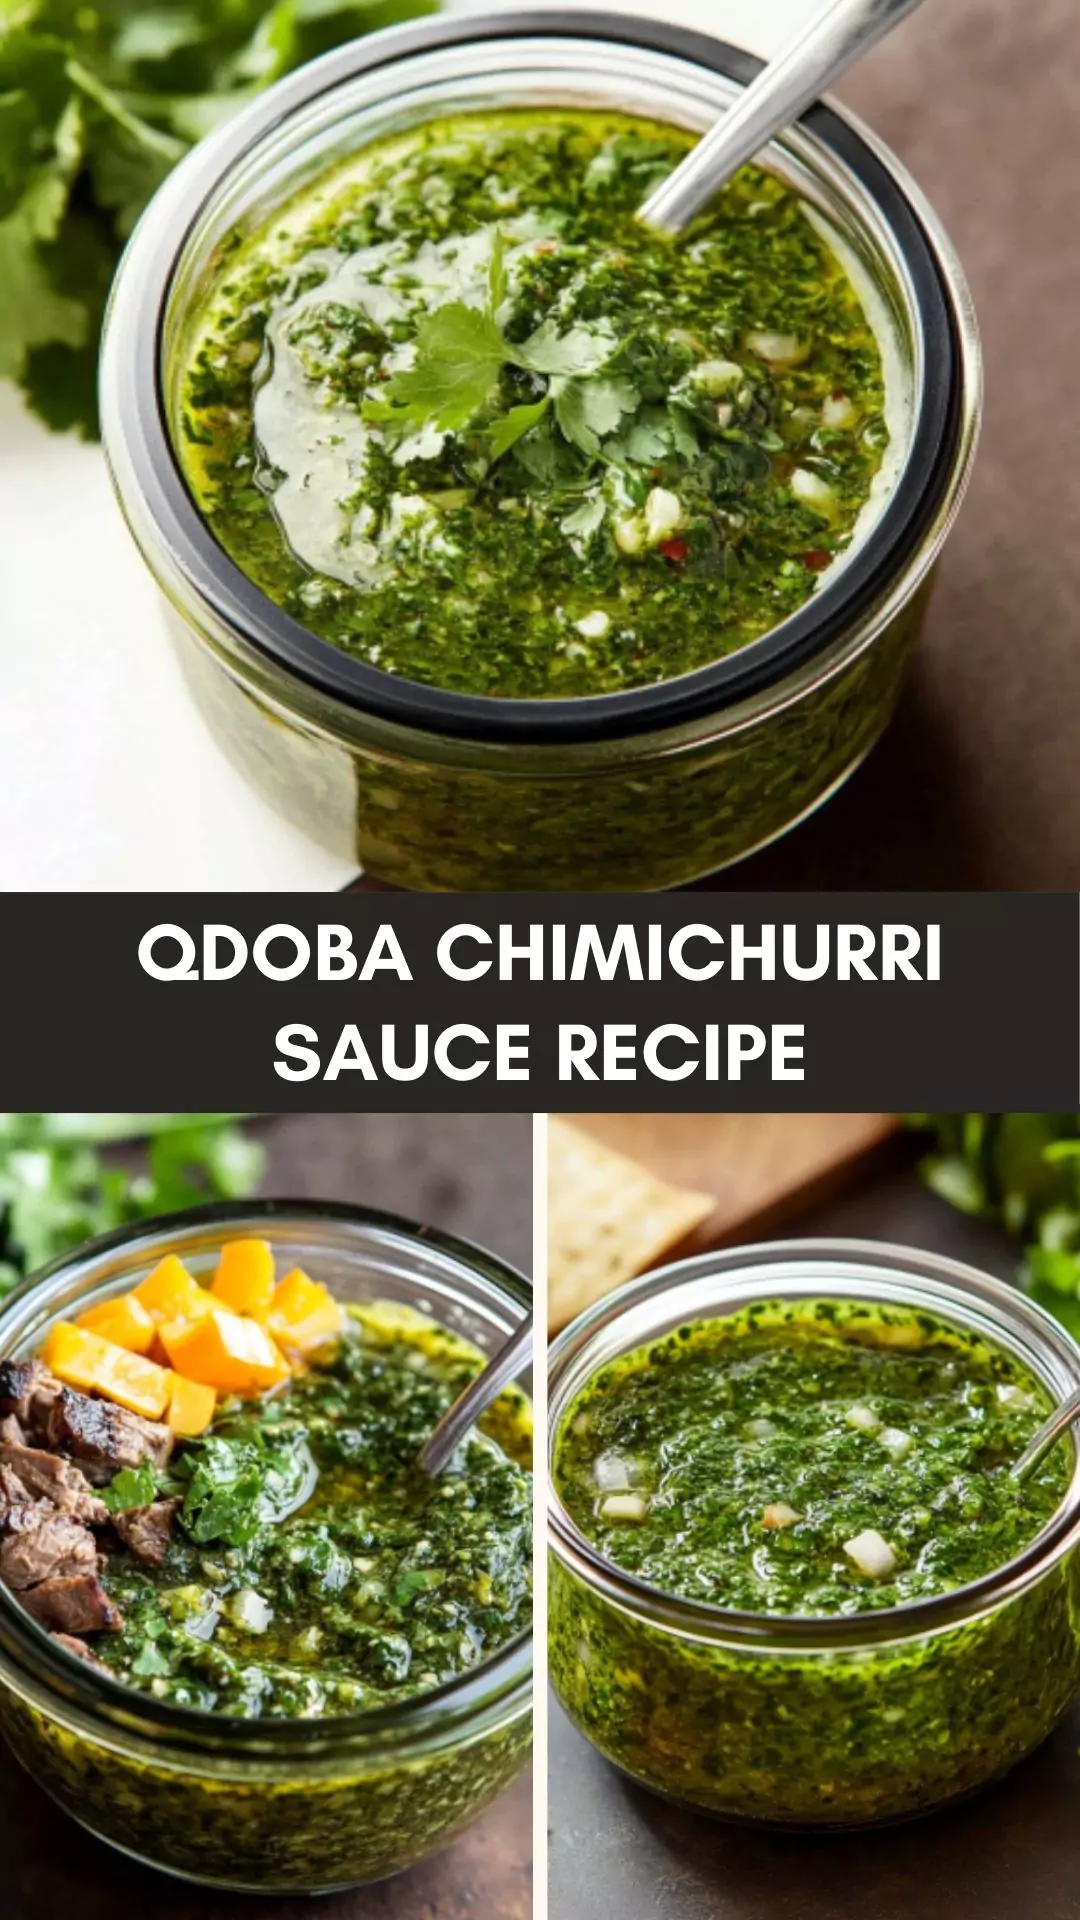
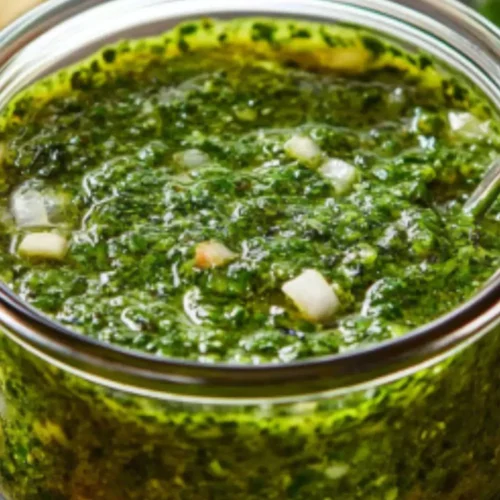
If you’re preparing to whip up a batch of QDOBA chimichurri sauce, you may be wondering what to pair it with. This vibrant sauce shines brightly atop grilled meats, tacos, or even roasted vegetables. The bright flavors compliment steak, chicken, and pork as if they were meant to be together.
Picture it: wrapping a smoky grilled chicken taco with a drizzle of chimichurri. It’s a game changer. You can also transform roasted potatoes or grilled veggies into a party on your plate. The possibilities are endless, and trust me, your taste buds will thank you.
Let’s talk about one of my newfound obsessions: QDOBA chimichurri sauce. If you haven’t tried it yet, you’re in for a treat. It’s a vibrant, flavorful sauce that adds a punch to just about any dish. Many restaurants have their variations, but recreating QDOBA’s unique twist at home is an experience worth having.
It’s more than just sauce; it’s an adventure in flavor. Picture this: you’ve grilled up some steak, chicken, or veggies, and you take that first bite with chimichurri drizzled on top. That explosion of flavor is something I look forward to every single time.
When I first encountered chimichurri sauce, I was intrigued but skeptical. What could be so special about this herby concoction? Then, one fateful evening, I was served a plate of tacos generously topped with chimichurri.
The result? Instant love. This sauce is a showstopper, and adding it to your cooking repertoire will surely elevate your dishes. Let’s dive deeper into this culinary delight!
QDOBA chimichurri sauce is a fresh, vibrant condiment originating from Argentina. Traditionally, it combines finely chopped herbs, garlic, vinegar, and olive oil.
The QDOBA twist adds unique spices and flavorings to create a bold yet balanced taste. It’s herbaceous, tangy, and slightly spicy – perfect for drizzling over grilled meat or mixing into dishes for that extra oomph.
Why This Recipe Works
Creating QDOBA chimichurri sauce at home is not only satisfying but also incredibly rewarding. Here’s why this recipe works so well:
Simplicity: The ingredients are easy to find. You probably have many of them in your kitchen already. This convenience allows you to whip up a fresh batch anytime you need a flavor boost.
Versatility: You can use this sauce with various proteins and veggies. Whether you’re grilling chicken, beef, or a medley of veggies, chimichurri adds an irresistible kick that ties everything together.
Health Benefits: With fresh herbs like cilantro and parsley, this sauce is rich in vitamins and nutrients. It’s an excellent way to add flavor without unnecessary calories or unhealthy additives.
Quick Preparation: In a matter of minutes, you can prepare this sauce. It’s perfect for busy nights when you want something fresh without much hassle.
Ingredients You’ll Need to Make This QDOBA Chimichurri Sauce
Gather the following ingredients to make this delectable sauce:
2 tablespoons freshly squeezed lime juice
1/2 cup extra virgin olive oil
1 teaspoon kosher salt
1 teaspoon freshly cracked black pepper
1 teaspoon honey (just for a touch of sweetness)
2 cloves garlic, minced
2/3 cup fresh cilantro leaves
1/2 cup fresh parsley leaves
1 pinch of red pepper flakes (for just a hint of heat)
1/2 teaspoon cumin (to add depth and earthiness)
2 tablespoons red wine vinegar
These ingredients harmonize beautifully to create the delicious and vibrant QDOBA chimichurri sauce you crave.
How To Make This?
Let’s get down to business! Here’s how to whip up this delicious chimichurri sauce in a few easy steps:
Step 1: Gather Ingredients
Make sure you have all your ingredients ready to go. It makes the process smoother. Chop the cilantro and parsley if you haven’t already. Measure everything out so you can keep the flow going.
Step 2: Combine the Herbs
In a mixing bowl, add the fresh cilantro leaves and parsley leaves. Get in there and give them a quick chop for finer pieces, or leave them chunkier based on your preference. Both options work fabulously.
Step 3: Add Flavorings
Now add the minced garlic, honey, lime juice, and red wine vinegar to the herbs. These ingredients are the backbone of your chimichurri sauce, bringing flavor and zest right from the start.
Step 4: Season
Next, sprinkle in the kosher salt, freshly cracked black pepper, red pepper flakes, and cumin. These spices add depth, ensuring that your sauce is more than one-dimensional.
Step 5: Mix in Oil
Slowly drizzle in the extra virgin olive oil while stirring the mixture. This step helps emulsify the ingredients, creating a beautifully cohesive sauce. The olive oil also adds a richness that makes this chimichurri sauce incredibly flavorful.
Step 6: Taste and Adjust
After mixing, it’s time to taste your creation. Feel free to adjust the salt, acidity, or sweetness based on your personal preference. This step ensures the sauce is just right for you. Some like it spicier—add more red pepper flakes if that’s your style!
Step 7: Rest and Store
Let your chimichurri sit at room temperature for about 30 minutes. This resting time allows the flavors to meld beautifully. Afterward, you can store it in the refrigerator if not using immediately.
Tips for Making QDOBA Chimichurri Sauce
To help you create the best QDOBA chimichurri sauce, consider these tips:
Use Fresh Herbs: Freshness matters. Dried herbs won’t give you the same bright flavor.
Adjust to Taste: Personalize your sauce. If you love garlic, add more. If you like it spicier, pump up the red pepper flakes.
Let it Sit: Allowing the sauce to rest enhances the flavors. Trust me; it’s worth the wait!
Experiment: Feel free to experiment with different herbs. Basil or mint can add unique flavors to the sauce.
Store Properly: If you have leftovers, store them in an airtight container. It should keep in the fridge for about a week.
Nutrition Information
Nutrition can be a concern for many home cooks. Here’s the lowdown on the nutrition profile for a serving of QDOBA chimichurri sauce:
Calories: Approximately 120 per serving
Total Fat: 14g
Saturated Fat: 2g
Cholesterol: 0mg
Sodium: 200mg
Total Carbohydrates: 3g
Dietary Fiber: 0g
Sugars: 0.5g
Protein: 0g
This sauce is high in healthy fats yet low in carbs and sugars, making it a flavorful addition to your meals.
How to Store Leftovers?
If you manage to have any chimichurri sauce left, storing it correctly is crucial. Place it in an airtight container in the refrigerator.
The flavors may deepen as it sits, but it’s best enjoyed fresh. Keep it for about a week.
Recommended Side Dishes for QDOBA Chimichurri Sauce
Looking to round out your meal? Here are some side dishes that pair beautifully with QDOBA chimichurri sauce:
Grilled Corn on the Cob: The sweetness of the corn complements the zesty sauce well. Slather chimichurri on grilled corn for an unforgettable experience.
Taco Salad: Layer a bed of greens with grilled chicken or beef, queso, and tomatoes. Drizzling chimichurri on top elevates the dish entirely.
Quinoa Salad: A refreshing quinoa salad with cucumbers, tomatoes, and feta sprinkled with chimichurri transforms a simple dish into something extraordinary.
Rice and Beans: A hearty side of rice and beans becomes exciting when topped with chimichurri. It adds a zesty touch to this classic staple.
Substitute Options for Ingredients
Not every kitchen has the exact ingredients on hand. Here’s what you can substitute if you find yourself in a pinch:
Fresh Herbs: If you don’t have cilantro or parsley, try using basil or mint instead. They provide unique flavors but will still be delicious.
Lime Juice: Instead of lime juice, you can use lemon juice for a different but equally zesty flavor.
Red Wine Vinegar: In a tight spot? Apple cider vinegar or white wine vinegar works as a substitute without losing the acidity.
Honey: If you prefer not to use honey, you can use agave syrup or maple syrup for a similar hint of sweetness.
Qdoba Chimichurri Sauce Recipe
Joe Williams
Let’s talk about one of my newfound obsessions: QDOBA chimichurri sauce. If you haven’t tried it yet, you’re in for a treat. It’s a vibrant, flavorful sauce that adds a punch to just about any dish.
Let’s get down to business! Here’s how to whip up this delicious chimichurri sauce in a few easy steps:
Step 1: Gather Ingredients
Make sure you have all your ingredients ready to go. It makes the process smoother. Chop the cilantro and parsley if you haven’t already. Measure everything out so you can keep the flow going.
Step 2: Combine the Herbs
In a mixing bowl, add the fresh cilantro leaves and parsley leaves. Get in there and give them a quick chop for finer pieces, or leave them chunkier based on your preference. Both options work fabulously.
Step 3: Add Flavorings
Now add the minced garlic, honey, lime juice, and red wine vinegar to the herbs. These ingredients are the backbone of your chimichurri sauce, bringing flavor and zest right from the start.
Step 4: Season
Next, sprinkle in the kosher salt, freshly cracked black pepper, red pepper flakes, and cumin. These spices add depth, ensuring that your sauce is more than one-dimensional.
Step 5: Mix in Oil
Slowly drizzle in the extra virgin olive oil while stirring the mixture. This step helps emulsify the ingredients, creating a beautifully cohesive sauce. The olive oil also adds a richness that makes this chimichurri sauce incredibly flavorful.
Step 6: Taste and Adjust
After mixing, it’s time to taste your creation. Feel free to adjust the salt, acidity, or sweetness based on your personal preference. This step ensures the sauce is just right for you. Some like it spicier—add more red pepper flakes if that’s your style!
Step 7: Rest and Store
Let your chimichurri sit at room temperature for about 30 minutes. This resting time allows the flavors to meld beautifully. Afterward, you can store it in the refrigerator if not using immediately.
Notes
To help you create the best QDOBA chimichurri sauce, consider these tips:
Use Fresh Herbs: Freshness matters. Dried herbs won’t give you the same bright flavor.
Adjust to Taste: Personalize your sauce. If you love garlic, add more. If you like it spicier, pump up the red pepper flakes.
Let it Sit: Allowing the sauce to rest enhances the flavors. Trust me; it’s worth the wait!
Experiment: Feel free to experiment with different herbs. Basil or mint can add unique flavors to the sauce.
Store Properly: If you have leftovers, store them in an airtight container. It should keep in the fridge for about a week.
While dried herbs are easier and can work, they won’t provide the same level of vibrancy. Fresh is always preferable for the best flavor.
2. Can I make this sauce ahead of time?
Totally! In fact, making it ahead allows the flavors to deepen. Just store it in the fridge, and you’re good to go.
3. Will this sauce freeze well?
Yes, chimichurri sauce can be frozen. Just pour it into an ice cube tray, freeze, and transfer the cubes to a freezer bag for easy future use.
4. What do I do if my sauce is too thick?
If your sauce turns out thicker than you like, simply add a bit more olive oil or a splash of vinegar to reach your desired consistency.
5. Is chimichurri sauce gluten-free?
Absolutely! QDOBA chimichurri sauce is naturally gluten-free. You can enjoy it worry-free, regardless of your diet.
Conclusion
Making QDOBA chimichurri sauce at home is a delightful endeavor that opens up a realm of flavor possibilities. With its simple ingredients and quick preparation, there’s no reason not to give it a go.
Whether paired with grilled meats, added to salads, or drizzled over roasted veggies, this sauce transforms ordinary meals into extraordinary experiences. Plus, the health benefits and versatility make it an exceptional addition to your kitchen repertoire.
Now, as you venture into making this sauce, let your creativity flow. Adjust flavors, use what you have, and make it your own. The best culinary experiences come from trying, tasting, and having fun. Enjoy your homemade QDOBA chimichurri sauce; I assure you it will become a staple in your cooking!
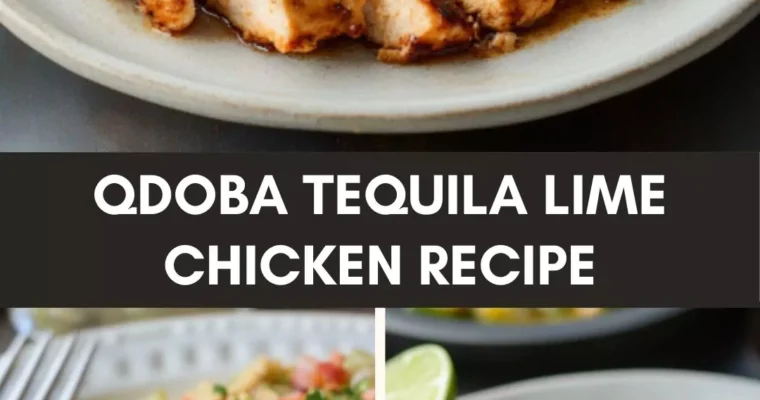
Summer gatherings and delicious food go hand-in-hand. One dish I adore serving during these warm months is QDOBA Tequila Lime Chicken. This vibrant meal pairs seamlessly with a variety of sides, but what truly shines alongside it is a fresh and colorful Mexican corn salad. …