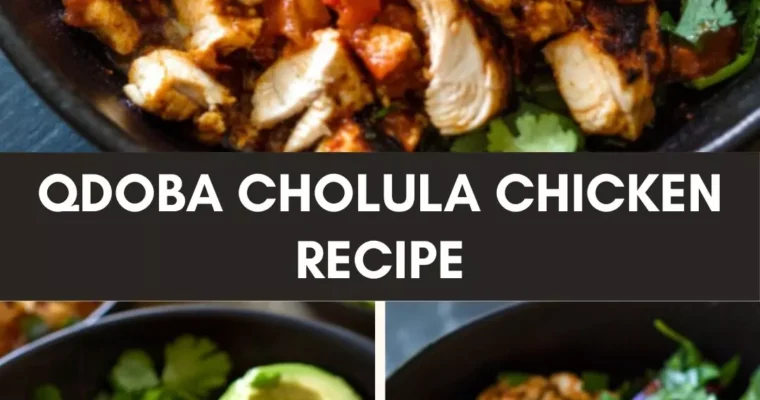
If you’re like me and love flavor-packed meals that bring people together, then you’re about to embark on a culinary journey with the Qdoba Cholula Chicken Recipe. First things first: let’s chat about what you can serve alongside this spicy delight. A fresh side salad …
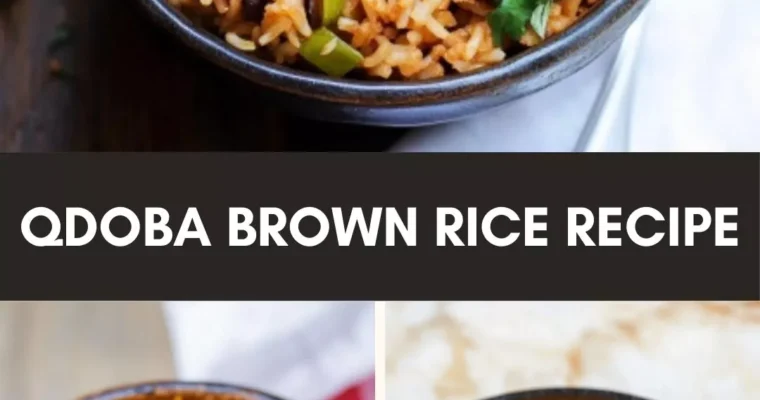
When you think of Qdoba’s brown rice, you may picture a warm, hearty bowl filled to the brim with flavors. But what goes best with this dish? The options are as colorful as the ingredients themselves. For starters, it pairs wonderfully with grilled chicken or …
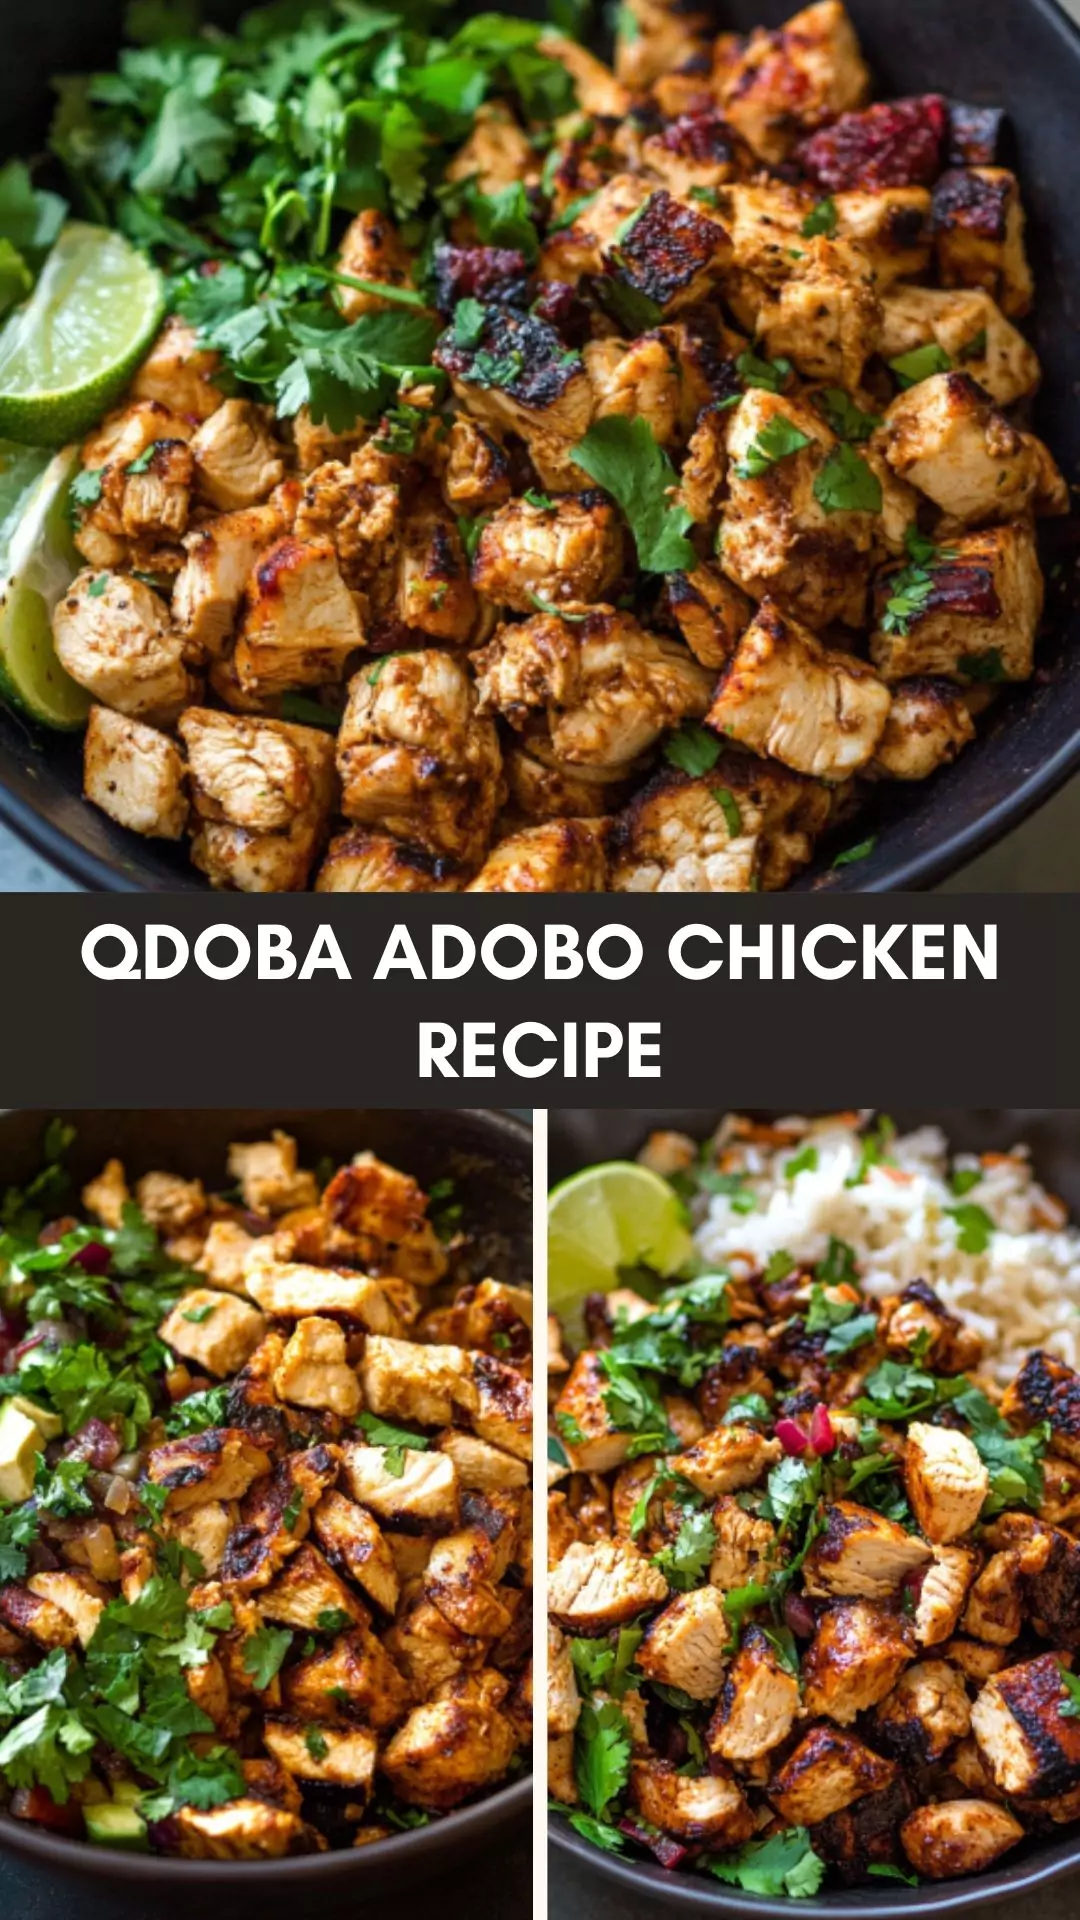
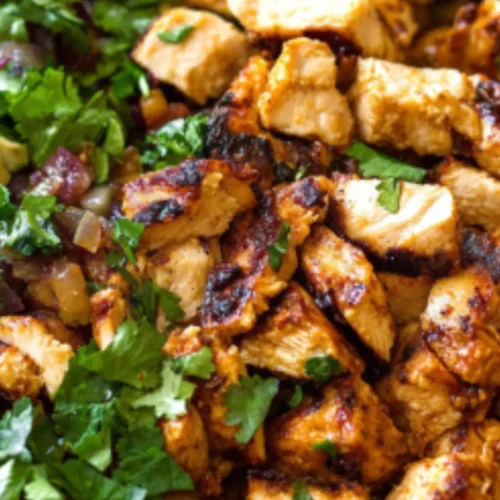
When summer rolls around, gatherings with friends and family take priority. And what’s a get-together without some delicious food? Imagine succulent, smoky Qdoba adobo chicken sizzling on the grill, paired with a refreshing taco salad or served next to a mountain of guacamole and chips. It’s a showstopper. Trust me, bringing this dish will have everyone asking for seconds.
What is Qdoba Adobo Chicken?
This dish is inspired by the popular Qdoba chain. Their adobo chicken features a fantastic blend of spices and smoky flavors that make it unique. The beauty of this dish lies in its boldness. The ingredients unite to create a blissful balance of heat and flavor that dances on your palate. It’s perfect for tacos, burritos, or even just as a filling main dish.
Let’s gather the essentials for this culinary delight. Here’s what you’ll need:
2 tablespoons adobo sauce from a can of smoky Chipotle peppers
2 cloves garlic, finely chopped
1 teaspoon sea salt
1 tablespoon chili powder
1/2 teaspoon freshly ground black pepper
1 teaspoon ground cumin
1/2 teaspoon dried oregano or Italian herb blend
1 tablespoon lime juice
2 lbs boneless, skinless chicken breasts, tenderized to a thin cut
2 tablespoons extra virgin olive oil
1 teaspoon smoked paprika
There you have it! Look how simple yet flavorful these ingredients are—perfect for a weeknight dinner or a summer barbecue.
How to Make Qdoba Adobo Chicken
Ready to get your hands a little messy? This process is straightforward and fun. Follow along closely. Let’s dive into the step-by-step directions!
Step 1: Prepare the Marinade
In a mixing bowl, combine adobo sauce, garlic, sea salt, chili powder, black pepper, cumin, oregano, lime juice, smoked paprika, and olive oil. Stir it well until all the spices are integrated into a luscious marinade. The aroma will be wonderful, filling your kitchen with smoky goodness.
Step 2: Marinate the Chicken
Take your tenderized chicken breasts and place them in a large resealable bag or a shallow dish. Pour the marinade over the chicken, making sure each piece is fully coated. This is vital for flavor! Seal the bag (or cover the dish) and refrigerate for at least 30 minutes. For maximum flavor, let it marinate for 2 hours—or even overnight if you have the time.
Step 3: Prepare the Grill or Skillet
For outdoor lovers like me, fire up your grill to medium-high heat and lightly oil the grates to prevent sticking. If you prefer to stay in—no judgment here—heat a large skillet over medium heat. Add a touch of olive oil to coat the bottom.
Step 4: Cook the Chicken
Once hot, take the marinated chicken out of the refrigerator. Cook the chicken, turning once, for about 6-7 minutes per side on the grill or until the juices run clear. If using a skillet, it should take roughly the same amount of time. You want that lovely char on the outside but juicy on the inside.
Step 5: Rest and Slice
Once cooked, allow the chicken to rest on a cutting board for about 5 minutes. This step is essential; it allows the juices to redistribute. After resting, slice the chicken into strips. Now, you’re ready to feast!
Notes: Tips for Success
Use Fresh Ingredients: Fresh garlic makes a noticeable difference in taste.
Don’t Skip the Marinade Time: Allowing the chicken to marinate brings out the flavors.
Use a Meat Thermometer: Chicken should reach an internal temperature of 165°F.
Experiment with Spices: Feel free to adjust chili powder or lime juice according to your preference.
Don’t Overcrowd the Grill or Skillet: Cook in batches if necessary, allowing the chicken to sear properly.
Storage Tips
If you find yourself with leftovers (which is rare), here’s how to store that delicious chicken:
Refrigerate: Store in an airtight container for up to 3 days.
Freeze: You can freeze the chicken for up to 3 months. Make sure to wrap it well to prevent freezer burn.
Thaw Safely: Thaw in the fridge overnight before reheating.
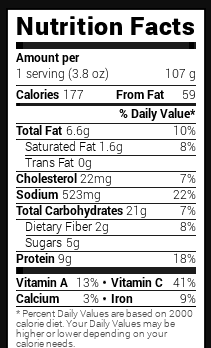
Nutrition Information (Per Serving)
qdoba adobo chicken recipe nutrition facts
Serving Suggestions
Now that your chicken is ready, let’s talk about how to enjoy it. Here are five creative ideas to serve up this dish:
Tacos: Shred the chicken and serve in corn tortillas. Top with fresh diced tomatoes, avocado, and a squeeze of lime. Classic yet irresistible!
Bowl: Make a rice bowl with the chicken, black beans, and some corn. Top it off with fresh salsa and a dollop of guacamole. The flavors get better together.
Salad: Throw sliced chicken over a bed of green leafy veggies. Add black olives, feta cheese, and a light vinaigrette for a colorful salad.
Sandwiches: Use the chicken in a sandwich with your favorite toppings. Add some crunchy lettuce and spicy mayo—simple and satisfying.
Pizza: Why not? Chop the chicken and top off your pizza with it along with some jalapeños and cheese. Bake until melted for a smoky twist on a favorite.
What Other Substitutes Can I Use in Qdoba Adobo Chicken Recipe?
Feeling adventurous? There are several ways to mix things up while keeping the essence of this recipe. Here are five substitutes to consider:
Turkey Breast: Use ground turkey instead of chicken for a leaner alternative. It changes the texture slightly but maintains flavor.
Tofu: For a plant-based option, try marinating extra-firm tofu. The marinade soaks in beautifully and will satisfy vegetarians at your table.
Pork Tenderloin: This can be marinated and grilled in the same way. It pairs well with the spices and adds a different level of flavor.
Cauliflower: Try cauliflower steaks! Marinate and grill them for a delicious vegetarian option that packs a punch.
Quinoa: For those avoiding meat entirely, quinoa can be cooked and seasoned with similar spices, making it a nutritious substitute.
Qdoba Adobo Chicken Recipe
Joe Williams
When summer rolls around, gatherings with friends and family take priority. And what’s a get-together without some delicious food? Imagine succulent, smoky Qdoba adobo chicken sizzling on the grill, paired with a refreshing taco salad or served next to a mountain of guacamole and chips. It’s a showstopper.
2tablespoonsadobo sauce from a can of smoky Chipotle peppers
2clovesgarlicfinely chopped
1teaspoonsea salt
1tablespoonchili powder
1/2teaspoonfreshly ground black pepper
1teaspoonground cumin
1/2teaspoondried oregano or Italian herb blend
1tablespoonlime juice
2lbsbonelessskinless chicken breasts, tenderized to a thin cut
2tablespoonsextra virgin olive oil
1teaspoonsmoked paprika
Instructions
Ready to get your hands a little messy? This process is straightforward and fun. Follow along closely. Let’s dive into the step-by-step directions!
Step 1: Prepare the Marinade
In a mixing bowl, combine adobo sauce, garlic, sea salt, chili powder, black pepper, cumin, oregano, lime juice, smoked paprika, and olive oil. Stir it well until all the spices are integrated into a luscious marinade. The aroma will be wonderful, filling your kitchen with smoky goodness.
Step 2: Marinate the Chicken
Take your tenderized chicken breasts and place them in a large resealable bag or a shallow dish. Pour the marinade over the chicken, making sure each piece is fully coated. This is vital for flavor! Seal the bag (or cover the dish) and refrigerate for at least 30 minutes. For maximum flavor, let it marinate for 2 hours—or even overnight if you have the time.
Step 3: Prepare the Grill or Skillet
For outdoor lovers like me, fire up your grill to medium-high heat and lightly oil the grates to prevent sticking. If you prefer to stay in—no judgment here—heat a large skillet over medium heat. Add a touch of olive oil to coat the bottom.
Step 4: Cook the Chicken
Once hot, take the marinated chicken out of the refrigerator. Cook the chicken, turning once, for about 6-7 minutes per side on the grill or until the juices run clear. If using a skillet, it should take roughly the same amount of time. You want that lovely char on the outside but juicy on the inside.
Step 5: Rest and Slice
Once cooked, allow the chicken to rest on a cutting board for about 5 minutes. This step is essential; it allows the juices to redistribute. After resting, slice the chicken into strips. Now, you’re ready to feast!
Notes
Use Fresh Ingredients: Fresh garlic makes a noticeable difference in taste.
Don’t Skip the Marinade Time: Allowing the chicken to marinate brings out the flavors.
Use a Meat Thermometer: Chicken should reach an internal temperature of 165°F.
Experiment with Spices: Feel free to adjust chili powder or lime juice according to your preference.
Don’t Overcrowd the Grill or Skillet: Cook in batches if necessary, allowing the chicken to sear properly.
Absolutely! Chicken thighs work beautifully and are often more forgiving since they stay moist during cooking. Just adjust the cooking time slightly as they may take a bit longer.
2. How spicy is the adobo sauce?
The spiciness largely depends on the brand of adobo sauce. Typically, it provides a mild to moderate heat. If you’re cautious about spice, start with a smaller amount and adjust to taste.
3. Can I grill the chicken without marinating it?
You can, but marinating truly enhances the flavor. Skipping it might result in a less flavorful dish.
4. What can I do with leftover adobo sauce?
Leftover adobo sauce can be frozen or used in other dishes like stews, soups, or even as a dressing for roasted vegetables. Be creative!
5. Can I make this recipe in an Instant Pot?
Yes! Season the chicken, add it to the Instant Pot with a cup of broth, and cook on high pressure for 8-10 minutes. The result will be tender and flavorful, just like the grilled version.
Conclusion
Cooking Qdoba adobo chicken is a delightful journey filled with flavor and fulfillment. As a food enthusiast, I can’t emphasize enough how rewarding it is to create a meal that not only tastes great but also brings people together.
Every time I make this dish, it evokes a warm sense of community. Whether you choose to tuck the chicken into tacos or serve it atop a bed of rice, I know you and your loved ones will savor its bold and smoky flavors. So what are you waiting for? Grab your ingredients, get cooking, and let the summer festivities begin!
Before diving into the recipe, it’s worth considering what complements Qdoba Tortilla Soup beautifully, as a well-rounded meal can transform a simple soup into a delightful feast. Cornbread muffins, with their sweet and buttery flavor, pair wonderfully with the soup’s bold spices, while their slightly …
Before diving into the fantastic recipe for Qdoba black beans, let’s discuss what pairs well with this delicious dish. These black beans shine on their own but become even better when combined with other ingredients. Serve them over fluffy white or brown rice, allowing the …
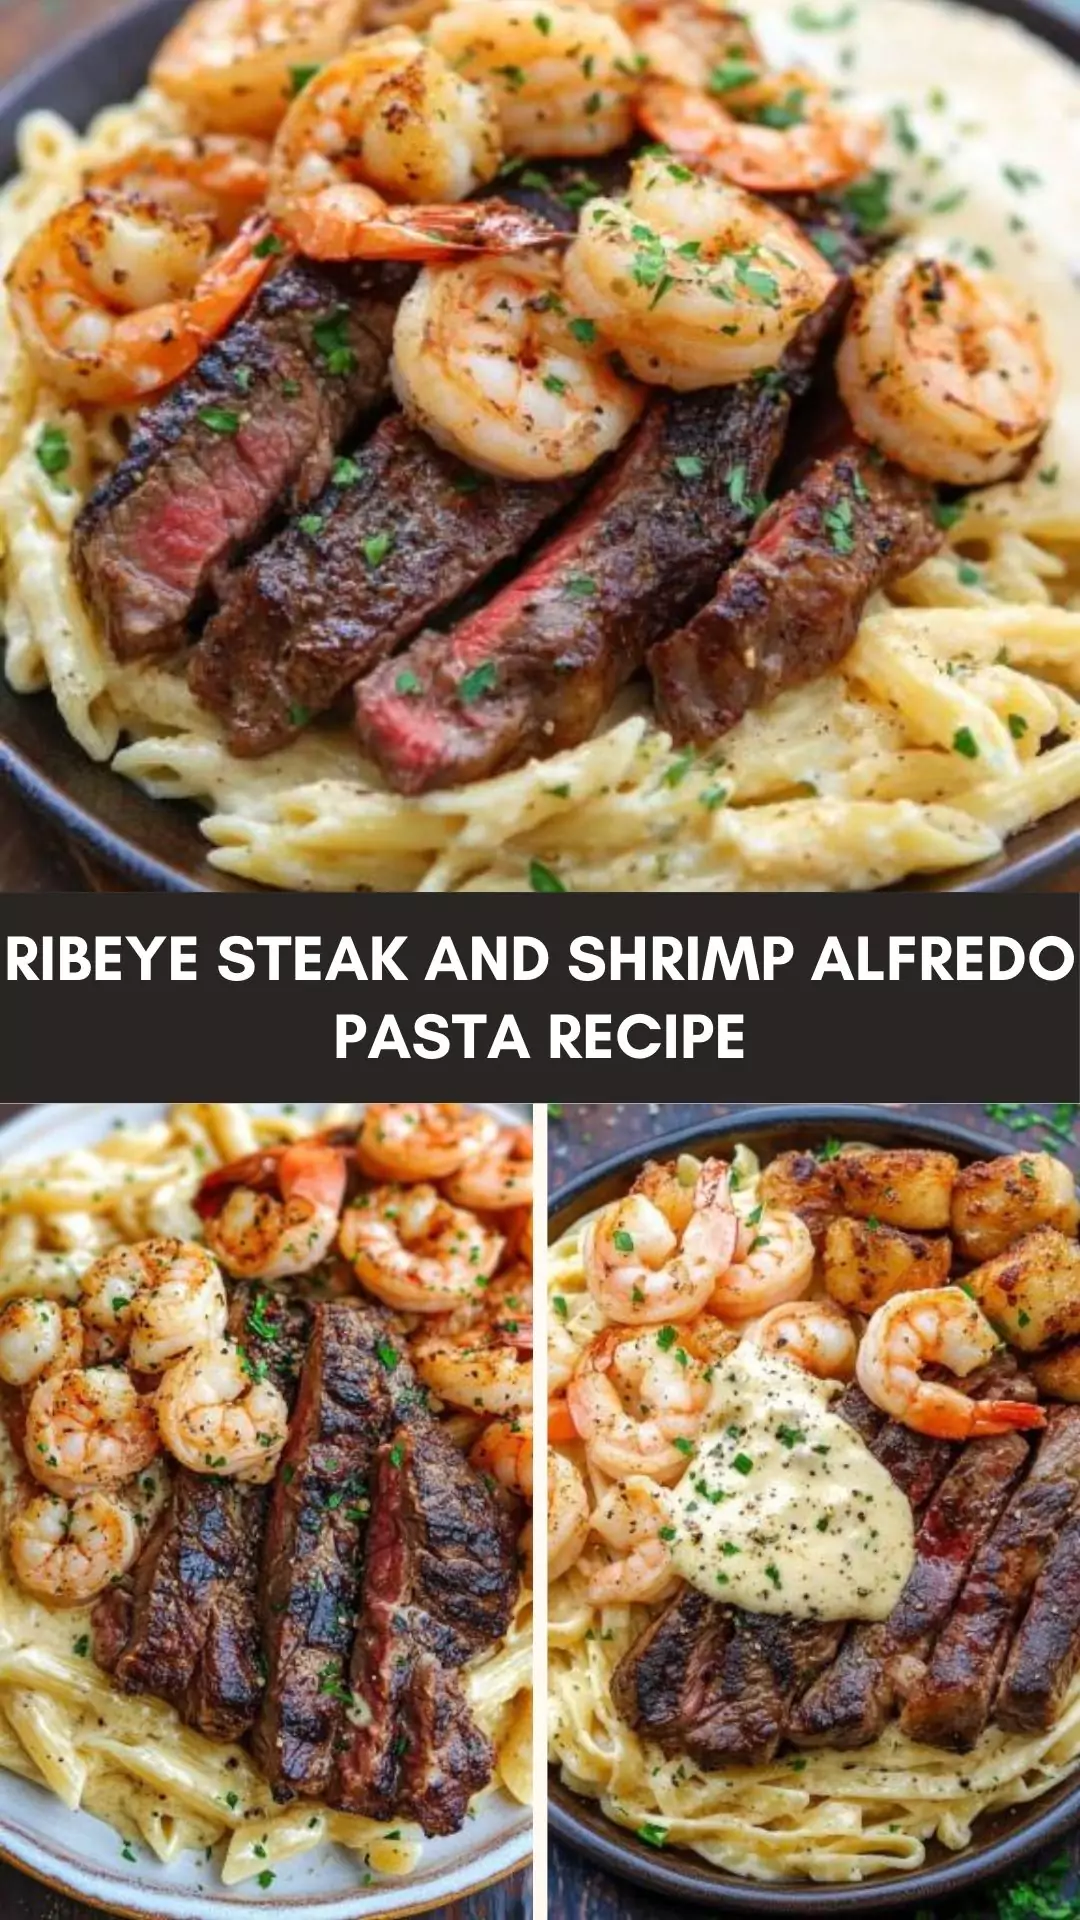
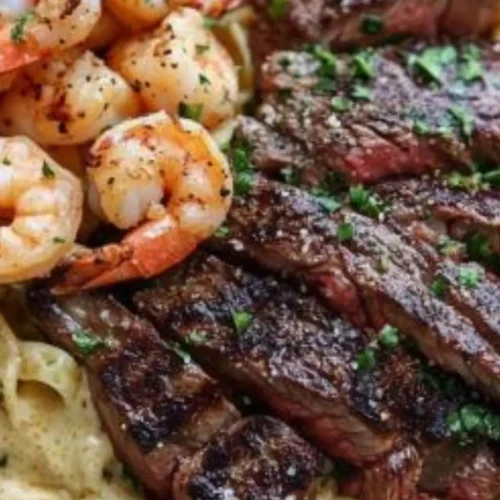
Before diving into our star dish—ribeye steak and shrimp Alfredo pasta—let’s consider some ideal complements that can elevate this hearty meal. Garlic bread is a quintessential Italian side, with its crispy, buttery exterior and soft, flavorful interior pairing perfectly with the creamy pasta.
A Caesar salad, featuring crisp romaine leaves, tangy Caesar dressing, croutons, and parmesan, offers a refreshing contrast to the rich Alfredo sauce. Roasted asparagus, simply seasoned and with a touch of char, adds an earthy flavor and vibrant color to the plate.
For a sweet and juicy addition, grilled corn on the cob is a summer favorite, its buttery, salted kernels balancing the dish beautifully. Now, with these perfect pairings in mind, let’s dig into the deliciousness that is ribeye steak and shrimp Alfredo pasta!
As someone who loves to experiment in the kitchen, ribeye steak and shrimp Alfredo pasta is one of those recipes that pulls together a symphony of flavors. Imagine perfectly seared chunks of ribeye mingling with succulent shrimp, all enveloped in a rich, creamy Alfredo sauce, served over al dente penne. It’s like a culinary hug on a plate.
While I’ve dabbled in many recipes, this one sticks out for its sheer balance. Each bite offers a soft texture from the pasta, a savory punch from the beef, and a subtle sweetness from the shrimp. If you’ve ever gotten a craving for something hearty and indulgent, this dish fits the bill.
The recipe blends elements from Italian-American cuisine. Ribeye steak is known for its marbling, which gives it a juicy, flavorful profile. When paired with shrimp cooked just right, it creates an enticing combination. Alfredo sauce—a creamy blend of butter, cream, and cheese—provides that decadent coating over the pasta, tying all the elements together flawlessly.
Why This Recipe Works?
Flavor Explosion: The combination of the ribeye’s richness and the shrimp’s sweetness creates an impressive flavor profile. Each bite offers something unique.
Creamy Comfort: Alfredo sauce delivers a comforting taste. The parmesan and Romano cheeses elevate it further. You’ll feel like you’re at a five-star restaurant.
Texture Play: The dish contrasts soft pasta, juicy steak, and tender shrimp. This variety keeps every forkful interesting.
Simple Yet Impressive: This recipe is straightforward with minimal steps, making it approachable for cooks at any skill level. You can present a restaurant-quality meal without spending hours in the kitchen.
Ingredients You’ll Need to Make This Ribeye Steak and Shrimp Alfredo Pasta
Gather the following ingredients before you start cooking. You’ll be amazed at how simple yet delicious they come together.
Steak:
2 whole ribeye steaks, cut into cubes
Rendered beef tallow, as needed
2 tbsp Cajun spice blend
Shrimp:
1 lb large shrimp, peeled, deveined, and tails removed
Rendered beef tallow, as needed
2 tbsp Cajun spice blend
Alfredo Pasta:
16 oz penne rigate, cooked
¼ cup heavy cream
½ cup unsalted butter, softened
½ cup grated Parmesan cheese
½ cup grated Romano cheese
Chopped fresh chives, for garnish
How To Make This Ribeye Steak and Shrimp Alfredo Pasta?
Let’s break this down step by step so you can easily replicate it at home.
Step 1: Prepare the Ingredients
Start by cutting your ribeye steaks into bite-sized cubes. Ensure the steak is at room temperature. This makes for more even cooking. Rinse and dry the shrimp as well.
Step 2: Season the Steak
In a bowl, combine the cubed ribeye with Cajun spice blend. Toss well to cover the beef. Seasoning beforehand allows the flavors to penetrate while you prepare the other elements.
Step 3: Cook the Steak
Heat a skillet over medium-high heat. Add the rendered beef tallow. Once hot, cook the ribeye cubes for about 4-5 minutes, flipping once. Aim for a nice sear without overcooking. Remove from the pan and let rest.
Step 4: Cook the Shrimp
In the same skillet, add a tad more tallow if necessary, and toss in the shrimp. Season with the remaining Cajun spice. Cook for 3-4 minutes or until they turn pink and opaque. Overcooking can make the shrimp rubbery, so keep an eye on them!
Step 5: Make the Alfredo Sauce
With both proteins off the heat, lower the temperature of the skillet. Add the butter, allowing it to melt. Next, pour in the heavy cream, stirring constantly. Gradually add the Parmesan and Romano cheeses, mixing until the sauce is smooth and creamy.
Step 6: Combine Everything
Add the cooked penne rigate into the skillet with the Alfredo sauce. Toss well to coat all the pasta. Gently fold in the steak and shrimp until they’re evenly distributed throughout the dish.
Step 7: Garnish and Serve
Transfer the pasta to serving plates or bowls. Finish with a sprinkle of fresh chives for color and a touch of flavor. Enjoy your delicious homemade ribeye steak and shrimp Alfredo pasta!
Tips
To enhance the experience even further, consider the following tips:
Choose Quality Ingredients: Opt for fresh shrimp and high-quality ribeye. The better the ingredients, the better the final result.
Don’t Overcook Proteins: Timing is crucial. Keep an eye on the steak and shrimp to ensure they retain their juicy texture.
Use Fresh Herbs: Chives are great, but you can elevate the dish with fresh parsley or basil for an aromatic hint.
Experiment with Cheese: If you’d like, incorporate different cheeses like Gouda or Fontina for a unique twist on the Alfredo flavor.
Adjust Spiciness: If you like heat, feel free to add more Cajun spice or even throw in a pinch of cayenne pepper to the sauce.
Nutrition Information
How to Store the Leftovers?
If you have any leftovers, here’s how to store them properly:
Cool Down: Allow the pasta to cool to room temperature before refrigerating.
Airtight Container: Place in an airtight container. This minimizes exposure to air and helps prevent spoilage.
Refrigeration: Store in the fridge for up to 3 days.
Microwave Reheating: When ready to eat again, simply reheat in the microwave. Add a dash of cream or milk to restore the sauce’s creaminess.
Recommended Side Dishes for Ribeye Steak and Shrimp Alfredo Pasta
Looking to round out the meal? Here are a few delightful side dishes you can serve alongside:
Garlic Roasted Broccoli: The bitterness of roasted broccoli balances the richness of the pasta and adds nutrients to your plate.
Caprese Salad: Fresh tomatoes layered with mozzarella and basil drizzled with balsamic reduction brightens the palate.
Grilled Zucchini: Thinly sliced zucchini grilled until tender adds a nice crunch and a hint of smokiness to your meal.
Stuffed Mushrooms: These little bites filled with cheese, herbs, and breadcrumbs are perfect for adding a gourmet touch.
Substitute Options for Ingredients
Not all ingredients might be available, so here are some easy substitutes you can use:
Ribeye Steaks: If ribs are out of reach, try sirloin or filet mignon for a different texture but similar flavor.
Shrimp: In a pinch, use scallops or even chicken breast cut into chunks for an alternative.
Pasta Type: No penne? Use fettuccine or macaroni! The shape will alter the mouthfeel but not the taste.
Cheese Varieties: If you can’t find Romano, simply replace it with additional Parmesan or even Monterey Jack for a milder flavor.
Ribeye Steak And Shrimp Alfredo Pasta Recipe
Joe Williams
As someone who loves to experiment in the kitchen, ribeye steak and shrimp Alfredo pasta is one of those recipes that pulls together a symphony of flavors.
1lbLarge Shrimppeeled, de-veined, and tails removed
Rendered Beef Tallowas needed
2tbspCajun Spice Blend
Alfredo Pasta:
16ozPenne Rigatecooked
¼cupHeavy Cream
½cupUnsalted Buttersoftened
½cupGrated Parmesan Cheese
½cupGrated Romano Cheese
Chopped Fresh Chivesfor garnish
Instructions
Step 1: Prepare the Ingredients
Start by cutting your ribeye steaks into bite-sized cubes. Ensure the steak is at room temperature. This makes for more even cooking. Rinse and dry the shrimp as well.
Step 2: Season the Steak
In a bowl, combine the cubed ribeye with Cajun spice blend. Toss well to cover the beef. Seasoning beforehand allows the flavors to penetrate while you prepare the other elements.
Step 3: Cook the Steak
Heat a skillet over medium-high heat. Add the rendered beef tallow. Once hot, cook the ribeye cubes for about 4-5 minutes, flipping once. Aim for a nice sear without overcooking. Remove from the pan and let rest.
Step 4: Cook the Shrimp
In the same skillet, add a tad more tallow if necessary, and toss in the shrimp. Season with the remaining Cajun spice. Cook for 3-4 minutes or until they turn pink and opaque. Overcooking can make the shrimp rubbery, so keep an eye on them!
Step 5: Make the Alfredo Sauce
With both proteins off the heat, lower the temperature of the skillet. Add the butter, allowing it to melt. Next, pour in the heavy cream, stirring constantly. Gradually add the Parmesan and Romano cheeses, mixing until the sauce is smooth and creamy.
Step 6: Combine Everything
Add the cooked penne rigate into the skillet with the Alfredo sauce. Toss well to coat all the pasta. Gently fold in the steak and shrimp until they’re evenly distributed throughout the dish.
Step 7: Garnish and Serve
Transfer the pasta to serving plates or bowls. Finish with a sprinkle of fresh chives for color and a touch of flavor. Enjoy your delicious homemade ribeye steak and shrimp Alfredo pasta!
Notes
To enhance the experience even further, consider the following tips:Choose Quality Ingredients: Opt for fresh shrimp and high-quality ribeye. The better the ingredients, the better the final result.Don’t Overcook Proteins: Timing is crucial. Keep an eye on the steak and shrimp to ensure they retain their juicy texture.Use Fresh Herbs: Chives are great, but you can elevate the dish with fresh parsley or basil for an aromatic hint.Experiment with Cheese: If you’d like, incorporate different cheeses like Gouda or Fontina for a unique twist on the Alfredo flavor.Adjust Spiciness: If you like heat, feel free to add more Cajun spice or even throw in a pinch of cayenne pepper to the sauce.
Nutrition
Calories: 1073kcal
Keyword Ribeye Steak And Shrimp Alfredo Pasta Recipe
Absolutely. You can prepare the components separately and combine them right before serving for a fresher taste.
What wine pairs well with this dish?
A nice Chardonnay or a light Pinot Noir works beautifully. The acidity in wine complements the Alfredo sauce.
Can I freeze the leftovers?
While freezing is possible, the creaminess of the sauce may not hold up. If you must freeze, thaw and reheat gently on the stovetop.
Is there a vegetarian alternative?
For a vegetarian version, replace the steak and shrimp with mushrooms and bell peppers. They will soak up the Alfredo sauce nicely.
How can I make it healthier?
Use whole wheat pasta and reduce the amount of butter. Add extra vegetables for fiber and nutrients.
Conclusion
As we wrap up this culinary journey into the world of ribeye steak and shrimp Alfredo pasta, I encourage you to give it a try. It’s a hearty meal that’s full of flavor and feels special, even on a busy weeknight. With the right balance of creamy, savory, and slightly spicy elements, this dish is sure to become a new favorite.
Let’s kick things off with an idea that would elevate your breakfast game even further. Pair this scrumptious sandwich with a side of fresh fruit. Think juicy strawberries or tart kiwi slices. You could also opt for crispy potato wedges seasoned with garlic and herbs. …
Hot chocolate has a way of warming us from the inside out. Picture this: a chilly evening, you’re wrapped in a cozy blanket, and the smell of chocolate wafts through the air. Sounds lovely, right? Today, I want to share a simple and delightful method …
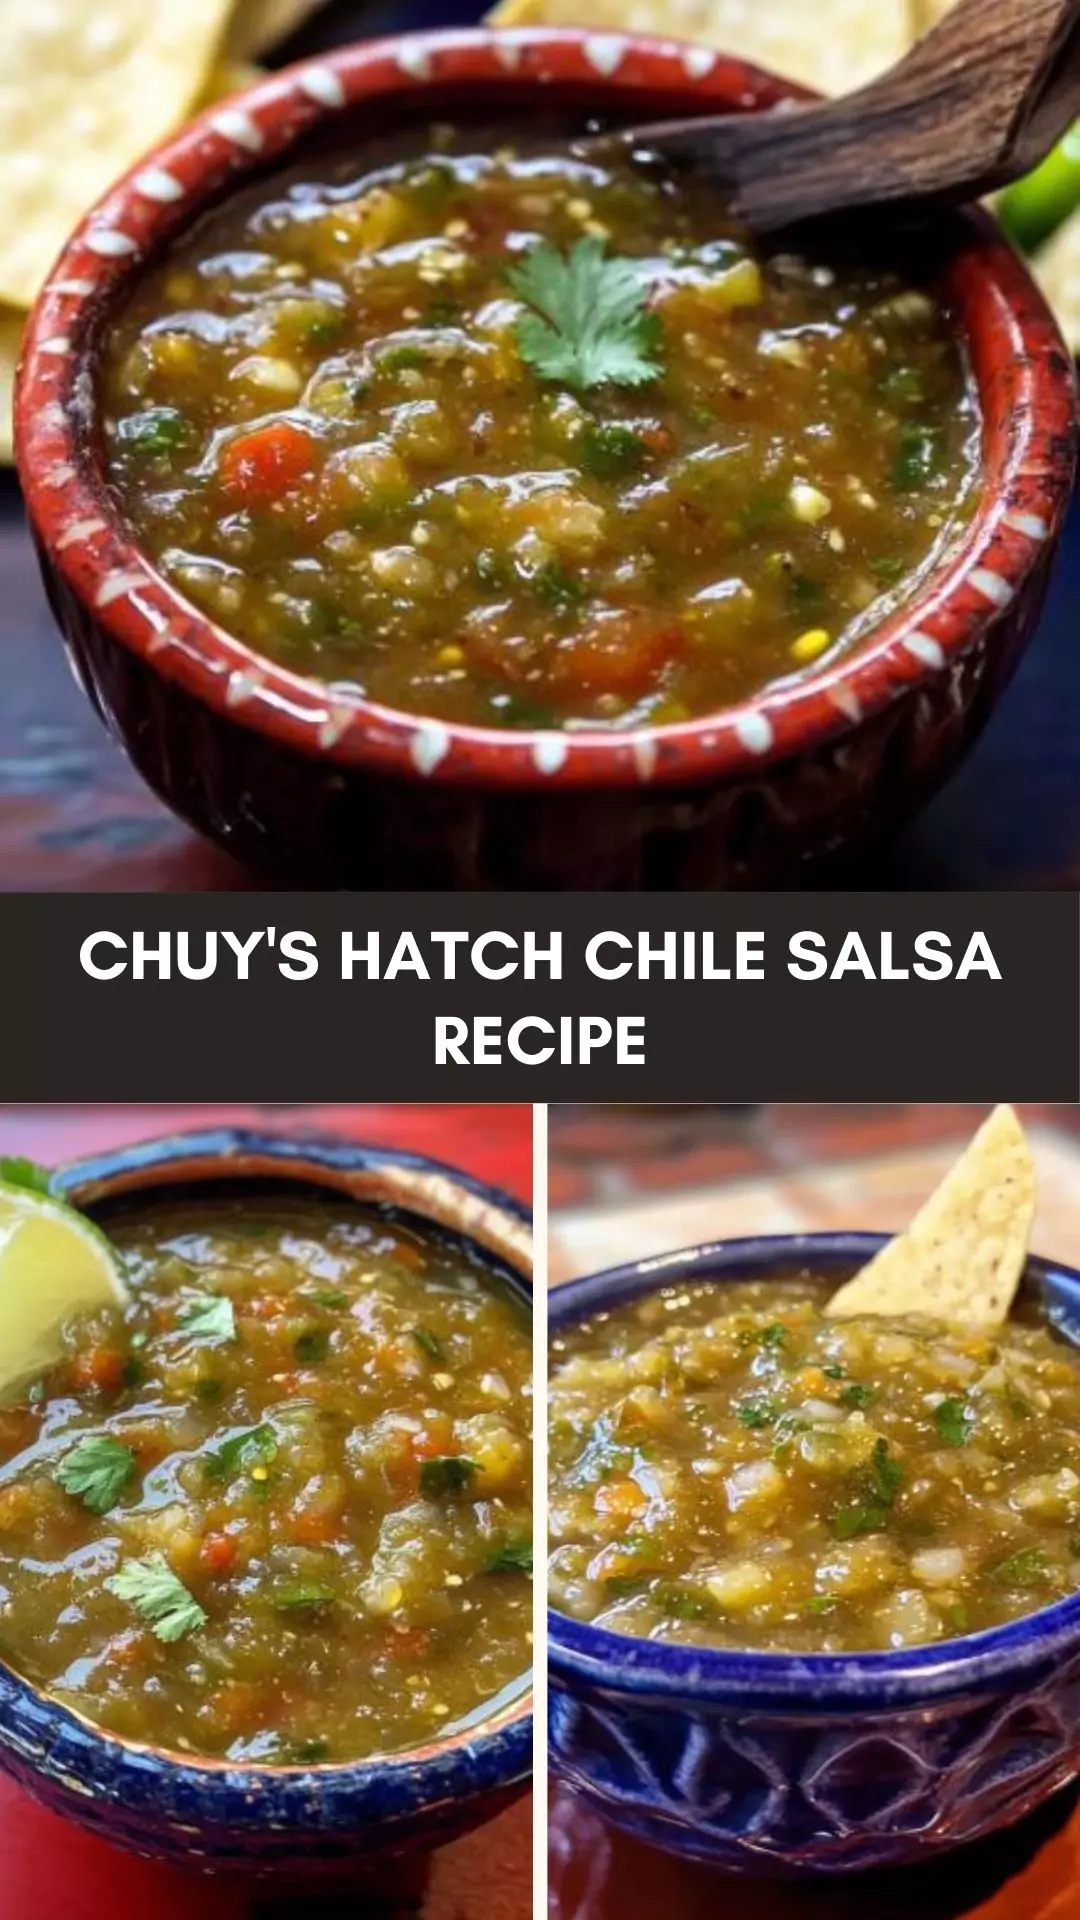
Before we dive headfirst into the irresistible world of Chuy’s Hatch Chile Salsa, let’s talk about what this vibrant dish pairs well with. Use this salsa to top off your grilled chicken or steak. It tastes heavenly on tacos, enchiladas, or even just a simple bowl of tortilla chips. Think breakfast burritos, scrambled eggs, or even spicy nachos. Basically, it’s your go-to salsa for adding a zesty punch to just about anything!
Let me tell you, folks, there’s nothing quite like a dollop of homemade salsa to light up your taste buds and chase away a gloomy day. Chuy’s Hatch Chile Salsa isn’t just any salsa; it’s an explosion of flavors that will spice up your meals and elevate your snacking game! Trust me on this one—I’ve been playing around with salsa recipes for years, and this one is a keeper.
Why should this recipe make it to your kitchen? Well, it’s bursting with fresh flavors and has that perfect balance of heat and tanginess. Plus, it features the star ingredient: Hatch green chiles. If you haven’t heard of Hatch chiles, where have you been? Let’s dive into the how-to!
You will also like the following Delicious recipes!
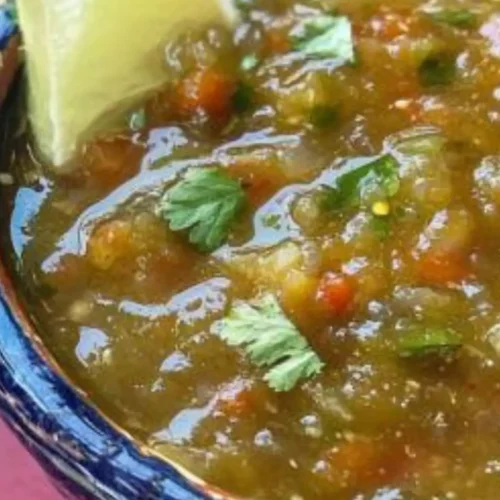
Alright, grab a seat and let me take you through the wonderful journey of crafting this salsa. First off, we need some serrano peppers for that ideal spiciness. Tomatillos bring a bright and tangy flavor to the table. Ever tried adding garlic? If not, you’re going to love the depth it provides. Kosher salt, of course, is a must to enhance all other flavors.
The Hatch green chiles—oh boy—these are my pride and joy. They bring this smoky, earthy kick that’s hard to beat. Cilantro adds a fresh breeze to the whole ensemble, while a finely diced onion contributes a sweet crunch. Ground cumin? Just a pinch to bring in warm, aromatic notes. And let’s not forget the lime juice, which ties everything together with a splash of acidity.
Ingredients List with Measurements
2 quarts water
½ lb serrano peppers, de-seeded and finely diced
½ lb fresh tomatillos, peeled and chopped
3 cloves garlic, minced
1 tablespoon kosher salt (adjust to taste)
1 lb roasted Hatch green chiles, peeled, de-seeded, and chopped
¼ cup cilantro, chopped
1 medium onion, finely diced
½ teaspoon ground cumin
3 tablespoons freshly squeezed lime juice
Instruction
Step 1: Preparing the Peppers and Tomatillos
Alrighty, let’s kick off this culinary adventure. Start by bringing 2 quarts of water to a boil in a large pot. Once it’s bubbling like a hot spring, toss in those serrano peppers and chopped tomatillos. Let them cook until they are tender, usually about 5-7 minutes.
Step 2: Blending the Base
Next, drain the cooked peppers and tomatillos. Toss them into a blender, along with the minced garlic and kosher salt. Blend it up until smooth. You want this to form the base of your salsa, setting the stage for the Hatch green chiles to shine.
Step 3: Roasting Hatch Green Chiles
Now, if you haven’t already, roast those Hatch green chiles. If you have a grill, cool, use it. Otherwise, your oven’s broiler will do fine. Once they’re nice and charred, let them cool a bit. Peel off the skins, remove the seeds, and chop them up.
Step 4: Mixing It All Together
Time to marry those flavors. In a big bowl, combine your blended mixture with the chopped Hatch green chiles. Toss in the finely diced onion, cilantro, and ground cumin. Give it a good mix.
Step 5: Final Touch of Lime
The last step—add in the freshly squeezed lime juice. Trust me, it will elevate the salsa to heavenly levels. Give everything a final stir, taste, and adjust the salt if needed. Your fantastic salsa is now ready!
Nutrition Information
Recipe Notes
Serrano Peppers: If you like it extra hot, leave in some seeds or add more peppers.
Tomatillos: These are the unsung heroes of salsa. Their tanginess balances the heat.
Hatch Green Chiles: Only available certain times of the year, but their unique flavor is worth the wait. If you can’t find them, poblano peppers are a good substitute.
Cilantro: If you’re one of those folks that think cilantro tastes like soap, feel free to skip it.
Garlic: Fresh is best. Don’t cheat with pre-minced stuff from a jar.
Recipe Variations
Milder Version: Swap out serrano peppers for milder anaheim peppers.
Tomato Blend: Add some tomatoes for a sweeter take.
Extra Smoky: Add smoked paprika for an additional smoky depth.
Herbal Twist: Throw in some fresh basil along with cilantro for a unique flavor profile.
Creamy Variation: Mix in some avocado for a creamy texture.
Tropical Flair: Add diced mango or pineapple for a fruity kick.
Chuy’s Hatch Chile Salsa Recipe
Joe Williams
Let me tell you, folks, there’s nothing quite like a dollop of homemade salsa to light up your taste buds and chase away a gloomy day.
1lbroasted Hatch green chilespeeled, de-seeded, and chopped
1/4cupcilantrochopped
1medium onionfinely diced
1/2teaspoonground cumin
3tablespoonsfreshly squeezed lime juice
Instructions
Step 1: Preparing the Peppers and Tomatillos
Alrighty, let’s kick off this culinary adventure. Start by bringing 2 quarts of water to a boil in a large pot. Once it’s bubbling like a hot spring, toss in those serrano peppers and chopped tomatillos. Let them cook until they are tender, usually about 5-7 minutes.
Step 2: Blending the Base
Next, drain the cooked peppers and tomatillos. Toss them into a blender, along with the minced garlic and kosher salt. Blend it up until smooth. You want this to form the base of your salsa, setting the stage for the Hatch green chiles to shine.
Step 3: Roasting Hatch Green Chiles
Now, if you haven’t already, roast those Hatch green chiles. If you have a grill, cool, use it. Otherwise, your oven’s broiler will do fine. Once they’re nice and charred, let them cool a bit. Peel off the skins, remove the seeds, and chop them up.
Step 4: Mixing It All Together
Time to marry those flavors. In a big bowl, combine your blended mixture with the chopped Hatch green chiles. Toss in the finely diced onion, cilantro, and ground cumin. Give it a good mix.
Step 5: Final Touch of Lime
The last step—add in the freshly squeezed lime juice. Trust me, it will elevate the salsa to heavenly levels. Give everything a final stir, taste, and adjust the salt if needed. Your fantastic salsa is now ready!
Notes
Serrano Peppers: If you like it extra hot, leave in some seeds or add more peppers.
Tomatillos: These are the unsung heroes of salsa. Their tanginess balances the heat.
Hatch Green Chiles: Only available certain times of the year, but their unique flavor is worth the wait. If you can’t find them, poblano peppers are a good substitute.
Cilantro: If you’re one of those folks that think cilantro tastes like soap, feel free to skip it.
Garlic: Fresh is best. Don’t cheat with pre-minced stuff from a jar.
Absolutely! Keep it in an airtight container in the fridge, and it should last for about a week. You can also freeze portions if you like making big batches.
What if I can’t find Hatch green chiles?
No worries! You can use poblano or anaheim peppers as substitutes. While they won’t be exactly the same, they will give you a similar smoky flavor.
How do I roast Hatch green chiles?
Place them on a baking sheet and pop them under your broiler until the skins are blistered and blackened. Alternatively, use your grill if you have one for a more authentic roasted flavor.
Is it possible to can this salsa?
Yes, it’s possible. However, you need to make sure you follow proper canning procedures to avoid spoilage. This usually involves a water bath or pressure canning.
Can I make this salsa less spicy?
Sure! You can either reduce the number of serrano peppers or swap them with a milder pepper like anaheim.
What should I do if it’s too salty?
Add a bit more lime juice or some chopped tomatoes to balance out the saltiness.
Conclusion
There you have it, folks. Chuy’s Hatch Chile Salsa is a game-changer for any meal. Its extraordinary blend of spicy, tangy, and smoky flavors will light up your culinary creations. Whether you’re planning a gathering or just want to add some zing to your weekday meals, this salsa is your ticket.
So what are you waiting for? Grab your ingredients, put on some good tunes, and get slicing and dicing. Your taste buds will thank you! And hey, leave me a comment below if you have other fun ways to enjoy this salsa or if you tried any interesting variations. Happy cooking!
Let’s face it: pancakes are fantastic on their own. But pairing Denny’s flaxseed pancakes with fresh fruit, a dollop of Greek yogurt, or a drizzle of maple syrup takes breakfast to another stratosphere. Fresh blueberries or strawberries add a burst of freshness. Greek yogurt? Silky …