Before diving into the visual treat that is the QDOBA brownie, let’s talk about what happily complements this indulgent dessert. These brownies are rich and chocolatey, making them an excellent fit with a few accompaniments. First, a scoop of vanilla ice cream can elevate your …
As a self-professed foodie, I’ve always enjoyed the thrill of exploring flavors in various dishes. Among the many delightful combinations I’ve sampled, the Qdoba Vegetarian Burrito typically leaves a lasting impression. It’s a dish that feels fresh and vibrant, perfect to brighten any table or …
Before I dive deep into the delightful world of Qdoba chicken tacos, let’s talk about what goes well with them. Picture this: a chilled can of soda, or maybe a refreshing glass of iced tea. You can also add a side of tortilla chips with guacamole or a zesty corn salad.
If you’re in the mood for something a bit richer, consider a side of Mexican street corn, also known as elote. Don’t forget about a salsa bar! Having a variety of salsas can elevate your taco experience. The key is to balance the flavors and create a meal that delights your palate.
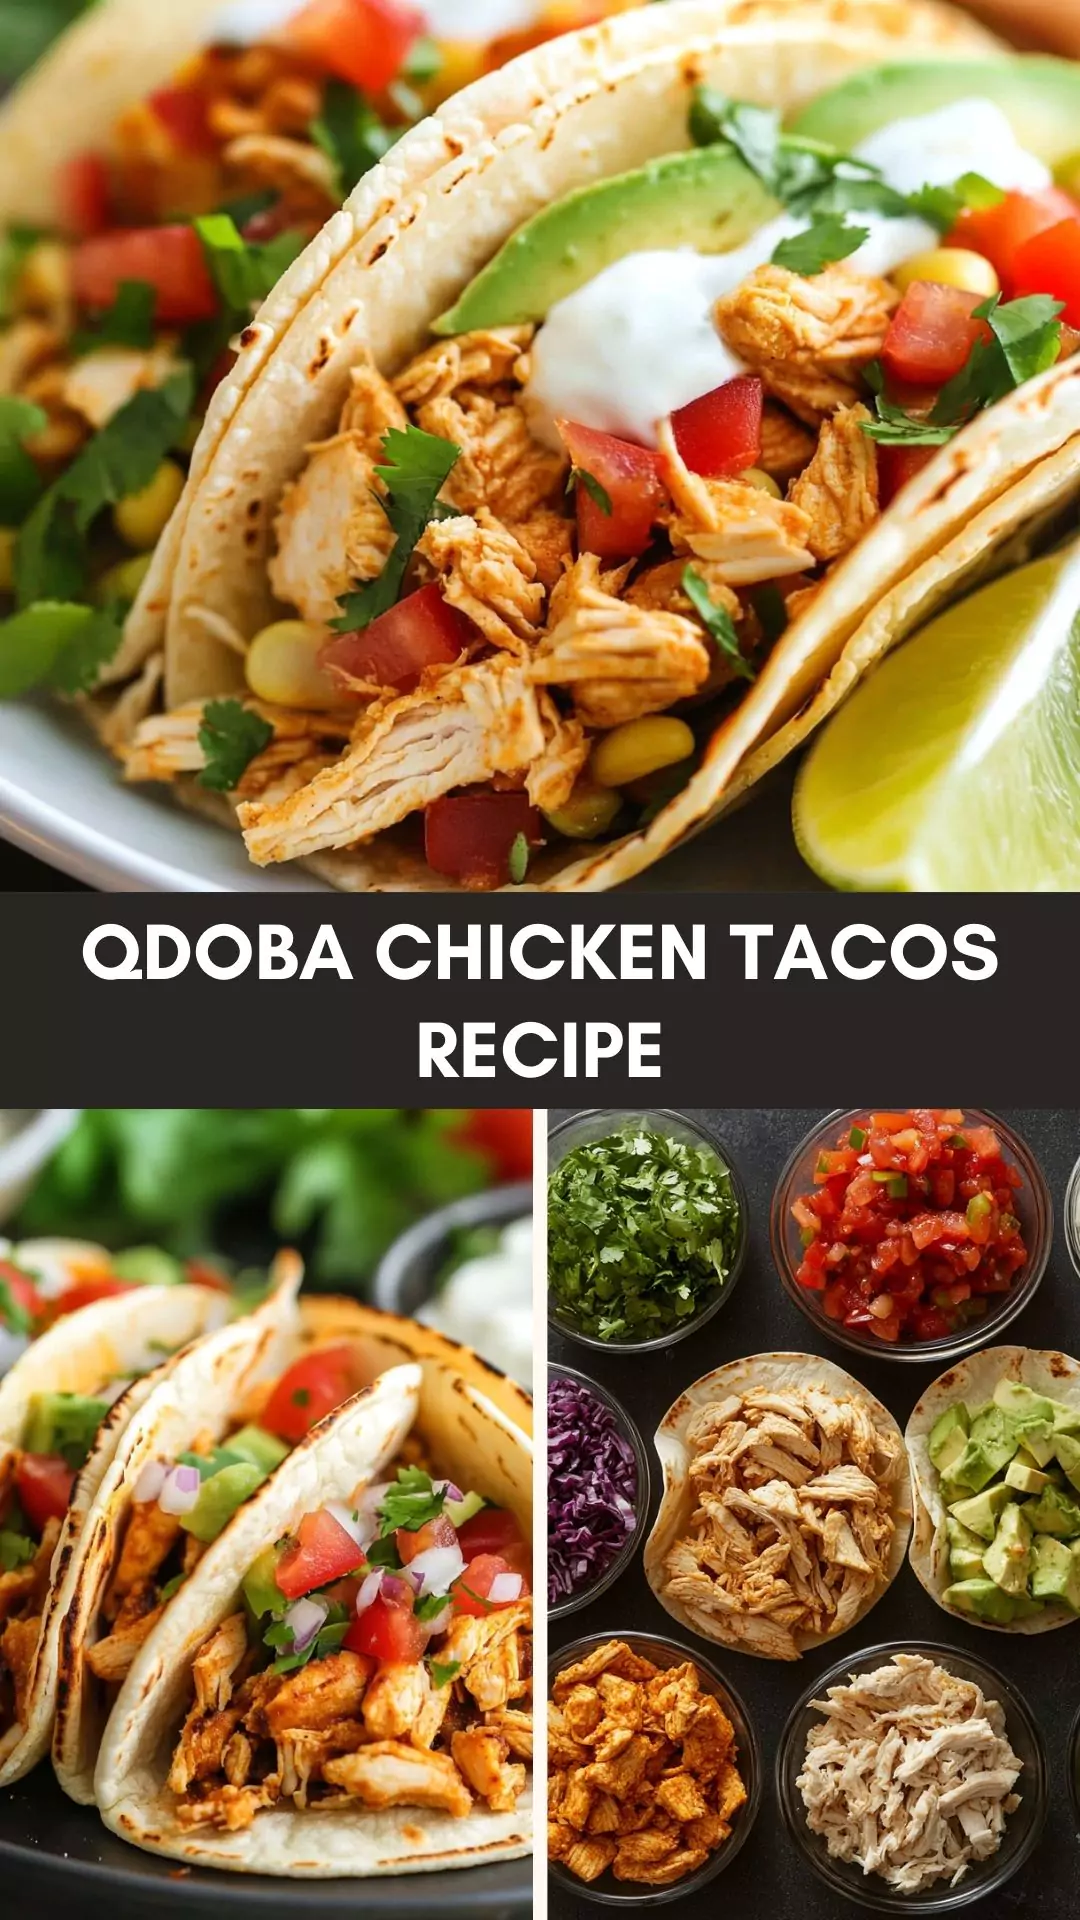
In the colorful landscape of fast-casual dining, Qdoba stands out as a go-to spot for bold flavors and personalized dishes. Among their offerings, the chicken tacos hold a special place in my heart. They are not just food; they’re an experience. The combination of tender seasoned chicken, fresh toppings, and soft tortillas creates a flavor explosion that can make any day feel like celebration.
So, let’s explore what makes Qdoba chicken tacos a beloved choice for many, as well as how to create them at home, overcoming any kitchen limitations you might have.
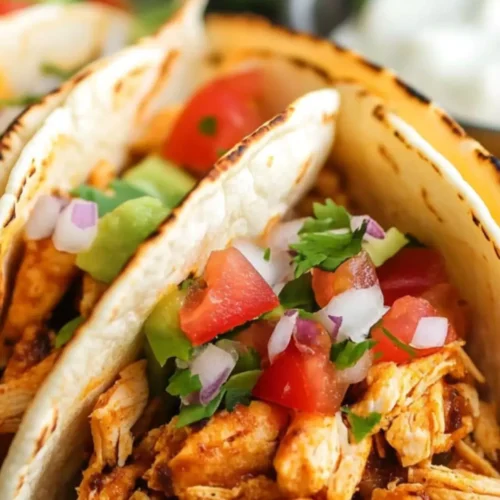
Qdoba chicken tacos are essentially soft tortillas filled with juicy grilled chicken, but they go much further than that. The chicken is marinated with spices and flavors, grilled to perfection, and complemented with fresh toppings such as pico de gallo, guacamole, and sour cream.
What sets these tacos apart is the attention to detail in the flavor profile.
What Is the Flavor Profile of This Dish?
The flavor profile of Qdoba chicken tacos is vibrant and satisfying. The marinated chicken boasts hints of garlic, cumin, and lime. When you take a bite, you taste the savory richness of the chicken, balanced by the acidity of the lime and the freshness of the vegetables.
Each ingredient contributes to a cohesive dish that is flavorful without being overwhelming. The textural contrast between the soft tortilla and crunchy toppings adds to the experience.
What Makes This Recipe Different From Other Qdoba Chicken Tacos?
What sets my version of Qdoba chicken tacos apart from others is the focus on freshness and quality. There are no shortcuts. I use boneless, skinless chicken breasts marinated in a homemade blend of spices that enhance the natural flavors.
Plus, I like to remind folks that it’s not just about the chicken; it’s equally important to consider the toppings. Adding fresh veggies and homemade salsa makes all the difference.
Ingredients You’ll Need
Gather your tackle box of flavors. Here’s what you’ll need for approximately four servings:
1 ½ pounds (680 grams) boneless, skinless chicken breasts: The star ingredient.
1/2 cup (130 grams) chunky salsa: For moisture and flavor.
1 teaspoon dried oregano: To uplift the chicken flavor.
1 teaspoon chili powder: Adds a warm kick.
1 teaspoon salt: Essential for bringing out flavors.
1/2 teaspoon smoked paprika: To impart a lovely smoky flavor.
1 tablespoon fresh lime juice: A dash of brightness.
Step-by-Step Directions
Step 1: Marinate the Chicken
In a large bowl, combine the salsa, vegetable oil, minced onion, garlic, cumin, oregano, chili powder, salt, paprika, and lime juice. Whisk until well mixed. Add the chicken breasts, ensuring they’re well covered in the marinade. Cover the bowl and refrigerate for about 30 minutes. This allows the flavors to penetrate the chicken while you prepare other elements.
Step 2: Grill the Chicken
Preheat your grill or grill pan over medium-high heat. Once hot, remove the chicken from the marinade and place on the grill. Cook for about 6-7 minutes per side, or until the internal temperature reaches 165°F (75°C). For a nice sear, resist the urge to flip too often. Once cooked, let the chicken rest for a few minutes; this helps keep it juicy.
Step 3: Prepare the Toppings
While the chicken is grilling, prepare your toppings. Dice fresh tomatoes, chop lettuce, and slice avocados for that creamy touch. You can also mix your salsa if you want to add a personal flair. The more vibrant the toppings, the more appealing your tacos will be.
Step 4: Assemble the Tacos
Once the chicken has rested, slice it into strips or bite-sized pieces. Warm your tortillas on the grill or in a skillet for a few seconds on each side. Next, layer a generous amount of chicken into each tortilla. Top with your freshly prepared veggies, salsa, guacamole, or whatever else you fancy. The trick is to layer strategically so every bite bursts with flavor.
Step 5: Serve and Enjoy
Once assembled, these tacos are ready to be devoured. Serve with a side of chips or a simple salad. Squeeze some extra lime juice over the top, and perhaps even a sprinkle of cheese if you like.
Tips on Making Qdoba Chicken Tacos
Use High-Quality Ingredients: Fresh ingredients will elevate the dish. Seek out local produce and quality chicken.
Let Chicken Marinate Longer: If time allows, marinate for up to 2 hours to intensify flavors.
Experiment with Toppings: Try different types of cheese, beans, or even a spicy sauce. Each variation can bring something new.
Don’t Skip the Resting Step: Letting the chicken rest after cooking retains its juices, making it more delicious.
Make a Large Batch: These tacos are great for meal prep. Make more chicken and store it for quick lunches or weeknight dinners.
How Can I Store This Qdoba Chicken Tacos?
If you find yourself with leftovers, no worries. Allow the chicken to cool down before transferring it to an airtight container. Store it in the fridge for up to 3 days.
Reheat gently in a skillet or microwave. As for tortillas, it’s best to keep them separate to maintain their texture.
Substitute Options for Ingredients
What if you’re missing an ingredient? No problem! Here are some simple swaps:
Chicken Breasts: Use thighs for a juicier option. Thighs have more flavor and stay moist during grilling.
Salsa: A fresh pico de gallo can replace salsa. It’s zesty and offers a crunch.
Vegetable Oil: Feel free to use olive oil. It’s healthier and adds a unique flavor.
Spices: Coal grilling adds a smoky essence to the chicken, so if you have smoked salt or liquid smoke, those can work too.
Qdoba Chicken Tacos Recipe
Joe Williams
In the colorful landscape of fast-casual dining, Qdoba stands out as a go-to spot for bold flavors and personalized dishes. Among their offerings, the chicken tacos hold a special place in my heart.
In a large bowl, combine the salsa, vegetable oil, minced onion, garlic, cumin, oregano, chili powder, salt, paprika, and lime juice. Whisk until well mixed. Add the chicken breasts, ensuring they’re well covered in the marinade. Cover the bowl and refrigerate for about 30 minutes. This allows the flavors to penetrate the chicken while you prepare other elements.
Step 2: Grill the Chicken
Preheat your grill or grill pan over medium-high heat. Once hot, remove the chicken from the marinade and place on the grill. Cook for about 6-7 minutes per side, or until the internal temperature reaches 165°F (75°C). For a nice sear, resist the urge to flip too often. Once cooked, let the chicken rest for a few minutes; this helps keep it juicy.
Step 3: Prepare the Toppings
While the chicken is grilling, prepare your toppings. Dice fresh tomatoes, chop lettuce, and slice avocados for that creamy touch. You can also mix your salsa if you want to add a personal flair. The more vibrant the toppings, the more appealing your tacos will be.
Step 4: Assemble the Tacos
Once the chicken has rested, slice it into strips or bite-sized pieces. Warm your tortillas on the grill or in a skillet for a few seconds on each side. Next, layer a generous amount of chicken into each tortilla. Top with your freshly prepared veggies, salsa, guacamole, or whatever else you fancy. The trick is to layer strategically so every bite bursts with flavor.
Step 5: Serve and Enjoy
Once assembled, these tacos are ready to be devoured. Serve with a side of chips or a simple salad. Squeeze some extra lime juice over the top, and perhaps even a sprinkle of cheese if you like.
Notes
Use High-Quality Ingredients: Fresh ingredients will elevate the dish. Seek out local produce and quality chicken.
Let Chicken Marinate Longer: If time allows, marinate for up to 2 hours to intensify flavors.
Experiment with Toppings: Try different types of cheese, beans, or even a spicy sauce. Each variation can bring something new.
Don’t Skip the Resting Step: Letting the chicken rest after cooking retains its juices, making it more delicious.
Make a Large Batch: These tacos are great for meal prep. Make more chicken and store it for quick lunches or weeknight dinners.
Absolutely! Swap the chicken for tofu or tempeh. You can even use grilled vegetables for a delightful alternative.
2. How spicy can I make them?
If you like heat, add some jalapeño slices or a spicy salsa. Adjust the chili powder to your taste.
3. What kind of tortilla should I use?
Flour tortillas are popular, but corn tortillas are a great gluten-free option. Try both to find your favorite!
4. Can I prepare this dish in advance?
Yes, you can cook the chicken ahead of time and store it. Just assemble the tacos when you’re ready to serve.
5. How can I ensure the chicken stays moist?
Marinating is key, but also don’t overcook the chicken! Keep a food thermometer handy to check for doneness.
Conclusion
Qdoba chicken tacos are more than just a tasty dish; they’re a canvas for creativity. With fresh ingredients, bold flavors, and satisfying textures, you can make a meal that your taste buds will remember. This dish is simple enough for a weeknight dinner yet impressive enough for guests.
Enjoy the process of making and customizing the tacos, and feel free to share them with friends and family. Let every bite remind you why food brings people together—because good meals create good memories.
When diving into the delicious world of Qdoba Carnitas, I often think about what pairs best with this amazing dish. A great meal covers all the bases. Think about serving your carnitas with cilantro-lime rice or seasoned black beans. You could even add fresh pico …
As a food enthusiast, I love exploring the flavors that elevate a dish. Recently, I stumbled across QDOBA’s Ancho Chile BBQ Sauce, and wow, it’s like a flavor bomb for your taste buds. Picture this: grilled chicken slathered in this smoky, sweet sauce, with a …
Think of the possibilities! Just imagine a warm burrito stuffed with succulent chicken and nestled in soft flour tortillas, topped with a generous layer of Ranchero sauce. Or picture a fresh taco salad made with crispy greens and vibrant veggies, all drizzled with this tangy delight.
Want some crunch? Pair it with tortilla chips and watch everyone dig in. Even simple grilled chicken can be transformed with a splash of this sauce. Trust me, it’s the magic touch that turns ordinary meals into extraordinary feasts.
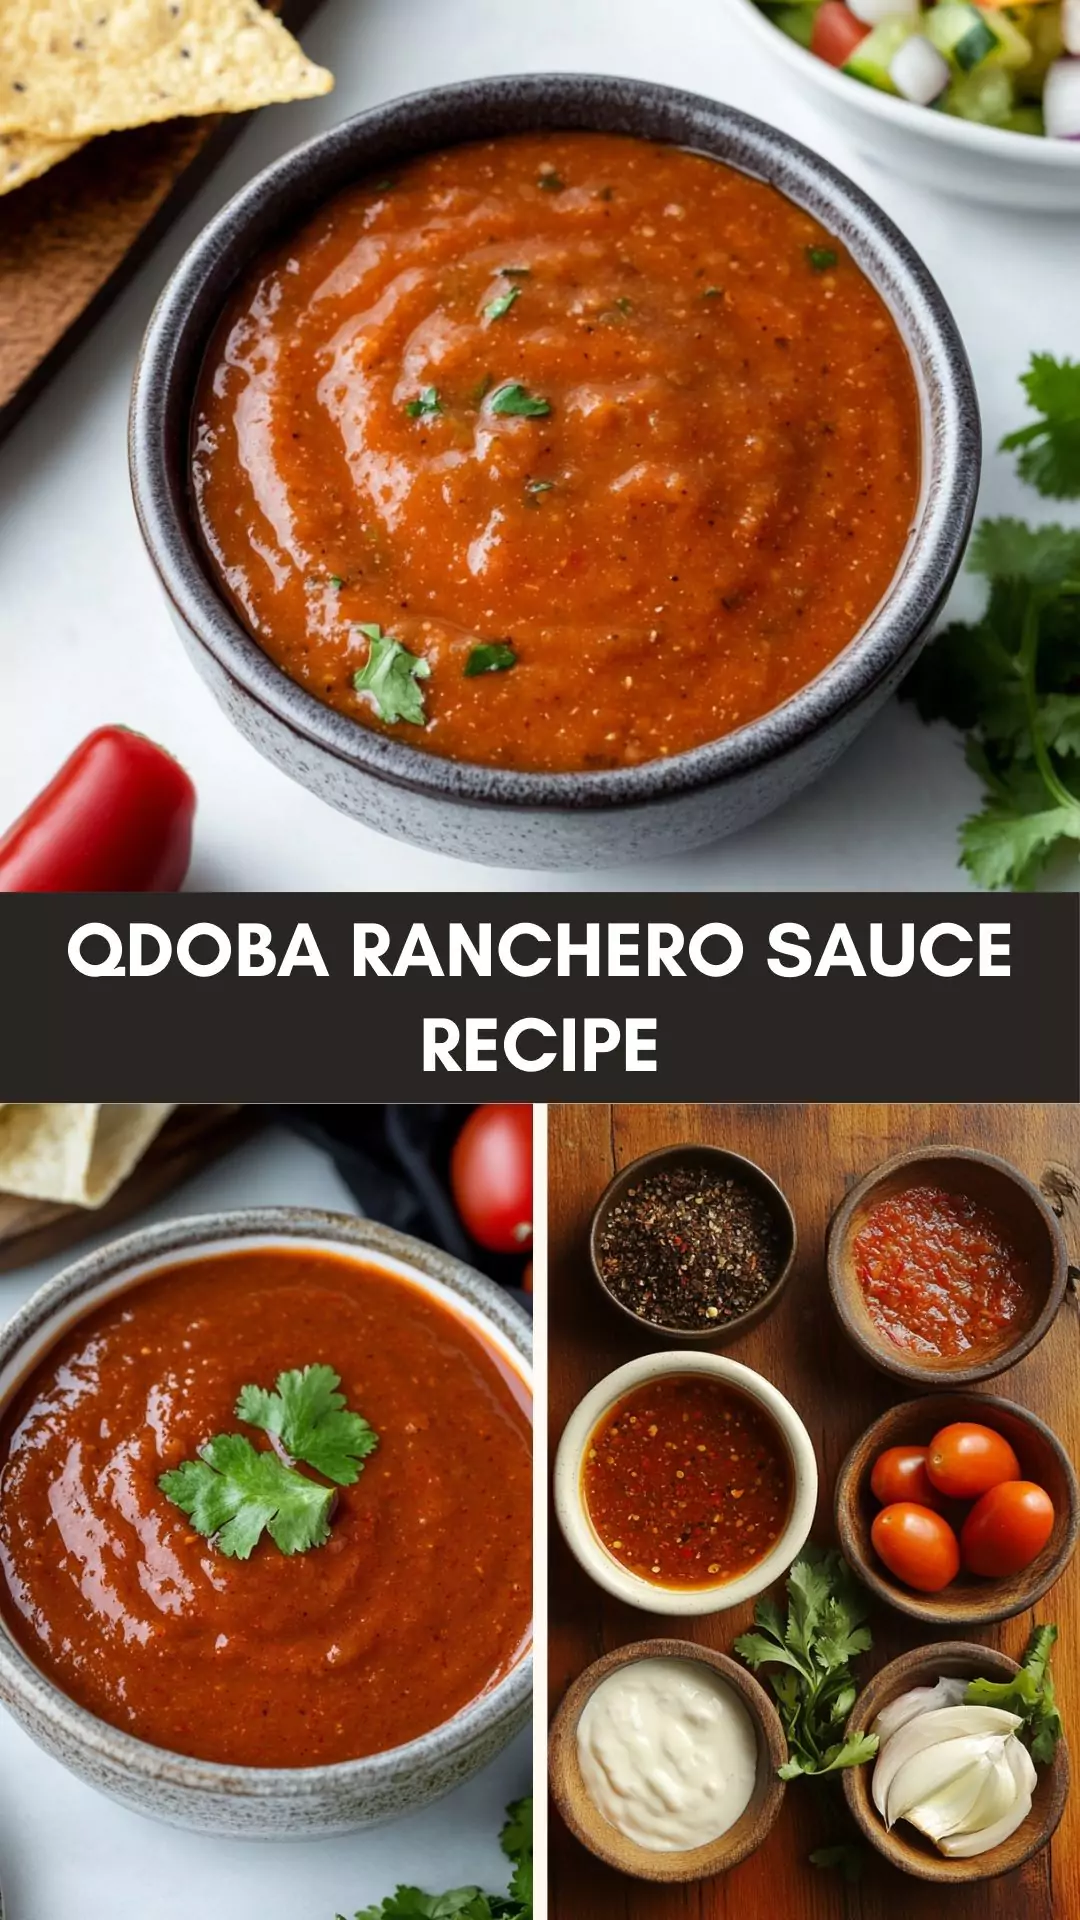
Ranchero sauce isn’t merely a condiment; it’s an experience. Born from the kitchens of vibrant Mexican cuisine, it brings bold flavors and richness to everyday dishes.
What I love most about this sauce is its balance of heat, sweetness, and tang, making it a flexible companion to nearly any meal. Today, I’m thrilled to share a recipe that not only replicates Qdoba’s classic Ranchero sauce but also allows for personal twists.
You’re about to learn how to gather simple ingredients, embrace a step-by-step process, and create a sauce that will elevate your culinary game. So, grab your apron and let’s dive in!
What is Qdoba Ranchero Sauce?
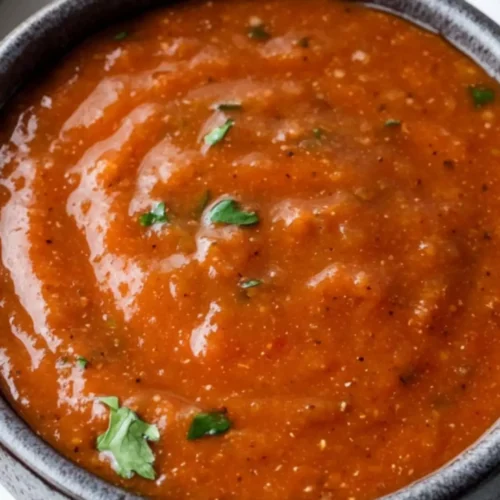
Qdoba Ranchero sauce is a flavorful, slightly smoky, and spicy sauce made primarily with tomatoes, chipotle peppers, and a blend of spices. Its base is smooth, which makes it perfect for spooning over dishes or using as a dip.
While it might seem similar to salsa, what sets Ranchero apart is its thicker consistency and the depth of flavor provided by the smoking spices.
You will also like the following Delicious recipes!
Imagine taking a bite of your favorite spicy salsa and adding a layer of warmth that envelopes the palate. That’s what Qdoba Ranchero sauce delivers. The tomatoes provide a comforting sweetness, while the chipotle peppers add a smoky kick.
The spices, like oregano and smoked paprika, round out the flavor profile, giving it a unique depth. It’s complex but approachable, familiar enough to be inviting yet intriguing enough to keep you coming back for more.
Why This Recipe Works
This recipe not only mirrors the iconic taste of Qdoba’s Ranchero sauce but also works beautifully for anyone wanting to explore homemade sauces. Here’s why my version stands out:
Fresh Ingredients Using fresh garlic, tomatoes, and herbs ensures that your sauce bursts with vibrant flavors. Plus, it keeps the flavors clean and allows each ingredient to shine.
Balanced Heat The combination of chipotle peppers and ancho chili powder provides a lingering warmth without overwhelming your taste buds. It brings depth without a fiery bite, making it accessible for all.
Simple Steps This recipe is designed for everyone, especially beginners. The clear instructions make it easy to follow. One step leads naturally to the next, resulting in a comforting sauce you can whip up quickly.
Customizable One of the joys of making your own sauce is the ability to tweak it. Love garlic? Add more! Prefer a sweeter taste? A touch of honey can do wonders. This recipe encourages experimentation.
Ingredients for Qdoba Ranchero Sauce
Gathering your ingredients is the first exciting step. Here’s what you’ll need:
½ cup finely chopped white onion
1 tablespoon light vegetable oil
1 clove garlic, minced into a paste
2 chipotle peppers in adobo sauce, coarsely chopped
1 ½ cups smooth plain tomato sauce
½ cup low-sodium chicken broth
½ teaspoon smoked paprika
½ teaspoon coarse kosher salt
½ teaspoon ancho chili powder
1 teaspoon crumbled dried oregano
2 tablespoons freshly squeezed lime juice
1 teaspoon honey (for a hint of sweetness)
With this assortment, you’re well on your way to flavor town!
Step-by-Step Instructions
Step 1: Sauté the Onions
In a medium saucepan, heat the light vegetable oil over medium heat. Add the finely chopped white onions and sauté until they turn translucent, about 4-5 minutes. You can stir occasionally to prevent sticking. This step builds the flavor base for your sauce.
Step 2: Add Garlic and Chipotle Peppers
Once the onions are ready, add the minced garlic. Stir for about 30 seconds, letting the aroma fill your kitchen. Next, toss in the chopped chipotle peppers. This is where the magic begins as the oil carries the flavors into the sauce.
Step 3: Incorporate Tomato Sauce and Broth
Now it’s time to pour in your smooth tomato sauce and low-sodium chicken broth. Stir everything gently, making sure all ingredients mingle nicely.
Step 4: Season the Sauce
Sprinkle in the smoked paprika, coarse salt, ancho chili powder, and oregano. Each of these ingredients contributes a different aspect of flavor, so don’t rush! Mix well and let the sauce simmer on low heat for about 10 minutes. This will allow the flavors to meld together.
Step 5: Add Lime and Honey
Just before you finish cooking, stir in the lime juice and honey. The lime will brighten your sauce, and the honey provides a lovely balance to the spices. Cook for an additional 2 minutes to allow the flavors to combine.
Step 6: Cool and Blend (Optional)
For a smoother consistency, allow the sauce to cool slightly and blend it in a blender if you prefer a more refined texture. If you love the chunky feel, just skip this step.
Notes
Adjust the Spice Level If you’re not keen on heat, use fewer chipotle peppers. You can always add a bit of hot sauce later if you desire more kick.
Freshness Counts Using freshly squeezed lime juice rather than bottled enhances the flavor significantly.
Storage is Key Store leftovers in an airtight container in the fridge. It can last about a week.
Group Cooking Don’t hesitate to double the batch! This sauce freezes well, making it convenient for future meals.
Taco Tuesday Plan to make this as part of your next Taco Tuesday feast. Your friends will be begging for the recipe!
How to Store the Leftovers
Once you’ve savored every drop, any leftover Ranchero sauce can easily find a home in your fridge or freezer. For refrigeration, ensure it’s cooled completely before transferring to an airtight container.
This can last for up to a week. If you want to save some for later, pour it into freezer-safe bags or containers. Just make sure to label it with the date. It keeps well for around three months.
Sides for Qdoba Ranchero Sauce
Pairing side dishes can enhance your meal experience significantly. Here are a few suggestions to complement your Ranchero sauce:
Cilantro Lime Rice Bright and zesty, this rice dish perfectly complements the richness of Ranchero sauce. Cook some basmati or jasmine rice and toss it with fresh cilantro and a squeeze of lime juice. The combination of flavors will make your taste buds dance.
Grilled Veggies Roasted or grilled veggies provide a hearty side. They offer a smoky flavor that parallels the sauce beautifully. Think bell peppers, zucchini, and onions, lightly seasoned and charred to perfection.
Black Bean Salad This refreshing salad adds a healthy twist to your meal. Toss together black beans, corn, diced tomatoes, and red onion, then dress them with lime juice and olive oil. It’s simple and delicious!
Crusty Bread Warm, crusty bread or tortilla chips provides a perfect way to scoop up that flavorful sauce. Nothing like a bit of crunch to take your meal from good to great.
Alternative Choices for Ingredients
Sometimes creativity strikes, and you might find yourself lacking a key ingredient. No worries! Here are some possible substitutions you can use:
Tomato Sauce Alternative No tomato sauce? No problem! You can use crushed tomatoes or even tomato paste mixed with a bit of water for the same richness.
Chicken Broth Substitute Vegetable broth or even plain water can stand in for chicken broth if you’re keeping it vegetarian or don’t have any on hand.
Chipotle Peppers Replacement If you aren’t able to find chipotle peppers, try using adobo sauce alone, or smoked paprika for that smoky flavor without extra heat.
Fresh Lime Juice Swaps Don’t have a lime? Lemon juice can work in a pinch. While it’s less tangy, it still provides that citrus note we love.
Qdoba Ranchero Sauce Recipe
Joe Williams
Ranchero sauce isn’t merely a condiment; it’s an experience. Born from the kitchens of vibrant Mexican cuisine, it brings bold flavors and richness to everyday dishes.
½teaspoonancho chili powderfor a mild, earthy heat
1teaspooncrumbled dried oregano
2tablespoonsfreshly squeezed lime juice
1teaspoonhoneynew addition for a hint of sweetness to balance the spice
Instructions
Step 1: Sauté the Onions
In a medium saucepan, heat the light vegetable oil over medium heat. Add the finely chopped white onions and sauté until they turn translucent, about 4-5 minutes. You can stir occasionally to prevent sticking. This step builds the flavor base for your sauce.
Step 2: Add Garlic and Chipotle Peppers
Once the onions are ready, add the minced garlic. Stir for about 30 seconds, letting the aroma fill your kitchen. Next, toss in the chopped chipotle peppers. This is where the magic begins as the oil carries the flavors into the sauce.
Step 3: Incorporate Tomato Sauce and Broth
Now it’s time to pour in your smooth tomato sauce and low-sodium chicken broth. Stir everything gently, making sure all ingredients mingle nicely.
Step 4: Season the Sauce
Sprinkle in the smoked paprika, coarse salt, ancho chili powder, and oregano. Each of these ingredients contributes a different aspect of flavor, so don’t rush! Mix well and let the sauce simmer on low heat for about 10 minutes. This will allow the flavors to meld together.
Step 5: Add Lime and Honey
Just before you finish cooking, stir in the lime juice and honey. The lime will brighten your sauce, and the honey provides a lovely balance to the spices. Cook for an additional 2 minutes to allow the flavors to combine.
Step 6: Cool and Blend (Optional)
For a smoother consistency, allow the sauce to cool slightly and blend it in a blender if you prefer a more refined texture. If you love the chunky feel, just skip this step.
Notes
Adjust the Spice Level If you’re not keen on heat, use fewer chipotle peppers. You can always add a bit of hot sauce later if you desire more kick.
Freshness Counts Using freshly squeezed lime juice rather than bottled enhances the flavor significantly.
Storage is Key Store leftovers in an airtight container in the fridge. It can last about a week.
Group Cooking Don’t hesitate to double the batch! This sauce freezes well, making it convenient for future meals.
Taco Tuesday Plan to make this as part of your next Taco Tuesday feast. Your friends will be begging for the recipe!
Absolutely! Just ensure you use vegetable broth instead of chicken broth. This sauce is naturally plant-based, so you’re good to go.
How can I make Ranchero sauce spicier?
If you like the heat, consider adding more chipotle peppers, a splash of hot sauce, or red pepper flakes. Adjust to your taste!
Is it possible to can this sauce?
Yes, but if you’re considering canning for long-term storage, follow proper canning practices to ensure food safety. This sauce can be preserved, provided the acidity levels are maintained.
Can I use dried oregano instead of fresh?
Dried oregano works just fine; however, if you have fresh, the flavor will be more vibrant. Use about one teaspoon of dried for every tablespoon of fresh.
Conclusion
Creating Qdoba Ranchero sauce in your own kitchen is more than just making a condiment—it’s crafting a burst of flavor that can elevate any meal. With simple ingredients, straightforward steps, and delicious potential pairings, you’re well-equipped to impress at your next family gathering or weeknight dinner.
So why wait? Dive into this adventure and enrich your cooking repertoire! After all, when you can create bold flavors like this from scratch, you might just inspire someone next to you to hold their own culinary adventure. Get ready to share your new favorite sauce, and watch the smiles appear at the dining table. Cheers to delicious meals ahead!
Before we dive into the delightful details of QDOBA’s Mango Chicken Salad, let’s talk about what you can serve alongside this vibrant dish. This salad holds its own, but it also plays nice with a few companions. Think about a light, zesty coleslaw bursting with …
As summer approaches, my thoughts drift towards vibrant outdoor gatherings. Something about sunshine and the sound of laughter gets me in the mood for fresh flavors. One dish that always steals the show is QDOBA Mango Salsa. It’s a burst of tropical flavors that pairs …
Before we dive into the sizzle of steak burritos, let’s talk about pairing. What goes well with a hearty Qdoba steak burrito? First off, a side of crispy tortilla chips with fresh salsa or guacamole adds crunch and zest to every bite.
A fresh green salad can provide a refreshing contrast, balancing the savory richness of the burrito. If you’re feeling adventurous, try a side of queso for an extra cheesy experience. For drinks, a refreshing limeade or a light beer can elevate the flavors beautifully. Now, let’s dig into the burrito itself.
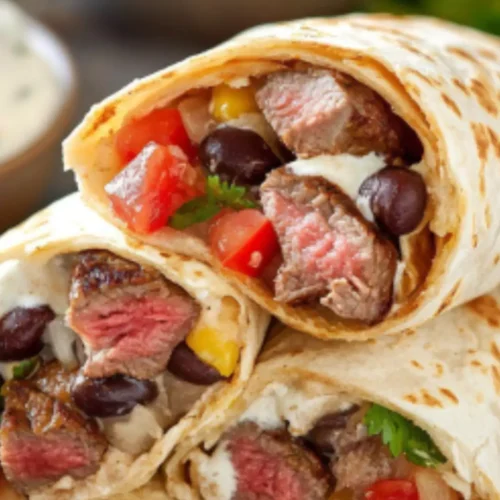
The moment you unwrap a Qdoba steak burrito, a wave of rich, smoky aromas fills the air. You know you’re about to embark on a flavorful adventure.
You can practically taste the blend of spices, grilled steak, and fresh ingredients before even taking a bite. If the mere thought of it makes your mouth water, you’ll be delighted to learn how to create this at home, capturing that restaurant quality in your kitchen.
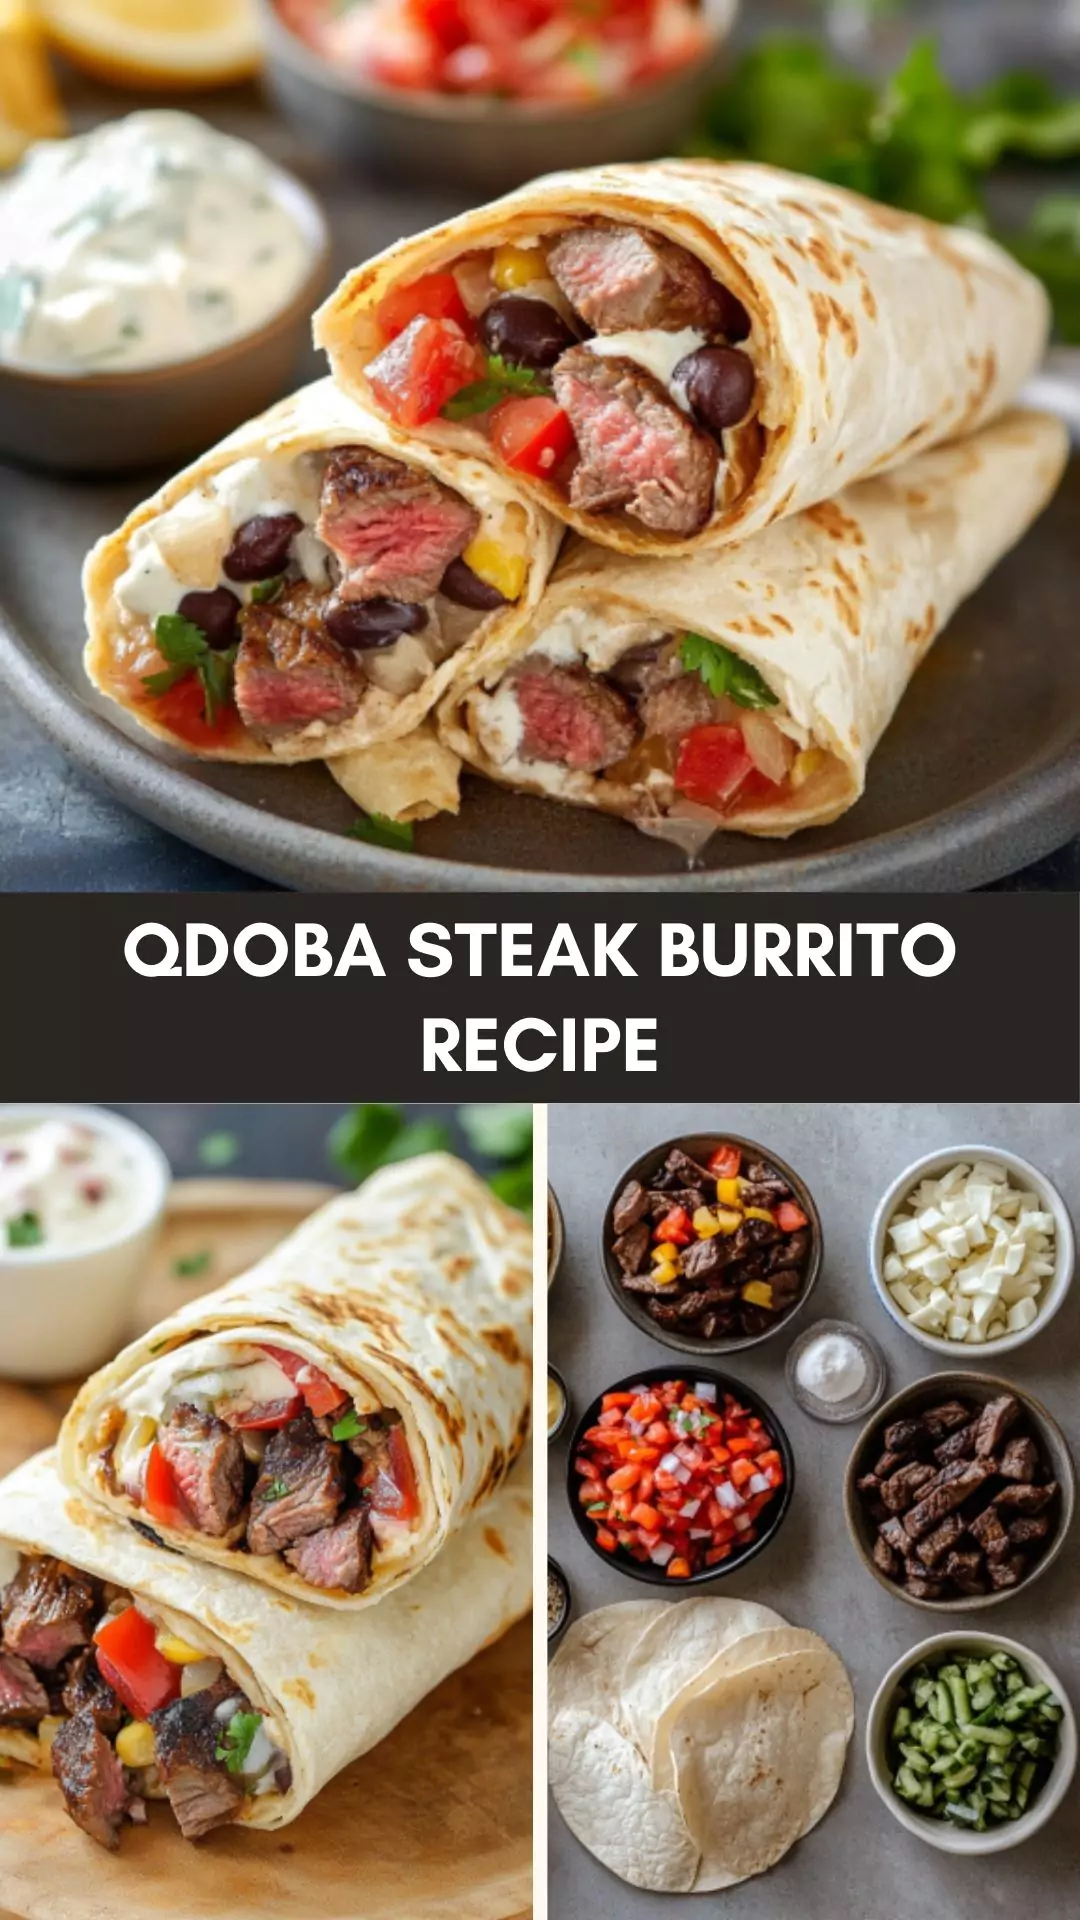
A Qdoba steak burrito is more than just a meal; it’s an experience. It’s a large, flour tortilla wrapped around marinated steak, cilantro-lime rice, black beans, pico de gallo, and creamy sour cream.
Each ingredient plays a vital role in creating a dish that’s both comforting and vibrant. The steak is seasoned to perfection, adding depth and heartiness that pairs beautifully with the fresh accents of lime and cilantro.
Why You’ll Love This Qdoba Steak Burrito
Imagine biting into a warm tortilla that gives way to tender steak, with each chew reminding you of your favorite restaurant. That’s the essence of the Qdoba steak burrito. The rich, marinated beef, coupled with zesty rice, and fresh toppings creates a melody of flavors.
Mouthwatering Ingredients
The steak itself is marinated and grilled to juicy perfection, offering a smoky flavor that dances on your taste buds. The cilantro-lime rice provides a fragrant, zesty base that complements the meat. Fresh pico de gallo brings a burst of acidity and freshness, while black beans add creaminess and protein. Finally, the sour cream or crema ties everything together, making each bite a well-rounded delight.
Unforgettable Experience
Every time I make this burrito, it takes me back to those special moments enjoying food with friends. It’s not just dinner; it’s a chance to relax, share stories, and experience good company. This recipe allows you to recreate that same experience at home, letting you savor each part of the dish, right down to that last delicious bite.
The Ingredients You Will Need
To create your Qdoba steak burrito, gather these ingredients:
For the Steak:
1 lb skirt steak
1 teaspoon dried oregano
½ teaspoon ground cumin
¼ teaspoon garlic powder
¼ teaspoon onion powder
¼ teaspoon crushed red chili flakes
A pinch of sea salt and freshly cracked black pepper
2 teaspoons olive oil
For the Cilantro-Lime Rice:
2 cups warm cooked basmati rice
1 ½ tablespoons fresh lime juice
½ tablespoon fresh lemon juice
2 teaspoons olive oil
2 tablespoons fresh cilantro, chopped
½ teaspoon kosher salt
For the Pico de Gallo:
A fresh mix of tomato, onion, cilantro, and lime juice
For Beans, Sour Cream, and Tortillas:
15 oz can low-sodium black beans, rinsed, drained, and warmed
½ cup crema or sour cream
4 (10-inch) flour tortillas
Directions
Ready to get cooking? Here’s how to whip up your Qdoba steak burrito step by step.
Step 1: Marinate the Steak
In a bowl, combine the oregano, cumin, garlic powder, onion powder, chili flakes, salt, and pepper. Rub the mixture onto the skirt steak. Drizzle with olive oil. Cover and let it marinate for at least 30 minutes, preferably an hour. This allows the flavors to penetrate the meat.
Step 2: Cook the Steak
Preheat your grill or skillet over medium-high heat. Once hot, add the marinated steak. Cook for about 4-5 minutes on each side or until it reaches your desired doneness. Remember, skirt steak can become tough if overcooked, so aim for medium rare for the best flavor and texture. After cooking, let the steak rest for a few minutes, then slice it against the grain for optimal tenderness.
Step 3: Prepare the Cilantro-Lime Rice
In a large bowl, mix the warm basmati rice with lime juice, lemon juice, olive oil, chopped cilantro, and kosher salt. Stir well to ensure the rice is evenly coated with the zesty dressing.
Step 4: Make the Pico de Gallo
In a separate bowl, mix chopped tomatoes, diced onions, a handful of cilantro, and a squeeze of lime juice. This fresh salsa is essential for adding brightness to your burrito.
Step 5: Assemble the Burrito
Warm your flour tortillas in a pan. In the center of each tortilla, layer the cilantro-lime rice, black beans, sliced steak, pico de gallo, and a dollop of sour cream. Wrap the burrito tightly, folding in the sides while rolling from the bottom to the top. Make sure everything is secured inside!
Notes
Use Fresh Ingredients: The freshness of the veggies and herbs enhances the flavor. Don’t settle for anything less.
Let It Rest: Resting the steak after cooking helps redistribute the juices, leading to a juicier bite.
Experiment with the Salsas: Don’t hesitate to try different salsas or hot sauces. Each can give a new twist to the dish.
Be Bold with Seasonings: Don’t hold back. If you like it spicy, add more chili flakes to the steak marinade.
Try Different Proteins: If steak isn’t your thing, feel free to substitute with chicken or tofu for a different flavor profile.
Storage Tips
If you have leftovers, they can be stored in airtight containers in the fridge for up to 3 days. For best flavor, keep the ingredients separate until you’re ready to eat. The cooked steak and rice can be reheated, but the pico de gallo and fresh toppings should be added fresh.
Serving Suggestions
For a truly spectacular meal experience, consider these serving suggestions:
Add Extra Toppings:Chopped jalapeños or pickled onions can elevate the flavors and add heat.
Elevate with Cheese: A sprinkle of shredded cheese on top before rolling can add a creamy texture.
Serve with Chips:Tortilla chips with salsa or guacamole on the side will give your meal more variety.
Pair with a Salad: A simple green salad dressed with lime vinaigrette adds freshness.
Kick Back with a Drink: A light beer or cola complements the burrito’s richness perfectly.
What Other Substitutes Can I Use in Qdoba Steak Burrito?
If you want to switch things up, here are some alternatives:
Grilled Chicken:Tender grilled chicken is a great substitute that still offers heaps of flavor.
Pulled Pork: This savory option adds a different kind of richness. Dress it with a zesty sauce for an extra kick.
Shrimp: Why not? Grilled shrimp can bring a seafood twist that’s just as satisfying.
Tofu: For a vegetarian option, tofu marinated in soy sauce and grilled will work beautifully.
Tempeh: Another excellent choice for plant-based diets. Crispy tempeh provides a hearty texture and flavor.
Qdoba Steak Burrito Recipe
Joe Williams
The moment you unwrap a Qdoba steak burrito, a wave of rich, smoky aromas fills the air. You know you’re about to embark on a flavorful adventure.
Fresh Pico de Gallotomato, onion, cilantro, and lime mix
For the BeansSour Cream, and Tortillas:
15ozcan low-sodium black beansrinsed, drained, and warmed
½cupcrema or sour cream
410-inch flour tortillas
Instructions
Ready to get cooking? Here’s how to whip up your Qdoba steak burrito step by step.
Step 1: Marinate the Steak
In a bowl, combine the oregano, cumin, garlic powder, onion powder, chili flakes, salt, and pepper. Rub the mixture onto the skirt steak. Drizzle with olive oil. Cover and let it marinate for at least 30 minutes, preferably an hour. This allows the flavors to penetrate the meat.
Step 2: Cook the Steak
Preheat your grill or skillet over medium-high heat. Once hot, add the marinated steak. Cook for about 4-5 minutes on each side or until it reaches your desired doneness. Remember, skirt steak can become tough if overcooked, so aim for medium rare for the best flavor and texture. After cooking, let the steak rest for a few minutes, then slice it against the grain for optimal tenderness.
Step 3: Prepare the Cilantro-Lime Rice
In a large bowl, mix the warm basmati rice with lime juice, lemon juice, olive oil, chopped cilantro, and kosher salt. Stir well to ensure the rice is evenly coated with the zesty dressing.
Step 4: Make the Pico de Gallo
In a separate bowl, mix chopped tomatoes, diced onions, a handful of cilantro, and a squeeze of lime juice. This fresh salsa is essential for adding brightness to your burrito.
Step 5: Assemble the Burrito
Warm your flour tortillas in a pan. In the center of each tortilla, layer the cilantro-lime rice, black beans, sliced steak, pico de gallo, and a dollop of sour cream. Wrap the burrito tightly, folding in the sides while rolling from the bottom to the top. Make sure everything is secured inside!
Notes
Use Fresh Ingredients: The freshness of the veggies and herbs enhances the flavor. Don’t settle for anything less.
Let It Rest: Resting the steak after cooking helps redistribute the juices, leading to a juicier bite.
Experiment with the Salsas: Don’t hesitate to try different salsas or hot sauces. Each can give a new twist to the dish.
Be Bold with Seasonings: Don’t hold back. If you like it spicy, add more chili flakes to the steak marinade.
Try Different Proteins: If steak isn’t your thing, feel free to substitute with chicken or tofu for a different flavor profile.
Absolutely! Substitute the steak with grilled vegetables or a protein-rich blend like quinoa and black beans. This keeps it hearty and satisfying.
2. How can I make it gluten-free?
Switch the flour tortillas for gluten-free tortillas. Additionally, ensure your beans and other condiments are gluten-free.
3. What can I do with leftover ingredients?
Leftover tortillas can become wraps for lunch, while excess rice and beans can be used in salads or as sides for other meals.
4. Can I freeze the burritos?
Yes! Wrap them tightly in foil and freeze. When you’re ready to eat, thaw in the fridge overnight and reheat in the oven.
5. How can I spice it up?
Add extra chili flakes to the marinade, spicy salsa, or fresh sliced jalapeños to the filling for more heat.
6. What should I serve on the side?
Tortilla chips with guacamole, a cold cucumber salad, or light corn salad work perfectly with the burritos.
Conclusion
Crafting a Qdoba steak burrito isn’t just about combining steak and beans; it’s about creating memories around the dinner table. This dish brings together flavors and textures that can transport you back to your favorite eateries—even while you’re in the comfort of your kitchen.
With this detailed guide, you’ll be well on your way to mastering the art of the burrito. Share it with friends or savor it all by yourself. Either way, you’re in for a treat that’s sure to delight! Enjoy each bite!
Let’s kick things off with some tasty ideas for what you can enjoy with your Qdoba tortilla chips. Maybe you’re hosting a get-together, or just looking for a snack. Here are a few suggestions that will complement those crispy delights: Is there anything better than …