Mango Sago is a sweet, creamy dessert that pairs beautifully with a variety of accompaniments to elevate its tropical flavors. These pairings bring balance and added texture to the dish. Fresh tropical fruits like kiwi and passion fruit add a tangy contrast that enhances the …
When it comes to savoring Taiwanese beef noodle soup, the right side dishes elevate the experience. You might want to serve some pickled vegetables to add a tangy crunch. A simple cucumber salad provides a refreshing contrast to the rich flavors of the soup. If …
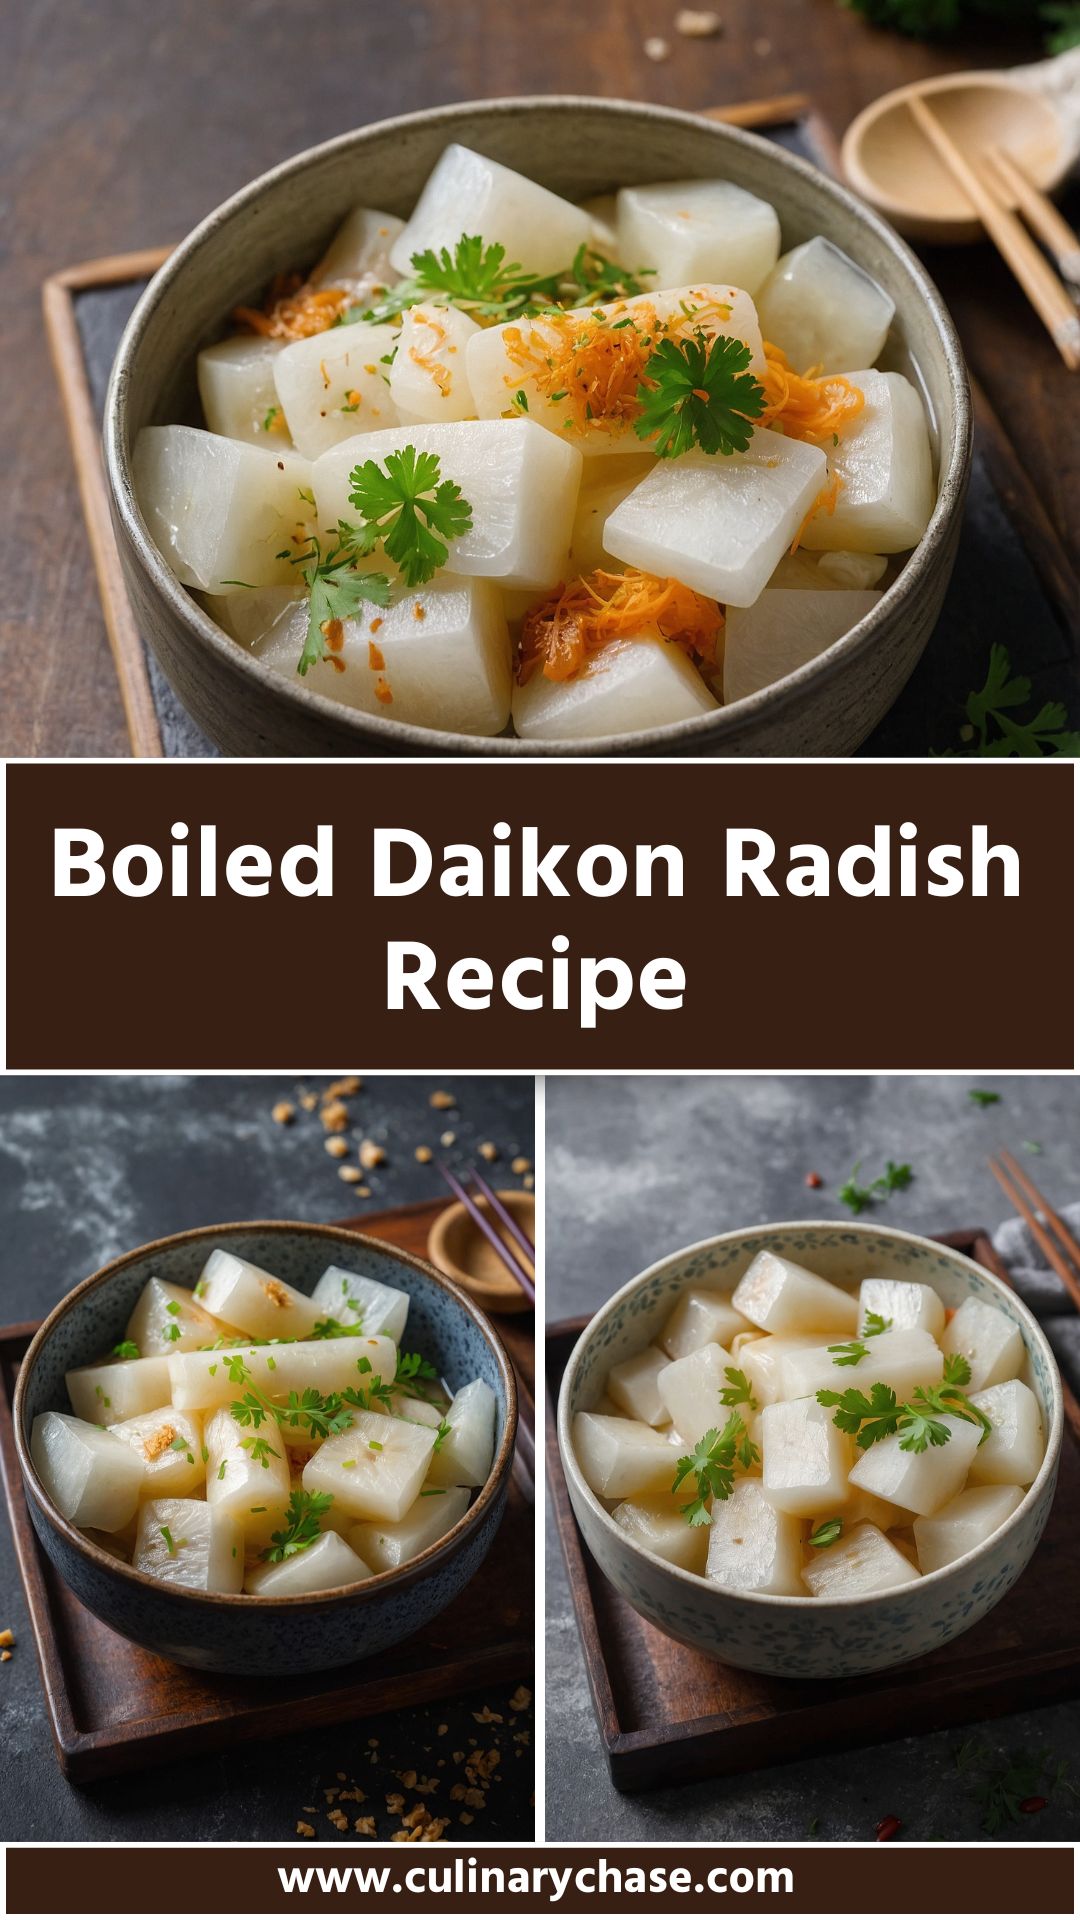
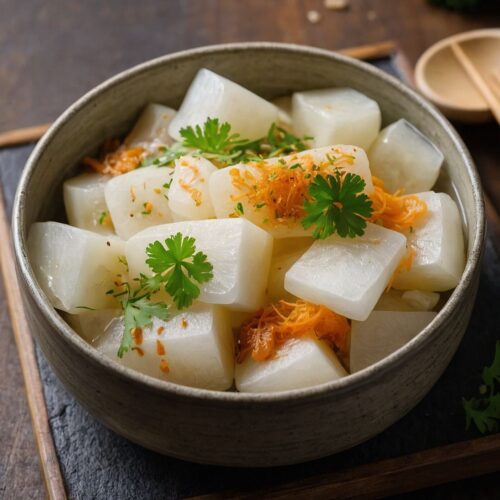
Before we dive into the deliciousness of boiled daikon radish, let’s talk about what you can enjoy it with. Think about a steaming bowl of rice.
The delicate flavor of daikon pairs wonderfully with the simple, earthy quality of cooked rice. You could also serve it alongside grilled fish, as the refreshing crunch of daikon complements the tender, juicy meat beautifully. Even a drizzle of soy sauce or a sprinkle of sesame seeds can elevate your dish to something extraordinary.
But what makes boiled daikon radish stand out? Let me share why tackling this recipe is not just delightful but also beneficial. Imagine biting into a tender piece of daikon, where each taste is a celebration of health and nutrition.
That’s right. Daikon is low in calories and high in vitamin C, offering several health benefits including digestive support and anti-inflammatory properties. Plus, they are versatile enough to fit into many dietary preferences.
Why This Recipe is Great for You
Let’s chat about why this boiled daikon radish recipe should be your next go-to dish. As a registered dietitian and someone who adores cooking, I’ve seen the impact of incorporating wholesome ingredients into meals. Daikon radish has a crisp texture and a refreshing taste that can brighten up any dining experience.
These little beauties have been a staple in Asian cuisine, and they are making their way into more mainstream diets due to their health benefits and unique flavor profile.
This recipe allows you to experience the daikon in a way that brings out its natural sweetness. The simplicity of boiling makes any additional flavors shine through, and you’ll be surprised how a few pantry staples can create such a culinary gem.
I’ve experimented with various cooking methods, but boiling these radishes brings out their best.
You will also like the following Side Dishes recipes!
Ready to roll up your sleeves? Here’s what you’ll need to create this delightful dish:
1 tablespoon vegetarian oyster sauce
1 pound white daikon root
1/4 teaspoon toasted sesame oil
½ teaspoon sea salt (adjust to taste)
1 cup vegetable broth or water
¼ teaspoon ground white pepper
1 thin slice fresh ginger
1/2 teaspoon light soy sauce
1 green onion, finely chopped
⅛ teaspoon granulated sugar
These ingredients come together to create a dish that’s not only nourishing but also incredibly flavorful.
How to Make Boiled Daikon Radish
Now, let’s jump into the kitchen and get cooking!
Step 1: Prepare the Daikon
Start with the freshest daikon radish you can find. Peel off the outer skin using a vegetable peeler. Make sure to remove any blemishes.
After peeling, slice the daikon radish into rounds about 1/4 inch thick. This will ensure even cooking and a delightful texture.
Step 2: Cook the Daikon
In a pot, combine the vegetable broth (or water) with the sliced daikon. Add the slice of fresh ginger, which is going to impart its fragrant quality into the dish. It’s like a warm hug on a winter day. Bring the mixture to a boil over medium heat.
Once boiling, reduce the heat to low and let it simmer for about 10 to 15 minutes until the daikon is tender. You know it’s done when you can easily pierce it with a fork.
Step 3: Season the Daikon
After the daikon is tender and cooked, it’s time to jazz it up with flavors. Stir in the vegetarian oyster sauce, light soy sauce, granulated sugar, and ground white pepper. These ingredients add depth and a little zing.
I often think of seasoning as an artist thinking about the final brushstrokes on their canvas. Once everything is well mixed, allow it to cook for another minute or so to let the flavors meld together.
Step 4: Add the Finishing Touches
Once the daikon has absorbed all those fantastic flavors, remove the pot from heat. Drizzle a little toasted sesame oil over the top.
Don’t skip this step! It adds a beautiful nutty aroma that elevates the entire dish. Finally, garnish with finely chopped green onions. They contribute a fresh crunch and visual appeal.
Recipe Notes
Here’s a closer look at our star ingredients:
1. Daikon Radish: This root vegetable is crisp and refreshing. It boasts a mild flavor that makes it quite adaptable to different recipes. 2. Vegetarian Oyster Sauce: Don’t worry; this has no oysters! It’s made from mushrooms and provides umami, enhancing the dish’s richness. 3. Sesame Oil: A staple in Asian cooking. A little goes a long way in adding robust, nutty flavors that elevate the meal. 4. Ginger: Fresh ginger brings warmth and spice, working harmoniously with the daikon for a flavor boost. 5. Light Soy Sauce: It’s a wonderful way to deepen flavor without overpowering the natural sweetness of the daikon.
Recipe Variations
Feeling adventurous? Here are a few ideas to switch up the boiled daikon radish:
Spicy Twist: Add red pepper flakes or a splash of sriracha to the seasoning mix for a spicy kick.
Add Protein: Incorporate cooked chickpeas or tofu for a heartier meal option that includes protein.
Herb Infusion: Toss in a handful of fresh herbs like cilantro or basil just before serving for a bright, fresh flavor.
Citrus Zing: A squeeze of lime or lemon juice before serving can add a lovely acidity that balances the sweetness.
Nutrition Facts
Boiled Daikon Radish Recipe Nutrition Facts
Boiled Daikon Radish Recipe
Before we dive into the deliciousness of boiled daikon radish, let's talk about what you can enjoy it with.
Start with the freshest daikon radish you can find. Peel off the outer skin using a vegetable peeler. Make sure to remove any blemishes.
After peeling, slice the daikon radish into rounds about 1/4 inch thick. This will ensure even cooking and a delightful texture.
Step 2: Cook the Daikon
In a pot, combine the vegetable broth (or water) with the sliced daikon. Add the slice of fresh ginger, which is going to impart its fragrant quality into the dish. It’s like a warm hug on a winter day. Bring the mixture to a boil over medium heat.
Once boiling, reduce the heat to low and let it simmer for about 10 to 15 minutes until the daikon is tender. You know it’s done when you can easily pierce it with a fork.
Step 3: Season the Daikon
After the daikon is tender and cooked, it’s time to jazz it up with flavors. Stir in the vegetarian oyster sauce, light soy sauce, granulated sugar, and ground white pepper. These ingredients add depth and a little zing.
I often think of seasoning as an artist thinking about the final brushstrokes on their canvas. Once everything is well mixed, allow it to cook for another minute or so to let the flavors meld together.
Step 4: Add the Finishing Touches
Once the daikon has absorbed all those fantastic flavors, remove the pot from heat. Drizzle a little toasted sesame oil over the top.
Don’t skip this step! It adds a beautiful nutty aroma that elevates the entire dish. Finally, garnish with finely chopped green onions. They contribute a fresh crunch and visual appeal.
Notes
Daikon Radish: This root vegetable is crisp and refreshing. It boasts a mild flavor that makes it quite adaptable to different recipes. 2. Vegetarian Oyster Sauce: Don’t worry; this has no oysters! It’s made from mushrooms and provides umami, enhancing the dish’s richness. 3. Sesame Oil: A staple in Asian cooking. A little goes a long way in adding robust, nutty flavors that elevate the meal. 4. Ginger: Fresh ginger brings warmth and spice, working harmoniously with the daikon for a flavor boost. 5. Light Soy Sauce: It’s a wonderful way to deepen flavor without overpowering the natural sweetness of the daikon.
Yes! Daikon can be eaten raw in salads or as a crunchy snack. It’s crisp and very refreshing.
2. How should I store leftover boiled daikon radish?
Store leftovers in an airtight container in the fridge. They can be enjoyed for up to three days. Just reheat them gently to avoid overcooking.
3. Is daikon radish good for digestion?
Absolutely! Daikon radish is low in calories and high in fiber, which promotes digestive health and helps to keep you feeling full.
4. Can I use other types of radish for this recipe?
Sure! While daikon is the star here, you can use other radishes; however, flavors and textures may vary. Red radishes are spicier. Adjust your cooking time based on their size and thickness.
5. What other ways can I use boiled daikon?
Use boiled daikon as a side dish. You can chop it up and toss it into stir-fries or soups for added texture and nutrition.
6. Are there health benefits to eating daikon?
Yes! It’s packed with vitamins, particularly vitamin C. The high fiber content assists in digestion and helps maintain a healthy weight.
Conclusion
Boiled daikon radish is more than just a side dish; it’s a celebration of simple ingredients that come together beautifully.
With this recipe, you have the foundation to create something healthful and delicious. Whether you’re looking to impress guests at a gathering or simply want to enjoy a nourishing meal, this dish is for you.
As you explore the world of daikon, keep in mind its versatility. It can transform your meals in delicious ways. You might even find kids enjoying a tasty bowl of boiled daikon. Who knew eating healthy could be so delightful? Give it a whirl! You might just find a new family favorite.
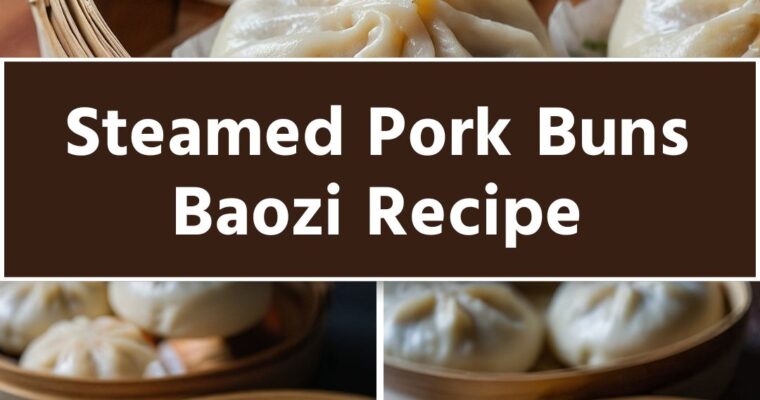
When it comes to enjoying Steamed Pork Buns Baozi, consider accompaniments that enhance the meal without overshadowing it. For a refreshing palate cleanser, pair these buns with a cucumber salad, lightly tossed in rice vinegar and sesame oil. Its crunch and brightness counterbalance the tender, …
Before diving into the deliciousness of Sour Patch Grapes, let me offer some pairing options. These sweet and tangy treats go beautifully with a variety of dishes. Consider serving them alongside grilled chicken or fish. The acidity of the grapes complements the protein perfectly. Alternatively, …
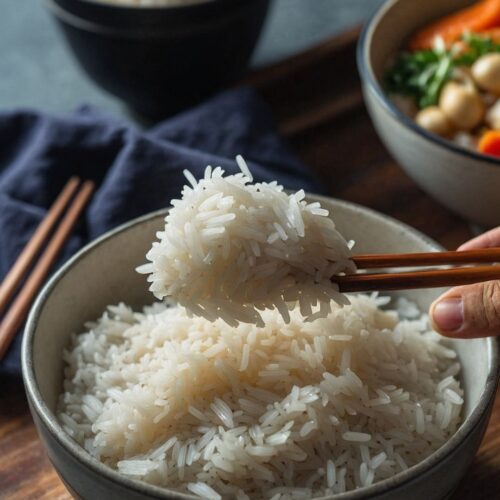
I remember the first time I attempted to steam rice. It was a haphazard affair, and let’s just say my kitchen looked like a scene from a culinary disaster movie.
I had all the right ingredients but somehow managed to create a gloppy mess instead of the fluffy perfection I envisioned. Since then, I’ve made it my mission to master the art of steaming rice. When you get it right, rice is a beautiful side dish or base for your main courses.
Let me take you on this journey to perfect steamed rice, complete with tips and tricks that I’ve gathered through lots of trial and error.
What is How To Steam Rice?
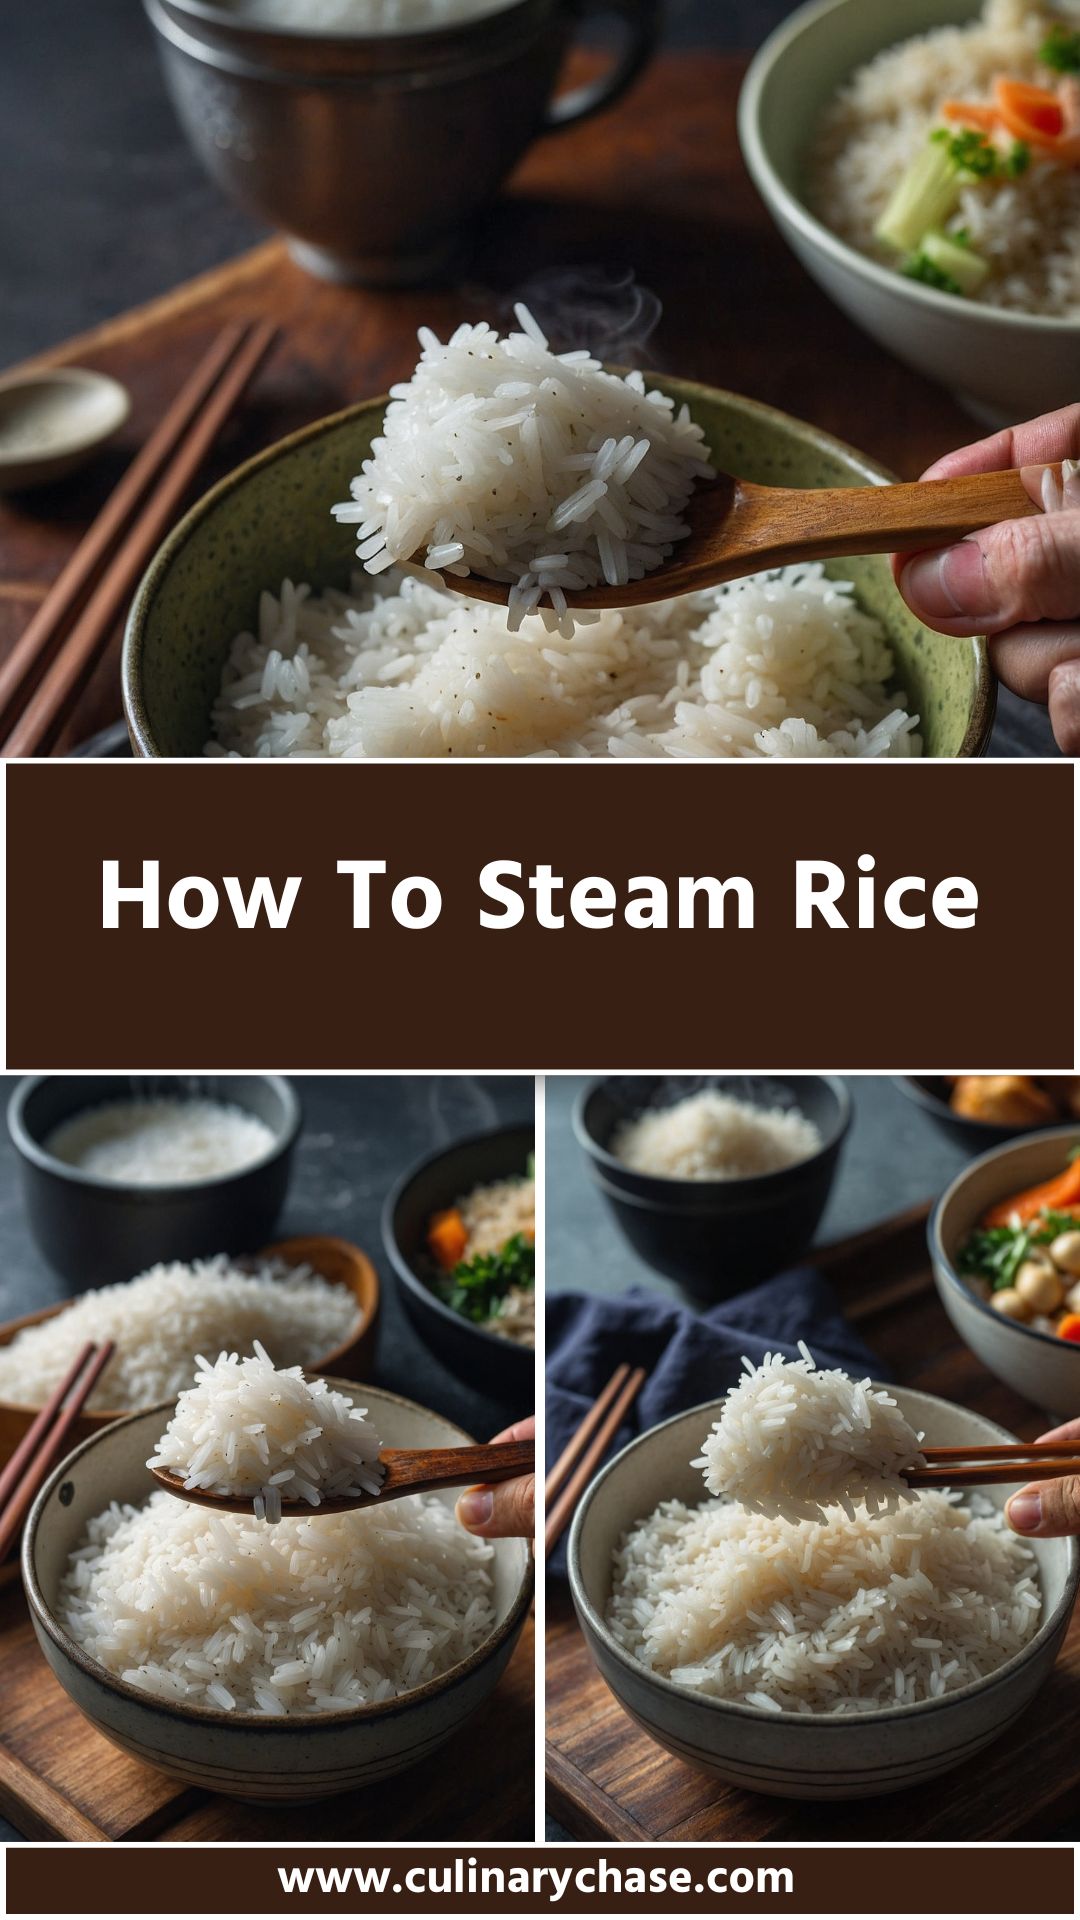
Steaming rice involves cooking rice over simmering water.
This technique ensures that the rice absorbs moisture evenly without direct contact with the liquid, preventing overcooking. You might wonder why steaming rice is beneficial compared to boiling it. Well, when steamed, the grains stay distinct and tender.
Each bite should offer a slight chew, a quality boiled rice often lacks. If you’re after that restaurant-quality rice at home, this one’s for you.
Why You’ll Love this How To Steam Rice?
Here’s the kicker—steamed rice is incredibly versatile. You can pair it with almost any dish, from curries to stir-fries, and even enjoy it sweetened for breakfast.
Moreover, steaming is a healthier cooking method since it doesn’t require any additional fats. Trust me when I say it’s not just about taste; it’s about enjoying a healthy meal too!
Let’s dive into the details, shall we?
You will also like the following Side Dishes recipes!
With these ingredients in your pantry, you’re already on your way to making fluffy rice.
Step by Step Instructions
Step 1: Rinse the Rice
First things first. Place the jasmine rice in a bowl and rinse it under cold water. I usually do this for about two minutes. This removes excess starch and prevents the rice from becoming gummy. Rinsing is a small but mighty step in achieving that fluffy texture we all crave.
Step 2: Prepare Water and Equipment
Next, grab your steamer basket or a heat-proof colander. Make sure it fits snugly over a pot. Add 2/3 cup of filtered water to the pot and bring it to a gentle simmer.
Using a pot with a lid is crucial. This creates a steamy environment, making sure your rice cooks evenly.
Step 3: Add the Rice
Once your water is simmering, transfer the rinsed rice into the steamer basket. If you want to add flavor, drizzle that teaspoon of olive oil over the rice and sprinkle on the sea salt. Spread the rice evenly to ensure consistent cooking.
Step 4: Cover and Steam
Now, cover the pot tightly with the lid and steam the rice for about 20 minutes. Don’t peek! Lifting the lid lets the steam escape, which can throw off the cooking time.
Step 5: Let it Rest
When the time’s up, carefully remove the lid. Steam will escape, so be cautious. Let the rice sit for another 5 minutes, covered, off the heat. This is key! It allows the remaining steam to finish cooking the rice.
Step 6: Fluff and Serve
Finally, use a fork to fluff the rice gently. This step makes all the difference. Serve it up with your favorite dishes or just eat it plain. I promise, you’ll be proud of this accomplishment.
Tips & Tricks
Here are some nuggets of wisdom I’ve gathered along the way:
Use the Right Ratio: For each cup of rice, a general rule is to add 1.5 cups of water. Adjust based on the type of rice.
Temperature Control: Keep the heat low for a consistent simmer. High heat can lead to uneven cooking.
Flavor Boost: Add herbs, spices, or broth to your water for an extra kick.
Don’t Skimp on Time: If you’re using brown rice or a different variety, be prepared to steam it longer.
Experiment: Try adding ingredients like saffron, turmeric, or coconut milk for a twist on traditional steamed rice.
Nutrition Information
How To Steam Rice Nutrition Facts
Can I store How To Steam Rice?
Absolutely! Steamed rice can be stored in an airtight container in the fridge for up to 4-5 days. When reheating, splash on a little water to revive that steamy goodness.
You can also freeze the rice in portions, and it lasts for about 6 months in the freezer.
What can I serve with How To Steam Rice?
You have countless options to pair with rice. Here are just a few ideas:
Stir-fried Vegetables: The crunchy texture contrasts perfectly with soft rice.
Grilled Chicken: Seasoned simply, chicken complements rice very well.
Curry Sauces: Curries soak into the rice in the most delicious way.
Steamed Fish: Lightly seasoned fish allows the rice to shine.
Rounding out the meal with some fresh herbs adds a nice touch!
Variations
Feeling adventurous? Here are some variations to elevate your steamed rice game:
Coconut Rice: Substitute water with coconut milk for a tropical twist. Sweet coconut flavor pairs brilliantly with grilled fish.
Cilantro Lime Rice: Toss cooked rice with fresh lime juice and chopped cilantro for a refreshing palate. This pairs beautifully with tacos or burrito bowls.
Garlic Butter Rice: Sauté minced garlic in butter, then mix it into the steamed rice for a savory taste. Ideal for a comfort meal.
Spanish Rice: Celebrate with spices! Add diced tomatoes, bell peppers, and paprika for a colorful side dish with your favorite dishes.
Herbed Rice: Mix in a blend of fresh herbs like parsley, dill, or basil after steaming for a fragrant sidekick.
How To Steam Rice
I remember the first time I attempted to steam rice. It was a haphazard affair ,and let’s just say my kitchen looked like a scene from a culinary disaster movie.
First things first. Place the jasmine rice in a bowl and rinse it under cold water. I usually do this for about two minutes. This removes excess starch and prevents the rice from becoming gummy. Rinsing is a small but mighty step in achieving that fluffy texture we all crave.
Step 2: Prepare Water and Equipment
Next, grab your steamer basket or a heat-proof colander. Make sure it fits snugly over a pot. Add 2/3 cup of filtered water to the pot and bring it to a gentle simmer.
Using a pot with a lid is crucial. This creates a steamy environment, making sure your rice cooks evenly.
Step 3: Add the Rice
Once your water is simmering, transfer the rinsed rice into the steamer basket. If you want to add flavor, drizzle that teaspoon of olive oil over the rice and sprinkle on the sea salt. Spread the rice evenly to ensure consistent cooking.
Step 4: Cover and Steam
Now, cover the pot tightly with the lid and steam the rice for about 20 minutes. Don’t peek! Lifting the lid lets the steam escape, which can throw off the cooking time.
Step 5: Let it Rest
When the time’s up, carefully remove the lid. Steam will escape, so be cautious. Let the rice sit for another 5 minutes, covered, off the heat. This is key! It allows the remaining steam to finish cooking the rice.
Step 6: Fluff and Serve
Finally, use a fork to fluff the rice gently. This step makes all the difference. Serve it up with your favorite dishes or just eat it plain. I promise, you’ll be proud of this accomplishment.
Notes
Use the Right Ratio: For each cup of rice, a general rule is to add 1.5 cups of water. Adjust based on the type of rice.
Temperature Control: Keep the heat low for a consistent simmer. High heat can lead to uneven cooking.
Flavor Boost: Add herbs, spices, or broth to your water for an extra kick.
Don’t Skimp on Time: If you’re using brown rice or a different variety, be prepared to steam it longer.
Experiment: Try adding ingredients like saffron, turmeric, or coconut milk for a twist on traditional steamed rice.
Yes, you can use a heat-proof colander or a mesh sieve that fits snugly above a pot. Just ensure it’s covered tightly with a lid.
2. What type of rice can I use for steaming?
While jasmine rice is a top choice, you can truly use any white rice, brown rice, or even a fragrant basmati. Just remember that cooking times may vary.
3. How do I know when the rice is done?
Steam is the best indicator. If you see the water has evaporated and the rice looks fluffy, it’s likely done. A taste test never hurts either.
4. Is it okay to steam rice with other ingredients?
Certainly! You can incorporate vegetables or proteins like diced chicken or shrimp into the steaming process. Just adjust cooking times accordingly.
5. What’s the difference between steaming and boiling rice?
Steaming cooks the rice gently without it being submerged in water, allowing for a fluffier outcome. Boiling can lead to soggy or sticky rice if not monitored closely.
Conclusion
Steamed rice doesn’t have to be an enigma. It can be simple, fulfilling, and creative. With a bit of practice and a sprinkle of flavor, you can impress your family and friends.
Steaming rice is more than just a cooking technique—it’s a culinary skill that opens up a world of possibilities. Whether it serves as a side dish, base for other meals, or even a breakfast staple, steamed rice holds its place in our kitchens for good reasons.
Now, armed with this guide and my experiences, you’re ready to conquer steamed rice. Give it a try, and who knows? You might just become the rice master in your household. Enjoy the process and let me know how it turns out on your first try!
Before diving into the Whys and Hows of String Bean Chicken Stir Fry, let’s talk pairings. This dish is a delightful dance of flavors and textures that can shine alongside a variety of companions. Think fluffy jasmine rice or soft noodles, things that soak up …
Cooking is a journey, a delightful experience where taste meets creativity. One dish that beautifully represents this journey is Chicken Lo Mein. This simple yet tasty dish combines tender chicken, crisp vegetables, and flavorful noodles. It’s a meal that has become a favorite for families …
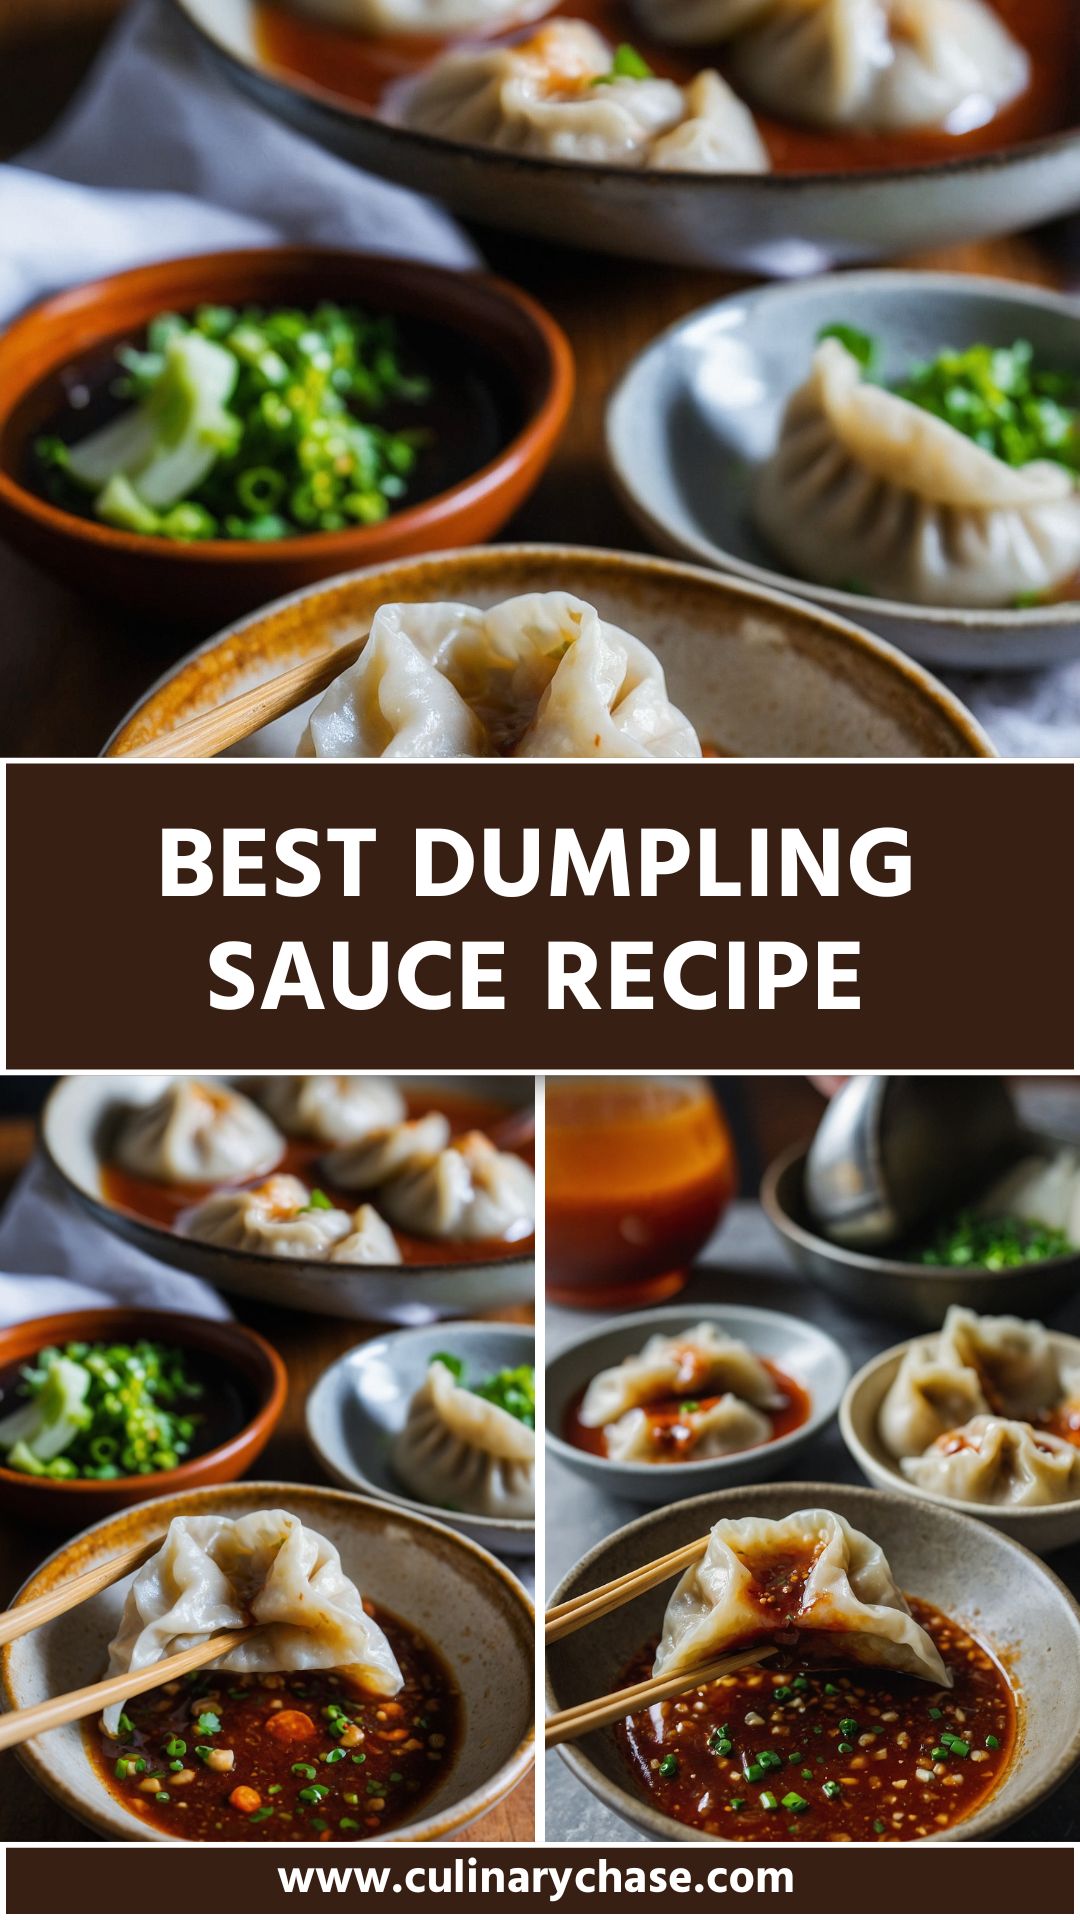
As a food enthusiast, there’s something extraordinary about a perfectly prepared dumpling. Whether they’re steamed, boiled, or pan-fried, these little pockets of joy can deliver an explosion of flavor with each bite. But let’s face it: dumplings can sometimes feel a bit bare when served solo.
This is why I often find myself reaching for the best dumpling sauce. The right sauce can elevate an already delicious dish into something unforgettable.
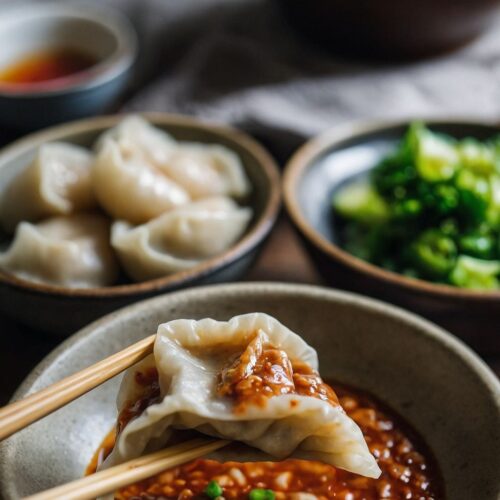
What pairs better with dumplings than a sauce that complements their flavor profile? Imagine a plate of chicken dumplings with crispy bottoms and a drizzle of rich, savory sauce.
I can smell the aromatics now! This dumpling sauce will become your new best friend, adding that essential zing to every bite.
Now, let’s dive into what makes a dumpling sauce the best.
What is the Best Dumpling Sauce?
In my culinary journey, I’ve discovered that the best dumpling sauce is a harmonious blend of flavors that adds depth and excitement. It should bring together salty, spicy, and umami notes while offering a hint of sweetness.
This sauce should not overpower the dumpling but rather complement it perfectly.
Creating a standout dumpling sauce doesn’t require a pantry overhaul. Here’s what you’ll need:
2 tablespoons light soy sauce: The base of flavor, giving that salty goodness.
1 teaspoon chili oil: A punch of spice to kick things up a notch.
1 tablespoon hot water: To help combine the ingredients smoothly.
1 teaspoon rice vinegar (unseasoned): A touch of acidity that brightens the sauce.
½ teaspoon fragrant sesame oil: For its nutty essence and depth.
1 teaspoon toasted sesame seeds: A final sprinkle of crunch.
1 teaspoon freshly minced garlic: To add a fragrant kick.
¼ teaspoon finely grated ginger: For warmth and zest.
½ teaspoon finely chopped scallions: To introduce freshness and color.
1 teaspoon granulated sugar: To balance out the salty and spicy elements.
How to Make the Best Dumpling Sauce?
Making the best dumpling sauce is simple and rewarding. You’ll be surprised at how quickly this delicious mixture comes together. Now, let’s jump into the step-by-step instructions.
Step 1: Gather Your Ingredients
Start by collecting all the ingredients on your kitchen counter. Having everything at hand makes the process much smoother.
Step 2: Combine the Base
In a small bowl, mix together the light soy sauce, chili oil, and hot water. This combination creates a flavorful base. Whisk lightly until it’s mixed.
Step 3: Add Acidity and Sweetness
Next, pour in the rice vinegar and granulated sugar. The vinegar will brighten the flavor, while the sugar balances the saltiness. Stir until the sugar dissolves completely.
Step 4: Introduce the Aromatics
Add the minced garlic, finely grated ginger, and sesame oil to the mixture. The aroma will start to fill the air, signaling that you’re on the right track!
Step 5: Finish with a Sprinkle
Finally, stir in the chopped scallions and toasted sesame seeds. These elements not only enhance the flavor but also add visual appeal.
Step 6: Taste and Adjust
Always taste your sauce! Adjust the balance to suit your preference. If you like it spicier, add more chili oil. Prefer a sweeter flavor? A touch of additional sugar will do the trick.
Notes
Here are some helpful tips to make the best dumpling sauce even better:
Personalize the Spiciness: Adjust the amount of chili oil based on your heat tolerance.
Experiment with Other Oils: If you want a twist, try using chili-infused oils for added flavor.
Fresh Ingredients Matter: Using fresh garlic and ginger will dramatically improve the taste and brightness of the sauce.
Mix it Up: Feel free to add a little hoisin sauce or black vinegar if you have them on hand.
Make Ahead: This sauce can be stored in the fridge for a few days, letting the flavors meld beautifully.
Storage Tips
Storing your homemade dumpling sauce is straightforward. Keep it in an airtight container in the refrigerator.
You can expect it to stay fresh for up to a week. Just remember to give it a good stir before using, as some ingredients might separate.
Nutrition Information
Serving Suggestions
Now that we have the perfect sauce, how do you serve it? Here are some delicious thoughts:
Dumplings: This sauce is, of course, fantastic with any kind of dumplings, be it pork, shrimp, or vegetables!
Spring Rolls: Use it as a dipping sauce for fresh vegetable spring rolls. The contrast is incredible.
Grilled Meats: Drizzle over grilled chicken or beef for a flavor punch.
Stir-Fried Vegetables: Toss your favorite veggies in this sauce for an instant upgrade.
Rice Noodles: Use it to dress a bowl of noodles for a quick, satisfying meal.
What Other Substitutes Can I Use in the Best Dumpling Sauce?
Sometimes, you might not have every ingredient on hand. Here are substitutes that can work well:
Tamari Instead of Soy Sauce: This is great for a gluten-free option.
Sriracha Instead of Chili Oil: A popular hot sauce that brings flavor along with heat.
Apple Cider Vinegar Instead of Rice Vinegar: Provides a similar acidity with a fruity twist.
Olive Oil Instead of Sesame Oil: While it changes the flavor profile, it adds a nice richness.
Green Onions Instead of Scallions: A similar flavor that still gives that minor sharpness.
The Best Dumpling Sauce
As a food enthusiast, there’s something extraordinary about a perfectly prepared dumpling. Whether they’re steamed, boiled, or pan-fried, these little pockets of joy can deliver an explosion of flavor with each bite. But let's face it.
¼teaspoonfinely grated gingerfor a touch of warmth
½teaspoonfinely chopped scallionsfor freshness and a hint of color
1teaspoongranulated sugar
Instructions
Step 1: Gather Your Ingredients
Start by collecting all the ingredients on your kitchen counter. Having everything at hand makes the process much smoother.
Step 2: Combine the Base
In a small bowl, mix together the light soy sauce, chili oil, and hot water. This combination creates a flavorful base. Whisk lightly until it’s mixed.
Step 3: Add Acidity and Sweetness
Next, pour in the rice vinegar and granulated sugar. The vinegar will brighten the flavor, while the sugar balances the saltiness. Stir until the sugar dissolves completely.
Step 4: Introduce the Aromatics
Add the minced garlic, finely grated ginger, and sesame oil to the mixture. The aroma will start to fill the air, signaling that you’re on the right track!
Step 5: Finish with a Sprinkle
Finally, stir in the chopped scallions and toasted sesame seeds. These elements not only enhance the flavor but also add visual appeal.
Step 6: Taste and Adjust
Always taste your sauce! Adjust the balance to suit your preference. If you like it spicier, add more chili oil. Prefer a sweeter flavor? A touch of additional sugar will do the trick.
Notes
Personalize the Spiciness: Adjust the amount of chili oil based on your heat tolerance.
Experiment with Other Oils: If you want a twist, try using chili-infused oils for added flavor.
Fresh Ingredients Matter: Using fresh garlic and ginger will dramatically improve the taste and brightness of the sauce.
Mix it Up: Feel free to add a little hoisin sauce or black vinegar if you have them on hand.
Make Ahead: This sauce can be stored in the fridge for a few days, letting the flavors meld beautifully.
Absolutely! Just scale up the ingredients based on your needs. It keeps well in the refrigerator for about a week.
Can I freeze the dumpling sauce?
It’s best enjoyed fresh, but you can freeze it. Just remember to leave space for it to expand in the container.
What type of dumplings does this sauce pair with best?
It complements both meat-filled and vegetarian dumplings wonderfully.
Is this sauce vegan?
Yes, all the ingredients listed are plant-based.
Can I use this sauce in other dishes?
Definitely! It works great as a marinade or stir-fry sauce too.
Conclusion
Finding the best dumpling sauce opens up a world of flavor. Whether you’re indulging in homemade dumplings or dipping spring rolls, this sauce will set the stage for a memorable meal.
With just a handful of ingredients and a few simple steps, you can create a delightful accompaniment that transforms your everyday dishes into extraordinary culinary experiences.
So, roll up your sleeves, gather your ingredients, and let’s create something delicious together. You won’t regret it! Enjoy the flavorful adventure that awaits with your very own dumpling sauce.
When I first discovered XO Sauce, it felt like a culinary treasure hidden in plain sight. This spicy, umami-rich condiment not only enhances the taste of dishes but also tells a story of tradition and flavor. Its origins trace back to Hong Kong, where this …