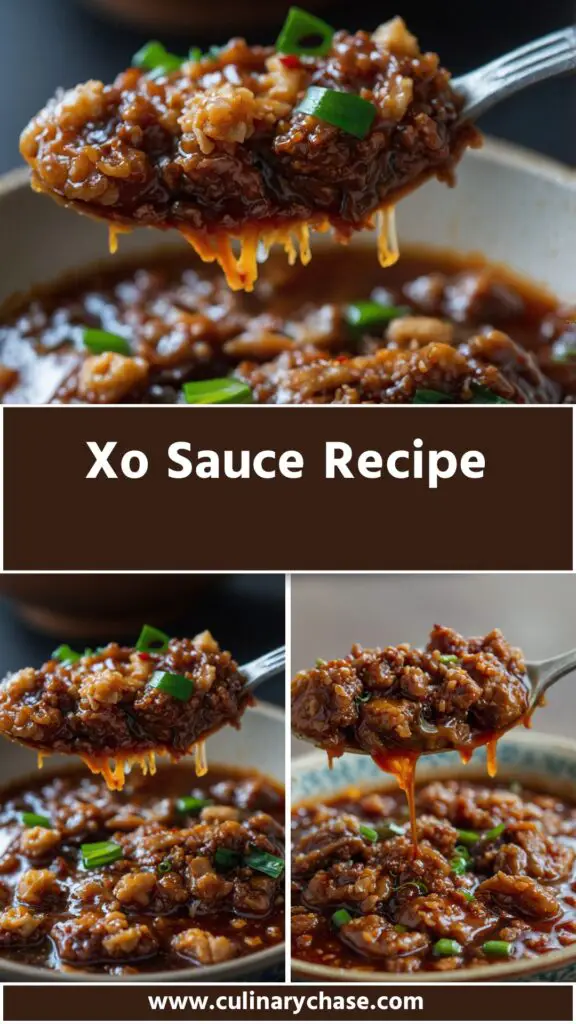
Xo Sauce Recipe – Culinary Chase
When I first discovered XO Sauce, it felt like a culinary treasure hidden in plain sight. This spicy, umami-rich condiment not only enhances the taste of dishes but also tells a story of tradition and flavor. Its origins trace back to Hong Kong, where this sauce first made waves.
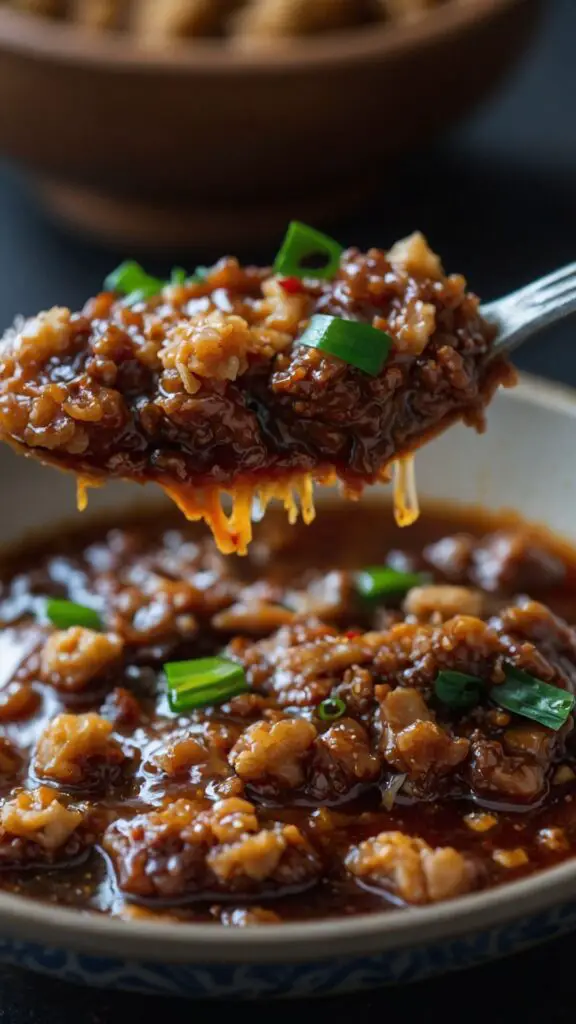
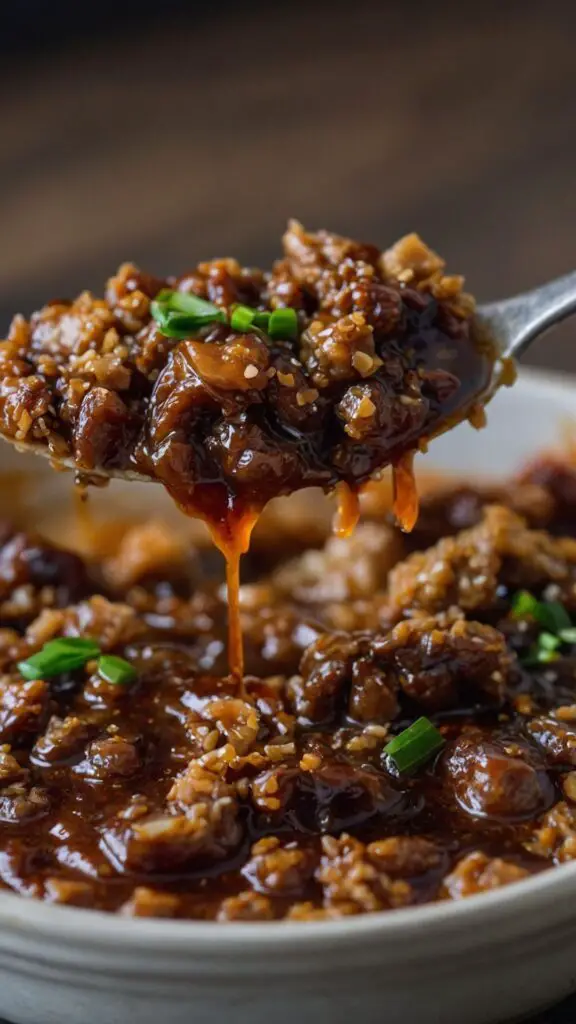
Imagine drizzling this concoction over a steaming bowl of noodles or mixing it into a seafood stir-fry. It transforms everyday meals into gourmet delights.
Join me as I explore the rich tapestry of XO Sauce, from its ingredients and recipe to serving suggestions that will impress your friends at your next gathering!

What is XO Sauce?
XO Sauce is a luxury condiment that originated in Hong Kong in the 1980s. Its name pays homage to “XO,” which refers to “extra old” brandy, suggesting high quality and sophistication.
This sauce combines seafood, spices, and oils to create a rich, complex flavor profile that can elevate any dish. While the ingredients might vary, the essence remains consistent—a balance of heat, sweetness, and umami.
You will also like the following Sauce recipes!
The Ingredients
To make XO Sauce, you’ll need several key ingredients. Here’s a breakdown:
- 3 ounces Jinhua cured ham, finely minced
- 5 ounces sun-dried shrimp
- 2 cups neutral vegetable oil
- 2 tablespoons dark soy sauce
- 10 cloves garlic, peeled
- 2 to 4 fresh Thai bird’s eye chilies, chopped roughly
- 3 large shallots, cut into quarters
- 5 ounces dried sea scallops
- 2 tablespoons light brown sugar
- 1/2 cup Shaoxing cooking wine
- 1 tablespoon toasted Sichuan peppercorns
- 1 1/2 cups rich chicken stock
- 1 (3-inch) piece fresh ginger, peeled and roughly chopped
- 1/4 cup premium oyster sauce
- 2 whole star anise pods
- 3 to 5 dried Thai chilies, ground finely

How to Make XO Sauce?
Before diving into the steps, remember that each ingredient plays a crucial role in building flavor. The process can be quite simple, yet the combination yields a sauce that tastes far from ordinary. Let’s break it down step-by-step:
Step 1: Preparing the Ingredients
Start by finely mincing the Jinhua ham and chopping the sun-dried shrimp. You want them small enough to integrate into the sauce but not so small that they lose their character.
Quarter the shallots, peel and slice the garlic, and chop the bird’s eye chilies. This preparation sets the stage for developing rich flavors.
Step 2: Infusing the Oil
In a deep pan, heat the vegetable oil over medium heat. Once hot, add the minced ham and cook until it begins to crisp.
Then, toss in the chopped garlic, shallots, and chilies. Stir often; you don’t want anything to burn. Let this simmer until the aromatics become golden and fragrant.
Step 3: Adding the Seafood Elements
Add the sun-dried shrimp and dried sea scallops to the pan. You’ll want these to meld with the aromatic backdrop you’ve created. As they sauté, they’ll release their flavors, creating an inviting seafood essence.
Step 4: Incorporating the Sauces and Spices
Next, pour in the dark soy sauce and Shaoxing wine. The liquid will deglaze the pan, lifting any brown bits stuck on the bottom. This step is vital for enhancing the taste.
Sprinkle in the sugar, Sichuan peppercorns, and star anise pods. Stir well to combine everything, letting the flavors develop further.
Step 5: Adding Chicken Stock
Slowly pour in the rich chicken stock. This adds body to your sauce and helps to create a lush texture. Bring the mixture to a gentle simmer and let it cook uncovered. Allow it to reduce for about 15-20 minutes or until it thickens to your desired consistency.
Step 6: The Final Touch
Once thickened, remove the sauce from the heat. Let it cool slightly, then strain it through a fine-mesh sieve into a clean jar. This step is optional but will give you a smoother sauce. The bits left behind can be saved for another use, maybe a stir-fry or fried rice!
Notes
Whether you’re an experienced cook or a newbie, here are some helpful tips for making XO Sauce:
- Adjust the Heat: If you prefer a milder sauce, reduce the number of chilies. Alternatively, add more for a fiery punch.
- Storage: XO Sauce can last in the refrigerator for several weeks in an airtight container.
- Use Fresh Ingredients: Fresh garlic and ginger will take the flavor up a notch.
- Experiment with Ingredients: Feel free to add or swap components according to your taste preferences.
- Batch Cooking: Make a double batch—this sauce is versatile and goes well with various dishes.
Storage Tips
XO Sauce can last in the fridge for up to three weeks.
For longer storage, consider freezing it. Ice cube trays work well for creating single servings, allowing you to thaw just what you need for a quick meal. Be sure to seal it tight to avoid freezer burn.
Nutrition Information
Xo Sauce Recipe Nutrition Facts
Serving Suggestions
Here are some delightful ways to enjoy XO Sauce:
- Over Noodles: Drizzle it over steamed noodles for a quick, flavorful meal. Just toss cooked noodles with XO Sauce and top with scallions. It’s addictive!
- Seafood Stir-fry: Mix it into a seafood medley with shrimp, scallops, and greens. The sauce adds a rich depth of flavor that transforms simple ingredients into a luxurious dish.
- Grilled Chicken: Use it as a marinade for grilled chicken or tofu. The sauce seeps into the meat, providing a flavor punch with every bite.
- Veggie Additions: Stir into sautéed vegetables for an umami boost. Broccoli and bell peppers, for instance, shine when tossed in XO Sauce.
- Rice Dishes: Incorporate it into fried rice for an irresistible twist. Combine day-old rice with veggies, protein, and the sauce for a quick dinner.

What Other Substitutes Can I Use in XO Sauce?
If you can’t find specific ingredients or want to customize the sauce, consider these substitutes:
- Prosciutto for Jinhua Ham: A nice alternative that still delivers saltiness. It won’t have the same taste, but it works in a pinch.
- Dried shrimp for Anchovies: If you want a different seafood flavor, minced anchovies can add depth.
- Low-sodium soy sauce for Dark Soy Sauce: This helps control sodium levels without sacrificing flavor.
- Rice vinegar for Shaoxing wine: While slightly different, it offers acidity and a touch of sweetness.
- Vegetable broth for Chicken Stock: A great option for a vegetarian version, maintaining richness without meat.

Xo Sauce Recipe
Equipment
- pan
Ingredients
- 3 ounces Jinhua cured ham finely minced
- 5 ounces sun-dried shrimp
- 2 cups neutral vegetable oil
- 2 tablespoons dark soy sauce
- 10 cloves garlic peeled
- 2 to 4 fresh Thai bird’s eye chilies chopped roughly
- 3 large shallots cut into quarters
- 5 ounces dried sea scallops
- 2 tablespoons light brown sugar
- 1/2 cup Shaoxing cooking wine
- 1 tablespoon toasted Sichuan peppercorns
- 1 1/2 cups rich chicken stock
- 1 3-inch piece fresh ginger, peeled and roughly chopped
- 1/4 cup premium oyster sauce
- 2 whole star anise pods
- 3 to 5 dried Thai chilies ground finely
Instructions
Step 1: Preparing the Ingredients
- Start by finely mincing the Jinhua ham and chopping the sun-dried shrimp. You want them small enough to integrate into the sauce but not so small that they lose their character.
- Quarter the shallots, peel and slice the garlic, and chop the bird’s eye chilies. This preparation sets the stage for developing rich flavors.
Step 2: Infusing the Oil
- In a deep pan, heat the vegetable oil over medium heat. Once hot, add the minced ham and cook until it begins to crisp.
- Then, toss in the chopped garlic, shallots, and chilies. Stir often; you don’t want anything to burn. Let this simmer until the aromatics become golden and fragrant.
Step 3: Adding the Seafood Elements
- Add the sun-dried shrimp and dried sea scallops to the pan. You’ll want these to meld with the aromatic backdrop you’ve created. As they sauté, they’ll release their flavors, creating an inviting seafood essence.
Step 4: Incorporating the Sauces and Spices
- Next, pour in the dark soy sauce and Shaoxing wine. The liquid will deglaze the pan, lifting any brown bits stuck on the bottom. This step is vital for enhancing the taste.
- Sprinkle in the sugar, Sichuan peppercorns, and star anise pods. Stir well to combine everything, letting the flavors develop further.
Step 5: Adding Chicken Stock
- Slowly pour in the rich chicken stock. This adds body to your sauce and helps to create a lush texture. Bring the mixture to a gentle simmer and let it cook uncovered. Allow it to reduce for about 15-20 minutes or until it thickens to your desired consistency.
Step 6: The Final Touch
- Once thickened, remove the sauce from the heat. Let it cool slightly, then strain it through a fine-mesh sieve into a clean jar. This step is optional but will give you a smoother sauce. The bits left behind can be saved for another use, maybe a stir-fry or fried rice!
Notes
- Adjust the Heat: If you prefer a milder sauce, reduce the number of chilies. Alternatively, add more for a fiery punch.
- Storage: XO Sauce can last in the refrigerator for several weeks in an airtight container.
- Use Fresh Ingredients: Fresh garlic and ginger will take the flavor up a notch.
- Experiment with Ingredients: Feel free to add or swap components according to your taste preferences.
- Batch Cooking: Make a double batch—this sauce is versatile and goes well with various dishes.
Nutrition
Frequently Asked Questions
What is the ideal way to use XO Sauce?
Using XO Sauce is all about balance. Start with small amounts and increase as needed. It pairs well with hearty proteins and vegetables.
Can I make XO Sauce vegan
Of course! Substitute the ham and seafood with mushrooms and nuts to achieve a robust flavor. You can use vegetable stock as well for a liquid base.
How does XO Sauce differ from chili oil?
Chili oil primarily highlights spice, whereas XO Sauce combines umami, seafood, and nuanced flavors. It’s richer overall and offers a more complex taste experience.
Is XO Sauce gluten-free?
Traditional recipes may contain soy sauce, which usually has gluten. Look for gluten-free soy sauce if you are sensitive, or make your own variation.
Does XO Sauce improve with time?
Yes! Like many sauces, XO Sauce often tastes better the day after it’s made as flavors meld and mature. Let it rest before diving in!
Conclusion
XO Sauce is more than just a condiment; it’s an expression of culinary art steeped in tradition. Whether drizzled over noodles or mixed into a fried rice, it adds a richness that elevates any dish.
Preparing it may seem daunting at first, but following the steps provided makes it accessible. Give it a try, and you might just find yourself reaching for it as a staple in your pantry. Happy cooking!
