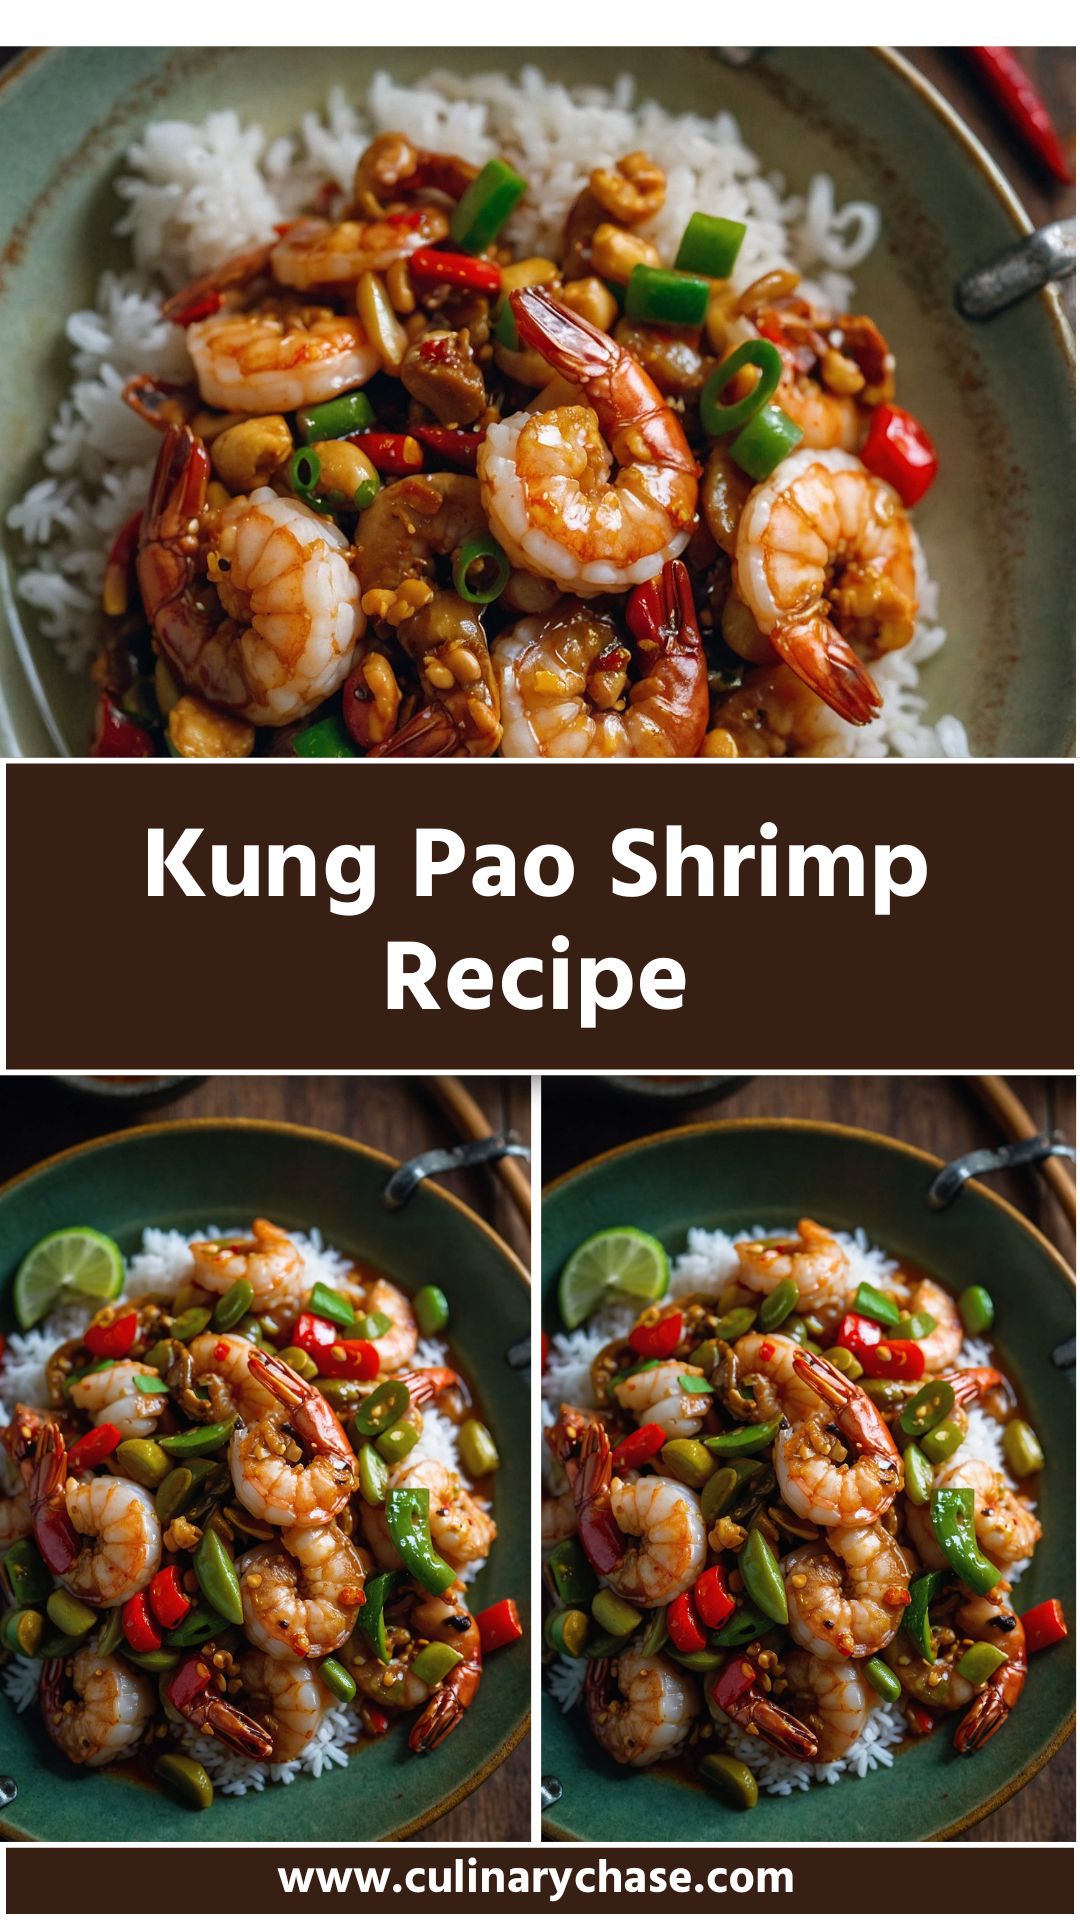
When it comes to a delightful culinary experience, pairing your meals correctly makes all the difference. Imagine a plate of fragrant Kung Pao shrimp served alongside a mound of fluffy jasmine rice or maybe some steamed broccoli. You could even toss in a refreshing cucumber salad or some crispy spring rolls on the side. Each bite, perfectly balanced and bursting with flavors, can transport you to the vibrant streets of China.
Now, let’s dive into this dish.
It’s a regular Friday evening, and after a long week, you find yourself yearning for something comforting yet exciting. Enter Kung Pao shrimp—a dish that not only satisfies but also surprises with its delightful balance of sweet, spicy, and nutty flavors. This recipe isn’t just your average dinner; it’s an adventure.
As a registered dietitian and food enthusiast, I’ve spent time refining this beloved recipe until it has become a family favorite. You’ll find that making Kung Pao shrimp at home is far easier than you may think, with every ingredient working in harmony to create a sensational dish. In this post, I will guide you through the process step-by-step, sprinkling in some fun facts, tips, and tricks along the way.
What is Kung Pao Shrimp?
Kung Pao shrimp is a Chinese dish that features stir-fried shrimp, peanuts, vegetables, and bold flavors derived from ingredients like garlic, ginger, and soy sauce. Traditionally, this dish is known for its use of Sichuan peppercorns, which provide a unique numbing sensation, often juxtaposed with spicy dried red chilies.
This dish has its roots in the Sichuan province of China and is a popular choice due to its adaptability—perfect for a weeknight dinner or a weekend gathering. The combination of textures and flavors makes it not just a meal but an experience.
You will also like the following Lunch and Dinner recipes!
What Does It Taste Like?
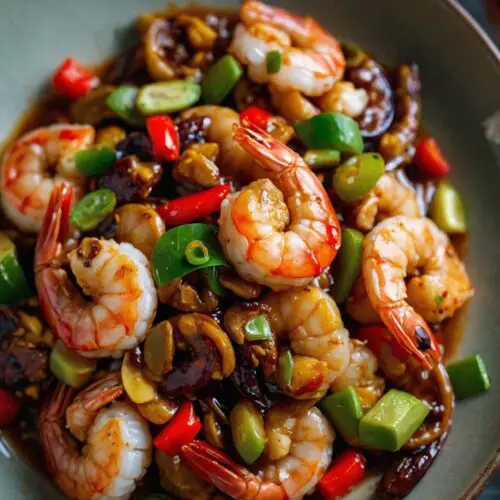
Picture this: a succulent shrimp, each piece perfectly cooked—juicy, tender, and infused with a robust, savory sauce. The heat from the chilies dances on your palate, matched beautifully by the crunch of toasted peanuts. There’s a slight tang from the vinegar, sweetness from the sugar, and, of course, that lovely background note of sesame oil. With every bite, it’s as if you’re invited to a vibrant culinary celebration.
Why This Recipe Works?
1. Quick and Easy Preparation: This recipe comes together in less than 30 minutes. Busy weeknight? No problem.
2. Balance of Flavors: The harmony between savory, sweet, and spicy elements ensures there’s something for everyone.
3. Healthy Ingredients: Packed with shrimp and veggies, it’s a guilt-free indulgence that doesn’t skimp on flavor.
4. Customizable: You can adjust spice levels and add your favorite vegetables, making it versatile for all tastes.
Ingredients for Kung Pao Shrimp Recipe
Let’s gather what you’ll need. This is a pantry-friendly dish:
For Roasting the Peanuts:
- 1 cup raw peanuts (shelled, skin on or off)
- 1 teaspoon light vegetable oil
For the Shrimp:
- 1 teaspoon neutral cooking oil
- 1/4 teaspoon fine salt
- 1/2 teaspoon cornstarch
- 1 pound large shrimp, peeled and deveined
- 1/8 teaspoon white ground pepper
- 1 teaspoon Shaoxing cooking wine
For the Sauce:
- 1/2 teaspoon ground Sichuan peppercorns
- 3 tablespoons water
- 1 tablespoon rice vinegar
- 1/2 teaspoon dark soy sauce
- 1 teaspoon granulated sugar
- 1 teaspoon toasted sesame oil
- 1 tablespoon light soy sauce
For the Rest of the Dish:
- 3 cloves garlic (smashed and thinly sliced)
- 3 tablespoons neutral oil
- 6 scallions (white parts only, cut into 1/2-inch sections)
- 2-4 dried red chilies (de-seeded and chopped, adjust spice level to preference)
- 1 tablespoon fresh ginger (finely minced)
Step-by-Step Instructions
Step 1: Roast the Peanuts
Start by preheating your oven to 350°F (175°C). Toss the raw peanuts with a teaspoon of light vegetable oil. Spread them evenly on a baking sheet and roast for about 10 to 12 minutes or until golden and fragrant. Keep an eye on them, as they can burn quickly.
Step 2: Prepare the Shrimp
In a medium bowl, combine shrimp with salt, cornstarch, white ground pepper, and Shaoxing cooking wine. Let this marinate for about 10 minutes. This step adds depth to the shrimp’s flavor.
Step 3: Make the Sauce
In a small bowl, mix together ground Sichuan peppercorns, water, rice vinegar, dark soy sauce, granulated sugar, toasted sesame oil, and light soy sauce. Set aside. This sauce is where the magic happens.
Step 4: Stir-Fry the Aromatics
In a large skillet or wok, heat three tablespoons of neutral oil over medium heat. Add smashed garlic, ginger, and the white parts of the scallions. Stir-fry for about one minute until fragrant, taking care not to let the garlic burn.
Step 5: Cook the Shrimp
Raise the heat to high and add the marinated shrimp. Cook for about 2-3 minutes until the shrimp turn opaque and are cooked through. Stir frequently for even cooking.
Step 6: Add Sauce & Peanuts
Pour the prepared sauce into the skillet and mix well, allowing the shrimp to absorb all those flavors. Add in the roasted peanuts and dried red chilies, tossing everything together. Cook for another minute.
Step 7: Garnish and Serve
Finally, add the green parts of the scallions, stir, and serve hot. This dish shines when paired with steamed rice or noodles.
Notes
Do Not Overcook the Shrimp: Shrimp cooks quickly. Avoid overcooking for a tough texture.
Adjust Spice Levels: Customize the number of dried chilies based on your heat tolerance.
Fresh Ingredients Matter: Use fresh shrimp for the best results; frozen can work but ensure they are well-thawed.
Meal Prep Friendly: This dish can be made in advance—just reheat gently to avoid tough shrimp.
Experiment with Vegetables: Bell peppers or snap peas can be great additions for color and crunch.
Nutrition Information (per serving)
- Calories: 250
- Protein: 30g
- Fat: 13g
- Carbohydrates: 10g
- Fiber: 3g
- Sugar: 2g
How to Store Leftovers?
If you’re lucky enough to have leftovers (highly unlikely!), store them in an airtight container in the refrigerator. They’ll keep for 2-3 days. When reheating, add a splash of water or low-sodium soy sauce to keep the shrimp moist.
Sides for Kung Pao Shrimp Recipe
1. Steamed Jasmine Rice: This fluffy rice is perfect for soaking up the sauce. Its subtle flavor complements the boldness of Kung Pao.
2. Vegetable Spring Rolls: Crispy spring rolls offer another crunchy texture, acting as a delightful contrast to the tender shrimp.
3. Cucumber Salad: A cool and refreshing cucumber salad balances the spice, mixing well with vinegar and sesame oil.
4. Stir-Fried Broccoli: Nutrient-rich broccoli sautéed in garlic hits the spot and adds a vibrant green to your plate.
Alternative Choices to the Ingredients
1. Shrimp: If shrimp isn’t available, use chicken or tofu as an alternative. Both options will absorb flavors nicely.
2. Peanuts: Nuts like cashews or almonds can work similarly if you’re looking for a different crunch in the dish.
3. Sichuan Peppercorns: If these are hard to find, use black pepper or crushed red pepper for some heat, although the flavor profile will differ.
4. Shaoxing Cooking Wine: A dry sherry can make for an effective substitute. It offers similar depth and flavor.
Kung Pao Shrimp Recipe
When it comes to a delightful culinary experience, pairing your meals correctly makes all the difference .Imagine a plate of fragrant Kung Pao shrimp served alongside a mound of fluffy jasmine rice or maybe some steamed broccoli.
Prep Time 35 minutes mins
Cook Time 10 minutes mins
Total Time 45 minutes mins
Course Main Course
Cuisine Chinese
Servings 4
Calories 250 kcal
For Roasting the Peanuts:
- 1 cup raw peanuts shelled, skin on or off
- 1 teaspoon light vegetable oil
For the Shrimp:
- 1 teaspoon neutral cooking oil
- 1/4 teaspoon fine salt
- 1/2 teaspoon cornstarch
- 1 pound large shrimp peeled and deveined
- 1/8 teaspoon white ground pepper
- 1 teaspoon Shaoxing cooking wine
For the Sauce:
- 1/2 teaspoon ground Sichuan peppercorns
- 3 tablespoons water
- 1 tablespoon rice vinegar
- 1/2 teaspoon dark soy sauce
- 1 teaspoon granulated sugar
- 1 teaspoon toasted sesame oil
- 1 tablespoon light soy sauce
For the Rest of the Dish:
- 3 cloves garlic smashed and thinly sliced
- 3 tablespoons neutral oil
- 6 scallions white parts only, cut into 1/2-inch sections
- 2-4 dried red chilies de-seeded and chopped, adjust spice level to preference
- 1 tablespoon fresh ginger finely minced
Step 1: Roast the Peanuts
Step 2: Prepare the Shrimp
In a medium bowl, combine shrimp with salt, cornstarch, white ground pepper, and Shaoxing cooking wine. Let this marinate for about 10 minutes. This step adds depth to the shrimp’s flavor.
Step 3: Make the Sauce
In a small bowl, mix together ground Sichuan peppercorns, water, rice vinegar, dark soy sauce, granulated sugar, toasted sesame oil, and light soy sauce. Set aside. This sauce is where the magic happens.
Step 4: Stir-Fry the Aromatics
In a large skillet or wok, heat three tablespoons of neutral oil over medium heat. Add smashed garlic, ginger, and the white parts of the scallions. Stir-fry for about one minute until fragrant, taking care not to let the garlic burn.
Step 6: Add Sauce & Peanuts
Pour the prepared sauce into the skillet and mix well, allowing the shrimp to absorb all those flavors. Add in the roasted peanuts and dried red chilies, tossing everything together. Cook for another minute.
Step 7: Garnish and Serve
Finally, add the green parts of the scallions, stir, and serve hot. This dish shines when paired with steamed rice or noodles.
- Do Not Overcook the Shrimp: Shrimp cooks quickly. Avoid overcooking for a tough texture.
- Adjust Spice Levels: Customize the number of dried chilies based on your heat tolerance.
- Fresh Ingredients Matter: Use fresh shrimp for the best results; frozen can work but ensure they are well-thawed.
- Meal Prep Friendly: This dish can be made in advance—just reheat gently to avoid tough shrimp.
- Experiment with Vegetables: Bell peppers or snap peas can be great additions for color and crunch.
Calories: 250kcalCarbohydrates: 10gProtein: 30gFat: 13gFiber: 3gSugar: 2g
Keyword Kung Pao Shrimp Recipe
Frequently Asked Questions
Q1: Can I make Kung Pao shrimp in advance?
Yes, you can prepare it a few hours ahead. However, it’s best enjoyed fresh. If you do store it, reheat on low heat to maintain the texture.
Q2: Is Kung Pao shrimp gluten-free?
If using gluten-free soy sauce and cornstarch, the dish can definitely be made gluten-free. Always check packaging for hidden gluten.
Q3: What’s the difference between light soy sauce and dark soy sauce?
Light soy sauce is saltier, while dark soy offers a richer taste and is slightly sweeter. Using both gives depth to the dish.
Q4: Can I use fresh vegetables instead of frozen?
Absolutely! Fresh vegetables like bell peppers, snow peas, or carrots add color and crunch. Use whatever is in season for the best flavor.
Conclusion
Kung Pao shrimp isn’t just another dish; it’s an experience filled with bold flavors, diverse textures, and the ease of preparation. Whether you’re whipping it up for a weeknight dinner or showcasing culinary skills for guests, this recipe captures the spirit of home-cooked comfort food.
As you savor each bite and enjoy the incredible fusion of taste, remember, cooking is as much about joy and creativity as it is about following a recipe. By making this Kung Pao shrimp your own, you bequeath it a personal touch that enhances the connection to the meal. So try it out, enjoy the laughter and stories shared around the dinner table, and relish in your culinary triumph. Happy cooking!
You’ll also like these latest recipes!