Finding the perfect accompaniment can elevate your meal to new heights. When it comes to a Qdoba chicken quesadilla, you might consider serving it with fresh guacamole, tangy pico de gallo, or a cooling sour cream. Each of these offers a distinct flavor contrast and …
You’re at your favorite taco place, and the smell of tender, juicy beef wafts through the air. You glance at the menu and spot “QDOBA Barbacoa.” Your stomach growls in anticipation. What is it, you wonder? Let me take you on a flavorful journey through …
As summer approaches and the grills fire up, I’m reminded of the vibrant flavors that accompany outdoor gatherings.
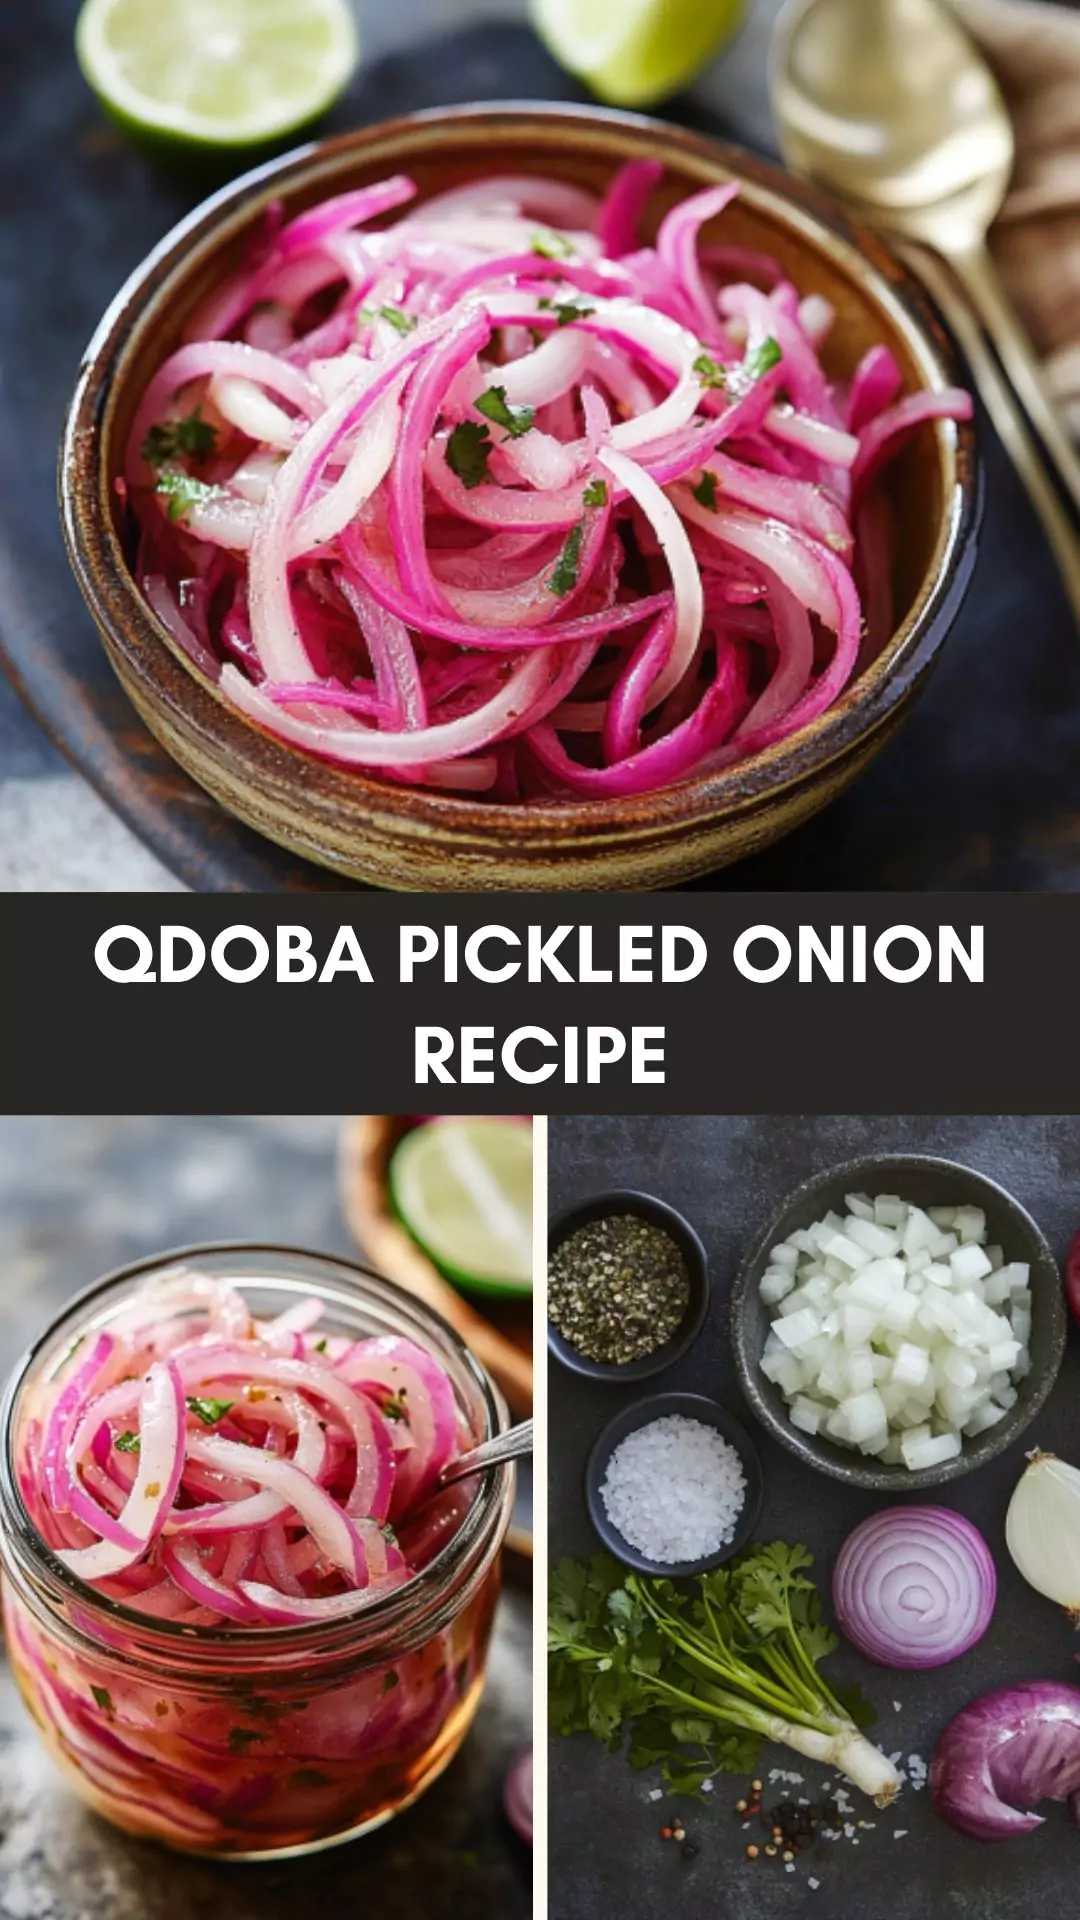
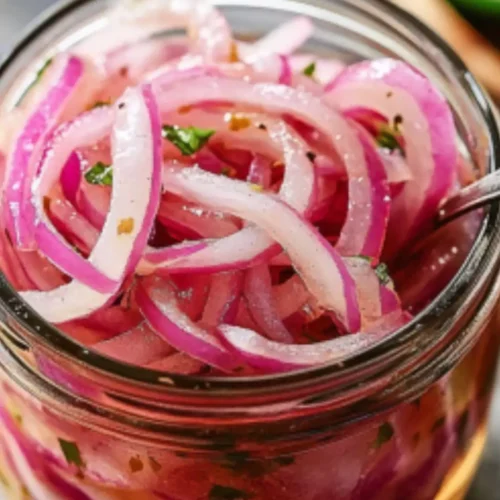
QDOBA pickled onions have a bright zing that can elevate any dish. They’re especially delightful in tacos, burritos, or even as a topping for salads. If you’re looking for ways to jazz up your meals, these pickled onions are your new best friend.
Allow me to share my journey with this mouthwatering recipe. For a long time, I felt like my meals were missing something. I wanted texture, taste, and that little kick that keeps your taste buds excited.
One day, while enjoying a burrito at QDOBA, I bit into their pickled onions — that was it! The crunch, the tang, the vibrant color. I knew I had to recreate this at home.
You will also like the following Delicious recipes!
Pickling is a fantastic way to add flavor while keeping it healthy. This recipe is minimalistic and allows you to control the ingredients. Plus, pickled onions can brighten up any dull meal, offering a splash of color and taste.
They are rich in antioxidants and contain several essential vitamins. Imagine having a jar of them in your fridge, ready to throw on sandwiches, salads, or whichever dish could use a lift. They also make for a crowd-pleasing condiment that guests will rave about.
In this post, I’ll walk you through how to make your own QDOBA-style pickled onions, covering everything from the ingredients I’ve used to the step-by-step process. Let’s dive right in!
Ingredients List
Here’s what you’ll need to whip up these tasty pickled onions:
Juice of 4 limes
1 tablespoon apple cider vinegar
½ teaspoon agave nectar
1 red onion, peeled and thinly sliced
1 teaspoon coarse kosher salt
½ teaspoon freshly cracked black pepper
1 small pinch of red pepper flakes
These ingredients come together to create a beautifully refreshing condiment that’s perfect for summer meals.
How to Make QDOBA Pickled Onions
Ready to bring out your inner chef? Follow these simple steps:
Step 1: Prepare the Onions
Begin by peeling the red onion. The vibrant color adds visual appeal to your dishes. Slice it thinly; about a quarter-inch thick works best.
As you slice, think about how these will brighten up your food. A sharp knife makes this job smoother. If you have a mandoline slicer, now’s the time to use it!
Step 2: Combine the Brine Ingredients
Grab a mixing bowl. Squeeze the juice of four limes into the bowl. Follow this with one tablespoon of apple cider vinegar. The acidity in these liquids will balance out the sweetness of the onion.
Next, add ½ teaspoon of agave nectar. This small addition contributes a touch of sweetness. Now, sprinkle in 1 teaspoon of coarse kosher salt, ½ teaspoon of freshly cracked black pepper, and a tiny pinch of red pepper flakes.
Step 3: Mix Well
Stir the mixture until all ingredients incorporate well. The acidity will begin to soften the onions just by being in contact with the brine.
Step 4: Add Onions to the Brine
Now, add your sliced onions to the bowl. Make sure each ring is submerged in the brine. Stir them gently to coat thoroughly. This is your chance to embrace the crunch and color — feel the excitement!
Step 5: Marinate
Transfer your onion mixture to a clean, airtight jar. Seal it well and set aside. Let your pickled onions marinate for at least an hour.
If you’re not in a hurry, letting them sit overnight in the fridge allows the flavors to meld even better. Use this time to plan your next taco night or salad!
Recipe Notes
Red Onion: Offers a sweet, mild flavor that balances sweetness and acidity beautifully. It holds up well in the pickle brine.
Lime Juice: Freshly squeezed lime juice is key. Bottled varieties have a different taste.
Apple Cider Vinegar: This vinegar is slightly sweeter than white vinegar. It enhances the flavor while providing health benefits.
Agave Nectar: A natural sweetener that gives a hint of sweetness without overwhelming the other flavors.
Recipe Variations
Now that you have the basic recipe down, feel free to play around with other variables:
Different Vinegars: Swap apple cider vinegar for rice vinegar for a milder profile.
Add Garlic: Throw in a few cloves of minced garlic for an added depth of flavor.
Cilantro: Add fresh chopped cilantro for a fresh herbal touch.
Spices: Experiment with cumin or coriander for a different flavor dimension.
Carrots or Radishes: Slice some carrots or radishes and add them to the mix for extra crunch.
Qdoba Pickled Onion Recipe
Joe Williams
As summer approaches and the grills fire up, I’m reminded of the vibrant flavors that accompany outdoor gatherings.
Ready to bring out your inner chef? Follow these simple steps:
Step 1: Prepare the Onions
Begin by peeling the red onion. The vibrant color adds visual appeal to your dishes. Slice it thinly; about a quarter-inch thick works best.
As you slice, think about how these will brighten up your food. A sharp knife makes this job smoother. If you have a mandoline slicer, now’s the time to use it!
Step 2: Combine the Brine Ingredients
Grab a mixing bowl. Squeeze the juice of four limes into the bowl. Follow this with one tablespoon of apple cider vinegar. The acidity in these liquids will balance out the sweetness of the onion.
Next, add ½ teaspoon of agave nectar. This small addition contributes a touch of sweetness. Now, sprinkle in 1 teaspoon of coarse kosher salt, ½ teaspoon of freshly cracked black pepper, and a tiny pinch of red pepper flakes.
Step 3: Mix Well
Stir the mixture until all ingredients incorporate well. The acidity will begin to soften the onions just by being in contact with the brine.
Step 4: Add Onions to the Brine
Now, add your sliced onions to the bowl. Make sure each ring is submerged in the brine. Stir them gently to coat thoroughly. This is your chance to embrace the crunch and color — feel the excitement!
Step 5: Marinate
Transfer your onion mixture to a clean, airtight jar. Seal it well and set aside. Let your pickled onions marinate for at least an hour.
If you’re not in a hurry, letting them sit overnight in the fridge allows the flavors to meld even better. Use this time to plan your next taco night or salad!
Notes
Red Onion: Offers a sweet, mild flavor that balances sweetness and acidity beautifully. It holds up well in the pickle brine.
Lime Juice: Freshly squeezed lime juice is key. Bottled varieties have a different taste.
Apple Cider Vinegar: This vinegar is slightly sweeter than white vinegar. It enhances the flavor while providing health benefits.
Agave Nectar: A natural sweetener that gives a hint of sweetness without overwhelming the other flavors.
Pickled onions can last about 2 to 4 weeks in the fridge, assuming they’re kept in an airtight container.
2. Can I use white onions instead?
Absolutely! White onions will give a sharper flavor, but they can still be deliciously pickled.
3. Are pickled onions healthy?
Yes! They are low in calories and contain vitamins and antioxidants. The fermentation process can support gut health.
4. Can I make them in advance?
Definitely. Making them the night before a gathering allows the flavors to develop better.
5. What dishes pair well with pickled onions?
They shine in tacos, on burgers, or even as a topping for grain bowls and salads. They add a delightful contrast to rich or fatty foods.
6. Can I make them spicy?
For more heat, you can add additional red pepper flakes or even slices of jalapeño to the brine.
Conclusion
There you have it! A simple recipe for delicious QDOBA pickled onions that can transform any meal into a flavorful experience. I encourage you to give them a go.
They’re easy to make ahead of time and add that extra zing to your dishes, whether it’s summer barbecues or cozy dinner nights.
Once you make these, I promise you won’t look at your food the same way again. Get a jar going, feel free to experiment with the flavors, and enjoy the bright, tangy crunch in your meals! And don’t forget to share this delightful recipe with friends.
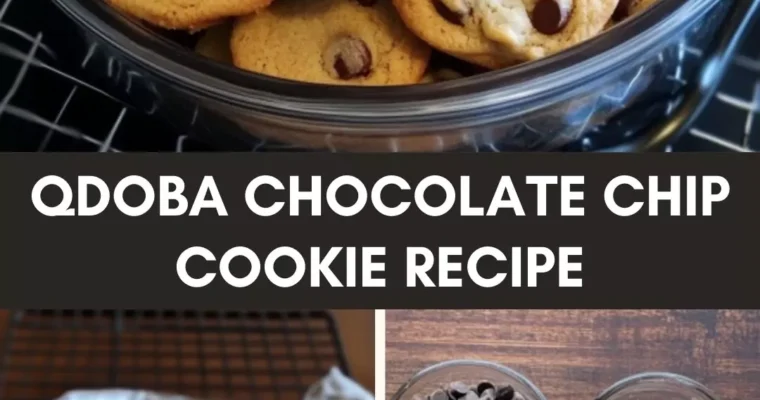
Before we dive into the luscious world of Qdoba chocolate chip cookies, let’s talk about what you can enjoy alongside this treat. Think rich, creamy vanilla ice cream or a bold scoop of coffee-flavored gelato. They create a delightful contrast to the warm, melty chocolate …
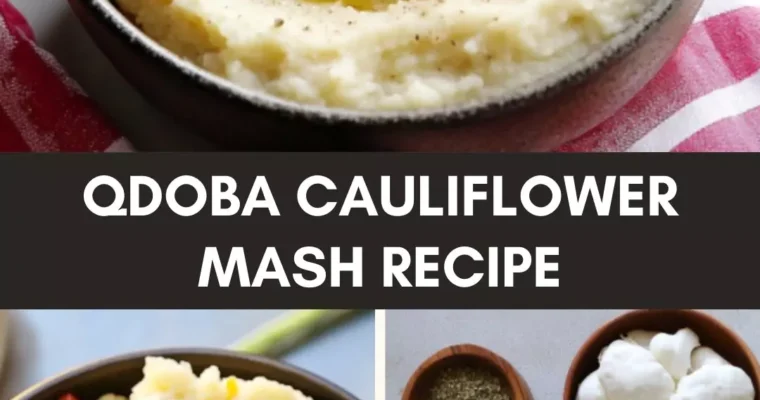
I remember the first time I tried QDOBA’s Cauliflower Mash. It was a chilly day, and I was looking for something warm and comforting yet healthier than your typical side dish. I was skeptical at first; could cauliflower actually replace a luscious, creamy mashed potato? …
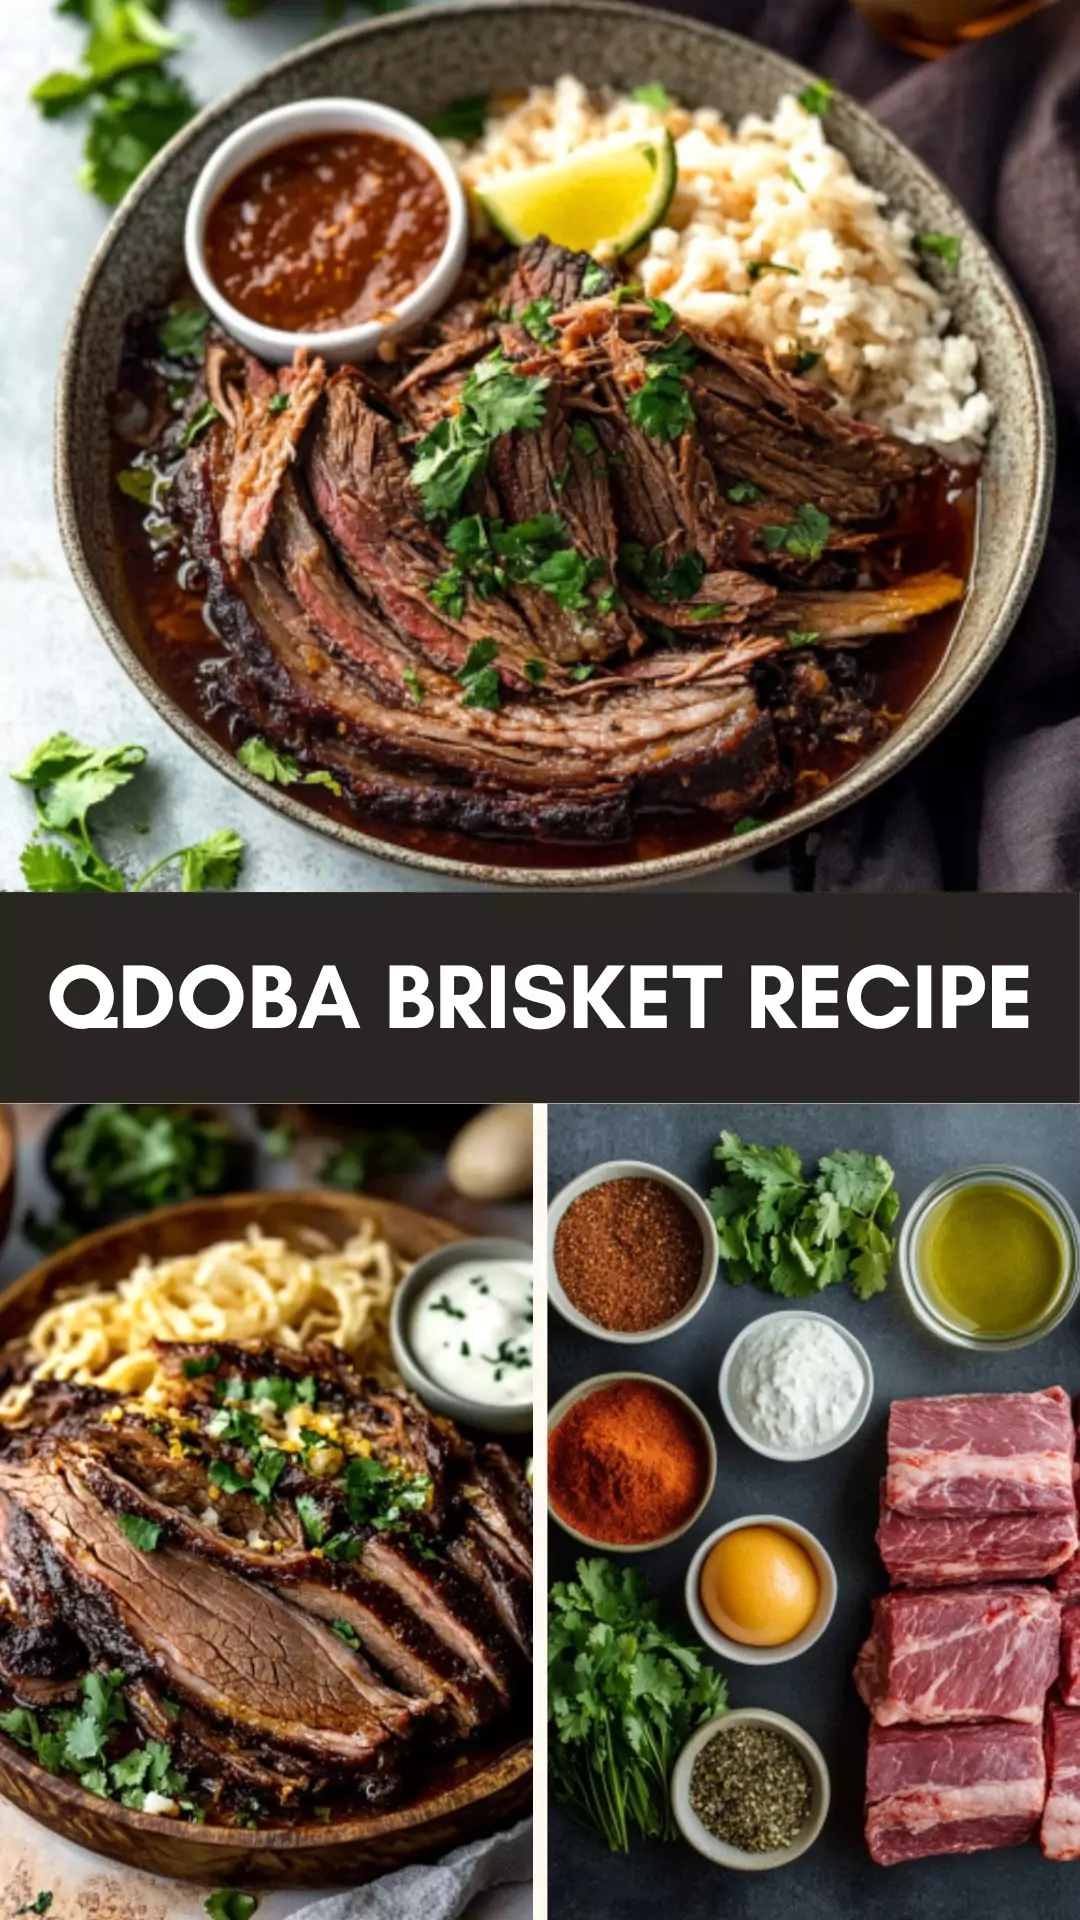
Before diving into the delicious world of QDOBA brisket, let’s chat about what pairs beautifully with this dish. Picture this: tender brisket piled high on a warm tortilla, or served alongside a colorful side of cilantro lime rice.
You might enjoy it topped with a fresh salsa that pops with flavor, or even with crunchy tortilla chips for that satisfying crunch. How about a side of roasted corn or a light salad to add a refreshing touch? Warm, savory, and slightly smoky, this dish is versatile, making it a fantastic option for any gathering.
Now, let’s talk about why cooking QDOBA brisket is such a fantastic choice for you. I can personally vouch for the richness and scrumptiousness this recipe brings to any table. It isn’t just a meal; it’s an experience.
This recipe is all about big, bold flavors without requiring hours in the kitchen. The brisket becomes tender and flavorful with minimal effort, leaving you with more time to enjoy with family or friends.
I’ve often found myself in search of meals that not only satiate the stomach but also comfort the soul. This QDOBA brisket utilizes a few key ingredients that transform a simple piece of meat into a culinary delight. I love it because it’s flexible; you can dress it up or down based on what you have on hand or what flavors inspire you that day. Through trial and error, I’ve discovered just the right balance, perfect for your next kitchen adventure.
Ingredients:
Here’s what you’ll need to make this delicious QDOBA brisket:
3 lbs beef brisket, flat cut: The star of the show, this cut is known for its tenderness when cooked slowly.
5 cloves garlic, finely minced: Garlic adds depth and a fragrant element that enhances the overall flavor.
1 teaspoon ground cumin: This spice provides an earthy, warm taste that brings the dish to life.
1 teaspoon dried oregano: A staple herb that complements the other ingredients beautifully.
1 teaspoon smoked paprika: Adds a layer of smokiness that makes you feel like you’re dining in a cozy restaurant.
½ teaspoon sea salt: Essential for drawing out the flavors in each ingredient.
3½ cups low-sodium beef broth: Keeps the brisket moist, infusing it with flavor as it cooks.
1 medium yellow onion, quartered: Onions add sweetness and a wonderful aroma.
1 poblano pepper, de-seeded and chopped: This pepper introduces mild heat and a slight smokiness.
2 sprigs fresh cilantro, leaves only: For freshness, cilantro lifts the flavors, brightening the dish.
2 dried bay leaves: Adds depth and an aromatic touch during the cooking process.
1 tablespoon lime juice: A splash of acidity to balance the richness of the brisket.
How to Make QDOBA Brisket
Let’s dive into the cooking process. It might seem a bit lengthy, but trust me; it’s worth every step.
Step 1: Prep Your Ingredients
Before you start cooking, gather all your ingredients. Chop the vegetables, mince the garlic, and measure out the spices. Making sure everything is ready makes the cooking process smoother. It’s a little ritual that I enjoy.
Step 2: Season the Brisket
Rub your brisket with the garlic, cumin, oregano, smoked paprika, and salt. Massage it in; think of it as giving your brisket a little spa treatment. The more affection you show these ingredients, the more flavor will deeply penetrate the meat.
Step 3: Sear the Brisket
In a large pot or Dutch oven, heat a drizzle of olive oil over medium-high heat. Once hot, add the brisket and sear it on both sides until it develops a lovely brown color. This step enriches the flavors and creates a beautiful crust. Don’t rush it—let it brown nicely.
Step 4: Add Vegetables and Broth
Once your brisket is seared, it’s time for the aromatic appeal. In the same pot, add the quartered onions and chopped poblano peppers. Cook them for a few minutes until they soften. Then, pour in the beef broth, scraping up any brown bits from the bottom of the pot. That’s flavor, my friend!
Step 5: Add the Finishing Touches
Add the bay leaves, cilantro leaves, and lime juice. These ingredients will infuse the brisket with aroma and flavor during the cooking time. Don’t forget to give everything a gentle stir to combine all the flavors.
Step 6: Slow Cook
Cover your pot and reduce the heat. Allow the brisket to simmer gently for about 3-4 hours, or until fork-tender. If you have a slow cooker, feel free to transfer everything there for an easier cleanup. The longer, the better when it comes to brisket.
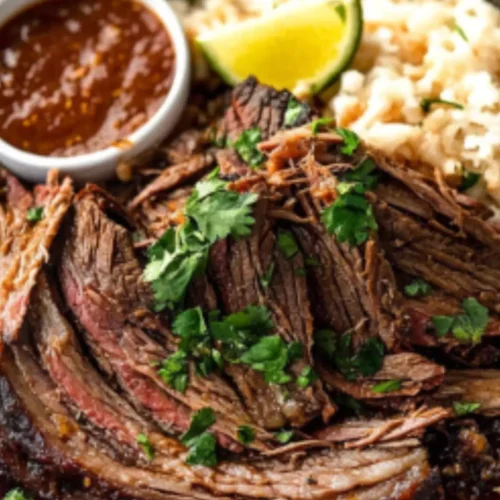
Step 7: Shred and Serve
Once the brisket is fully cooked, take it out of the pot and let it rest for a few minutes. Then, shred it with two forks. This shredding process releases all those delicious juices, making each bite delightful. Stir the shredded brisket back into the pot with the remaining juices for an irresistible finish.
Step 8: Enjoy!
Serve your QDOBA brisket however you desire. I love it in tacos with fresh toppings or simply on a plate beside some rice and beans. Every time I make this, I find each bite takes me away to a cozy kitchen filled with laughter and joy.
Recipe Notes
Beef Brisket
Beef brisket is a tough cut of meat, which means it demands low and slow cooking to break down the connective tissues. It’s a cut often used in barbecue, but in this recipe, we tame its toughness with the broth and spices, creating a melt-in-your-mouth texture.
Garlic
The aromatic burst of garlic does wonders for the flavor profile. When minced, it releases its essential oils, enhancing the dish’s depth.
Spices
Each spice plays a role. Cumin provides warmth, oregano freshens the dish, and smoked paprika delivers subtle nuances. You can adjust these spices based on your taste preference.
Broth
Opting for low-sodium beef broth allows you to control the seasoning better. The liquid helps maintain moisture—essential for a brisket.
Vegetables
Adding onions and poblano creates a flavorful base. They contribute their unique tastes, creating layers of flavor that elevate the entire dish.
Fresh Cilantro
Cilantro adds a zesty touch. When it cooks, it loses its vibrancy. I often reserve some fresh leaves to sprinkle over the final dish for that fresh flare.
Lime Juice
This bright addition cuts through the richness of the brisket, providing a delightful balance. A squeeze of lime right before serving sometimes makes all the difference.
Recipe Variations
Want to switch things up? Here are a few variations you can experiment with:
Add some Heat: Incorporate jalapeños or serrano peppers if you like a little kick.
Different Cooking Methods: Use an Instant Pot for quicker cooking. It still yields tender results.
Swap the Protein: If you prefer pork brisket or a different meat, feel free to substitute and adjust cooking times accordingly.
Vegetable Additions: Feel free to toss in bell peppers, carrots, or even sweet potatoes for additional texture and layers of flavor.
Different Spices: Experiment with Caribbean spices like allspice or cinnamon for a different twist.
Make It a Salad: After shredding, toss the brisket with mixed greens, black beans, and a zesty dressing for a fresh take.
Qdoba Brisket Recipe
Joe Williams
Before diving into the delicious world of QDOBA brisket, let’s chat about what pairs beautifully with this dish.
Let’s dive into the cooking process. It might seem a bit lengthy, but trust me; it’s worth every step.
Step 1: Prep Your Ingredients
Before you start cooking, gather all your ingredients. Chop the vegetables, mince the garlic, and measure out the spices. Making sure everything is ready makes the cooking process smoother. It’s a little ritual that I enjoy.
Step 2: Season the Brisket
Rub your brisket with the garlic, cumin, oregano, smoked paprika, and salt. Massage it in; think of it as giving your brisket a little spa treatment. The more affection you show these ingredients, the more flavor will deeply penetrate the meat.
Step 3: Sear the Brisket
In a large pot or Dutch oven, heat a drizzle of olive oil over medium-high heat. Once hot, add the brisket and sear it on both sides until it develops a lovely brown color. This step enriches the flavors and creates a beautiful crust. Don’t rush it—let it brown nicely.
Step 4: Add Vegetables and Broth
Once your brisket is seared, it’s time for the aromatic appeal. In the same pot, add the quartered onions and chopped poblano peppers. Cook them for a few minutes until they soften. Then, pour in the beef broth, scraping up any brown bits from the bottom of the pot. That’s flavor, my friend!
Step 5: Add the Finishing Touches
Add the bay leaves, cilantro leaves, and lime juice. These ingredients will infuse the brisket with aroma and flavor during the cooking time. Don’t forget to give everything a gentle stir to combine all the flavors.
Step 6: Slow Cook
Cover your pot and reduce the heat. Allow the brisket to simmer gently for about 3-4 hours, or until fork-tender. If you have a slow cooker, feel free to transfer everything there for an easier cleanup. The longer, the better when it comes to brisket.
Step 7: Shred and Serve
Once the brisket is fully cooked, take it out of the pot and let it rest for a few minutes. Then, shred it with two forks. This shredding process releases all those delicious juices, making each bite delightful. Stir the shredded brisket back into the pot with the remaining juices for an irresistible finish.
Step 8: Enjoy!
Serve your QDOBA brisket however you desire. I love it in tacos with fresh toppings or simply on a plate beside some rice and beans. Every time I make this, I find each bite takes me away to a cozy kitchen filled with laughter and joy.
Notes
Beef Brisket
Beef brisket is a tough cut of meat, which means it demands low and slow cooking to break down the connective tissues. It’s a cut often used in barbecue, but in this recipe, we tame its toughness with the broth and spices, creating a melt-in-your-mouth texture.
Garlic
The aromatic burst of garlic does wonders for the flavor profile. When minced, it releases its essential oils, enhancing the dish’s depth.
Spices
Each spice plays a role. Cumin provides warmth, oregano freshens the dish, and smoked paprika delivers subtle nuances. You can adjust these spices based on your taste preference.
Broth
Opting for low-sodium beef broth allows you to control the seasoning better. The liquid helps maintain moisture—essential for a brisket.
Vegetables
Adding onions and poblano creates a flavorful base. They contribute their unique tastes, creating layers of flavor that elevate the entire dish.
Fresh Cilantro
Cilantro adds a zesty touch. When it cooks, it loses its vibrancy. I often reserve some fresh leaves to sprinkle over the final dish for that fresh flare.
Lime Juice
This bright addition cuts through the richness of the brisket, providing a delightful balance. A squeeze of lime right before serving sometimes makes all the difference.
Easily! The ingredients in this QDOBA brisket are naturally gluten-free. Just ensure your broth is certified gluten-free, and you’re good to go!
2. Can I use a different cut of meat?
Yes, you can use chuck roast or even pork if you prefer. Cooking times may vary. Chuck roast is also a great option if you enjoy a tender, shreddable meat.
3. How do I store leftovers?
After letting your brisket cool, place it in an airtight container and refrigerate. It will stay fresh for about 3 to 4 days. You can also freeze leftovers for longer storage.
4. Can I cook this brisket in advance?
Absolutely! You can prepare the brisket a day or two before serving and enhance the flavors overnight in the fridge. Just reheat and serve.
5. What’s the best way to reheat leftovers?
The best way to reheat is in a pan over medium heat. You can add a splash of beef broth to keep it moist. Stir occasionally until warmed through.
6. Can I cook this dish in a slow cooker?
Yes, this dish adapts perfectly to a slow cooker. Follow the same process for searing, then add the broth and veggies. Cook on low for 6-8 hours or high for 4-5 hours.
Conclusion
Cooking this QDOBA brisket not only fills your home with lovely aromas, but it also offers a dish that comes together effortlessly and promises satisfaction with each bite. Did I mention how impressively versatile it is? Whether you serve it in tacos, on rice, or as a main dish at a party, it never fails to impress.
By following this recipe, you’re not just preparing a meal; you’re creating a moment to share with loved ones. So roll up your sleeves, get those ingredients ready, and enjoy the process. Each step you take leads to delicious rewards. Happy cooking!
When you think of a zesty vinaigrette like Qdoba’s Citrus Lime, you probably start imagining fresh salads and light, delicious dishes. It pairs beautifully with grilled chicken, tacos, quinoa bowls, or a vibrant garden salad. But don’t stop there. Try drizzling it over seafood, or …
When you’re about to dive into a colorful plate of Qdoba’s fajita veggies, think about the companions that can elevate your meal. Here are a few ideas to keep in mind: Soft Flour Tortillas are a classic choice. They hold your fajita veggies like a …
When I think of quick, delightful meals, QDOBA’s citrus lime shrimp brings a certain zing to mind. In the hustle and bustle of daily life, it’s essential to whip up something light and refreshing, especially when the weather warms up. And you know what? This dish pairs beautifully with a handful of fresh ingredients that amplify the flavors.
If you’re wondering what to serve, consider warm tortillas for tacos, a bed of fresh greens for a salad, or even fragrant rice for a complete plate. Each accompaniment brings something unique, making your dining experience truly memorable.
Let’s talk about shrimp. It’s versatile, quick to cook, and pairs wonderfully with bright flavors. The star ingredient in this dish is QDOBA’s citrus lime shrimp. This recipe captures the essence of swift preparation and mouth-watering taste.
Trust me; this will be on regular rotation in your kitchen. And if you’re like me, various flavor profiles keep your taste buds tingling. Let’s dive into the deliciousness of QDOBA’s citrus lime shrimp and explore why this bright, zesty dish deserves a spot on your menu.
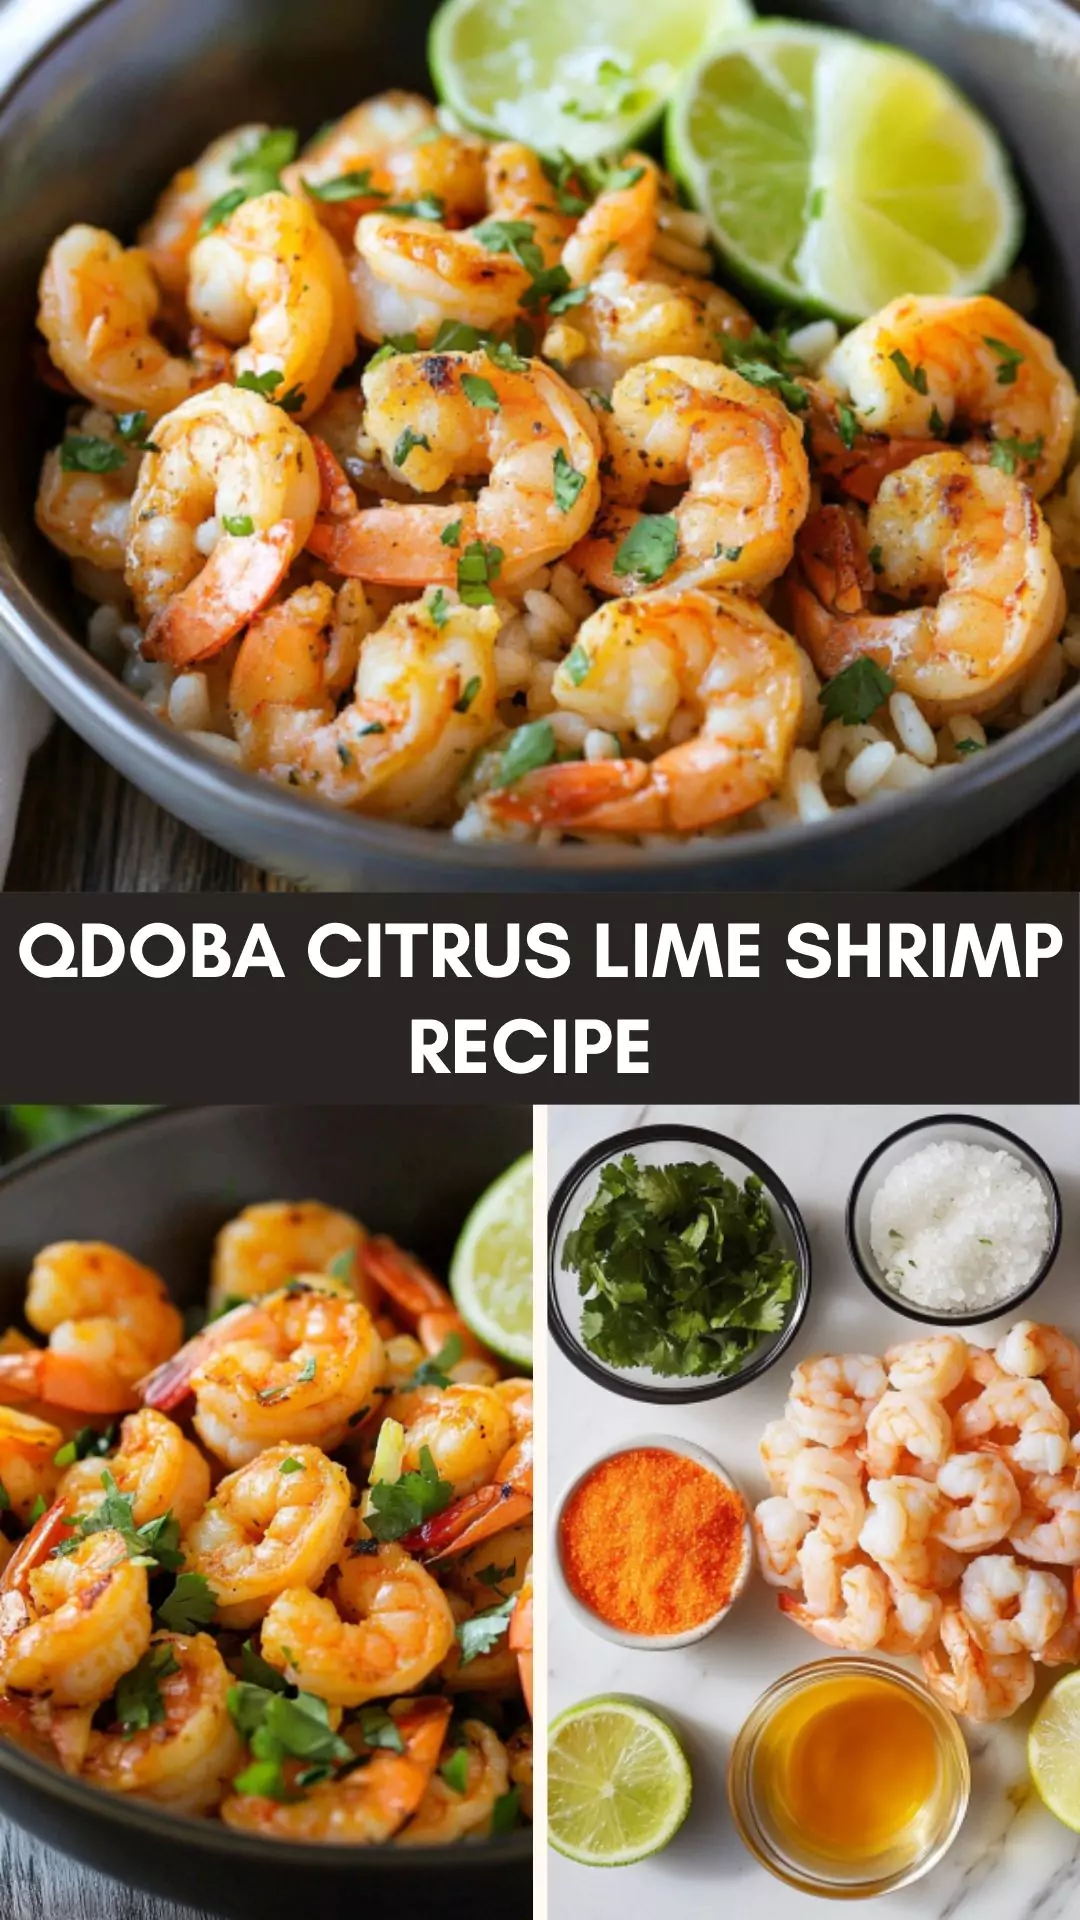
QDOBA’s citrus lime shrimp is a delightful dish that brings together succulent shrimp marinated in fresh lime juice, spices, and aromatic herbs. The unique combination of citrus and spices makes it a refreshing choice, perfect for tacos, salads, or even as a standalone dish.
This recipe brings out the natural sweetness of shrimp while introducing a vibrant flavor profile that’s hard to resist.
Why This Recipe Works
The beauty of this citrus lime shrimp recipe lies in its simplicity and versatility. Here’s why I stand behind it confidently:
1. Fresh Ingredients Shine Through
Using fresh, high-quality ingredients is essential. The shrimp, marinated in freshly squeezed lime juice, not only enhances its flavor but also keeps it juicy. The burst of citrus brings a fresh brightness that complements the shrimp without overpowering it.
2. Quick Preparation Time
Time is always of the essence. This recipe can be whipped up in about 15 minutes—perfect for busy evenings or when unexpected guests arrive. You get a restaurant-quality dish without spending hours in the kitchen.
3. Versatile Flavor Combinations
This dish doesn’t play by strict rules. Want to make shrimp tacos? Add it to a fresh salad? Toss it with pasta? The possibilities are endless. You can easily tweak the seasonings to your liking, ensuring it caters to everyone at the dinner table.
4. Health-Conscious Meal Choice
Not only is this dish bursting with flavor, but it’s also packed with health benefits. Shrimp is a high-protein, low-fat food. Combined with fresh ingredients and herbs, you’ve got a wholesome meal that doesn’t compromise on taste.
Ingredients You’ll Need To Make QDOBA Citrus Lime Shrimp
Before you get started, gather these simple ingredients:
1 pound raw shrimp, peeled and deveined
1 tablespoon olive oil (or avocado oil)
1 teaspoon ground chili powder
1 teaspoon minced garlic
1 tablespoon fresh lime juice
1/4 cup chopped fresh cilantro leaves
Salt and freshly ground pepper, to taste
1/2 teaspoon cumin (optional, for added warmth)
1 teaspoon orange zest (optional, for a citrusy twist)
These ingredients may seem straightforward, but together, they create an unforgettable flavor experience.
How To Make QDOBA Citrus Lime Shrimp?
Ready to cook? Let’s break it down step by step.
Step 1: Prepare the Shrimp
Start with the shrimp; it should be peeled, deveined, and rinsed under cold water. This dish shines when shrimp is fresh—look for a pink and lively appearance.
Step 2: Make the Marinade
Combine the olive oil, chili powder, minced garlic, lime juice, cumin, and orange zest in a bowl. Whisk them together until thoroughly mixed. This marinade is what makes the shrimp sing with flavor.
Step 3: Marinate the Shrimp
Add your cleaned shrimp to the marinade. Toss them gently to coat every piece. Cover the bowl and let it sit for about 10-15 minutes. This will allow the flavors to absorb, creating a taste explosion.
Step 4: Cook the Shrimp
Heat a skillet over medium-high heat. Add the marinated shrimp to the pan. You’ll want to give them about 2-3 minutes on each side or until they turn opaque and slightly curled. It’s crucial not to overcook your shrimp—they’ll turn rubbery!
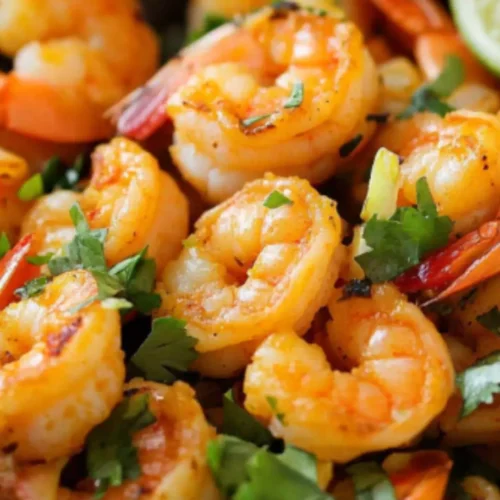
Step 5: Plate and Garnish
Once cooked, remove the shrimp from the heat. Sprinkle with freshly chopped cilantro, and don’t shy away from a little extra lime juice if you desire. Serve immediately and enjoy the vibrant flavors!
Tips for Perfect QDOBA Citrus Lime Shrimp
To elevate your cooking game, consider these essential tips:
Fresh is Best: Always choose fresh shrimp over frozen when possible. It makes a noticeable difference in flavor and texture.
Mind the Heat: Medium-high heat is critical. Too low, and the shrimp will steam; too high, and they may burn before cooking through.
Don’t Overcrowd the Pan: Cook in batches if necessary. Crowded shrimp don’t sear well—aim for a nice, golden crust.
Try Different Proteins: If you’re not a shrimp fan, this marinade works well with chicken or tofu, letting you mix things up.
Prep Ahead: If time allows, marinate the shrimp the night before. It will deepen the flavors.
How to Store the Leftovers?
Leftovers? No problem. Allow the shrimp to cool before transferring it to an airtight container. In the refrigerator, this dish will keep well for 2-3 days.
For longer storage, consider freezing it. Just be aware that the shrimp’s texture may change slightly after thawing.
Recommended Side Dishes for QDOBA Citrus Lime Shrimp
Pairing side dishes can elevate your main course to new heights. Here are some delicious suggestions:
1. Cilantro Lime Rice
This fresh, zesty rice pairs beautifully with shrimp. Just cook your rice of choice and stir in chopped cilantro and lime juice for an added zing.
2. Black Bean Salad
A simple black bean salad with chopped peppers, onions, and a hint of lime can add color and texture to your plate. The creaminess of the beans complements the shrimp’s brightness.
3. Grilled Vegetables
A fast grill of vegetables like zucchini, bell peppers, and corn can make for a vibrant side. Brush them with olive oil, season, and toss them on the grill while cooking the shrimp.
4. Fresh Salad
A mixed greens salad with avocado, cherry tomatoes, and a light vinaigrette can be a refreshing contrast, enhancing the flavor palette of your meal.
Substitute Options for Ingredients
Don’t have all the ingredients on hand? Here are some substitutes:
Shrimp: You can swap for chicken breast or firm tofu for a different protein option.
Olive Oil: Avocado oil works well; canola oil could also serve in a pinch.
Chili Powder: If you don’t have chili powder, use cayenne pepper or paprika for a different flavor profile.
Cilantro: Parsley can be used if you’re not a fan of cilantro. It adds a fresh taste, though the flavor will differ slightly.
Qdoba Citrus Lime Shrimp Recipe
Joe Williams
Let’s talk about shrimp. It’s versatile, quick to cook, and pairs wonderfully with bright flavors. The star ingredient in this dish is QDOBA’s citrus lime shrimp.
Start with the shrimp; it should be peeled, deveined, and rinsed under cold water. This dish shines when shrimp is fresh—look for a pink and lively appearance.
Step 2: Make the Marinade
Combine the olive oil, chili powder, minced garlic, lime juice, cumin, and orange zest in a bowl. Whisk them together until thoroughly mixed. This marinade is what makes the shrimp sing with flavor.
Step 3: Marinate the Shrimp
Add your cleaned shrimp to the marinade. Toss them gently to coat every piece. Cover the bowl and let it sit for about 10-15 minutes. This will allow the flavors to absorb, creating a taste explosion.
Step 4: Cook the Shrimp
Heat a skillet over medium-high heat. Add the marinated shrimp to the pan. You’ll want to give them about 2-3 minutes on each side or until they turn opaque and slightly curled. It’s crucial not to overcook your shrimp—they’ll turn rubbery!
Step 5: Plate and Garnish
Once cooked, remove the shrimp from the heat. Sprinkle with freshly chopped cilantro, and don’t shy away from a little extra lime juice if you desire. Serve immediately and enjoy the vibrant flavors!
Notes
To elevate your cooking game, consider these essential tips:
Fresh is Best: Always choose fresh shrimp over frozen when possible. It makes a noticeable difference in flavor and texture.
Mind the Heat: Medium-high heat is critical. Too low, and the shrimp will steam; too high, and they may burn before cooking through.
Don’t Overcrowd the Pan: Cook in batches if necessary. Crowded shrimp don’t sear well—aim for a nice, golden crust.
Try Different Proteins: If you’re not a shrimp fan, this marinade works well with chicken or tofu, letting you mix things up.
Prep Ahead: If time allows, marinate the shrimp the night before. It will deepen the flavors.
Shrimp is done when it turns pink and opaque. They should also form a “C” shape when curled. Overcooked shrimp will appear shriveled and tough.
2. Can I use frozen shrimp?
Absolutely! Just be sure to thaw them properly. The best method is to leave them in the fridge overnight or place them in a colander under cold running water for quick thawing.
3. What are other ways to season the shrimp?
Consider adding taco seasoning, or experimenting with a dash of Old Bay seasoning or fresh herbs like dill if you’re feeling adventurous.
4. Can I add more vegetables?
Of course! Bell peppers, zucchini, or snap peas can be sautéed alongside shrimp for extra color and nutrition.
5. How spicy can I make this dish?
If you like heat, you can increase the amount of chili powder, or add diced jalapeños to the marinade for an extra kick.
Conclusion
QDOBA’s citrus lime shrimp isn’t merely a recipe; it’s a celebration of vibrant flavors that allow you to eat well quickly. With fresh ingredients, health benefits, and endless versatility, it fits seamlessly into busy lives.
We all want meals that are nourishing, fun, and bursting with flavor, and this recipe ticks all those boxes. So fire up your skillet, let those flavors meld together, and enjoy a delightful meal that impresses both family and friends alike.
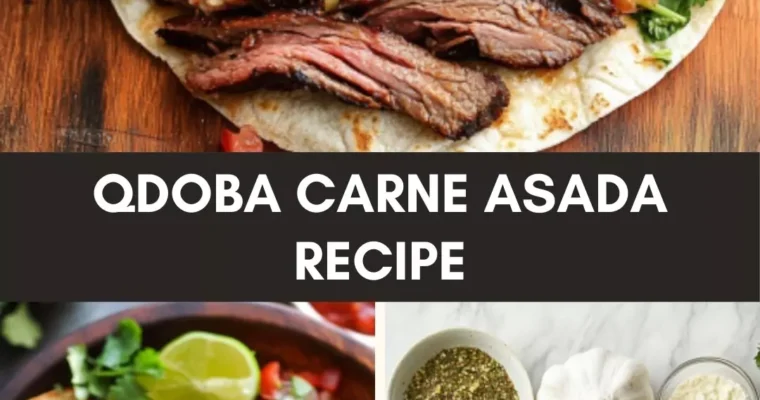
When it comes to pairing with Qdoba carne asada, the right sides can elevate the meal to an unforgettable experience. Soft, warm tortillas, whether flour or corn, are perfect for wrapping up the carne asada, soaking up its flavorful juices. The creamy richness of fresh …